How To Deep Clean Auto Carpet
So, your car's carpet is looking a little… rough? Don't worry, it happens. Spills, dirt, and just general wear and tear can take their toll. A good deep clean can make a huge difference, bringing your interior back to life and even improving the overall air quality. This article will walk you through the process of deep cleaning your auto carpet like a pro, covering everything from prepping the area to the final detailing.
Purpose of Deep Cleaning Auto Carpet
Why bother with a deep clean? It's not just about aesthetics. The primary purpose is to remove embedded dirt, stains, and allergens that vacuuming alone can't touch. Think of it as similar to shampooing your own hair versus just running a brush through it. A deep clean:
- Improves Air Quality: Removes allergens like pollen, dust mites, and pet dander that can trigger allergies and respiratory issues.
- Eliminates Odors: Gets rid of lingering smells from spills, pet accidents, or just general mustiness.
- Restores Appearance: Brightens up the carpet and makes your interior look much newer.
- Extends Carpet Life: Removes abrasive dirt particles that can damage the carpet fibers over time.
- Increases Resale Value: A clean interior significantly boosts the perceived value of your vehicle.
Key Specs and Main Parts (Cleaning Supplies & Equipment)
Let's break down the essential supplies and equipment you'll need. The 'specs' here refer to the type and quality of the products you choose.
- Vacuum Cleaner: A strong vacuum cleaner is crucial. Ideally, one with a hose attachment and crevice tool for reaching tight spots. A wet/dry vac is even better, as it can handle extracting the cleaning solution. Look for high CFM (cubic feet per minute) for powerful suction.
- Carpet Cleaning Solution: Choose a cleaner specifically designed for automotive carpets. Avoid household cleaners that may be too harsh or leave behind a residue. Pay attention to the pH level; a neutral or slightly acidic cleaner is generally safest. Spot test in an inconspicuous area before applying to the entire carpet. Enzyme-based cleaners are excellent for organic stains like pet urine.
- Stain Pre-Treatment: For stubborn stains, a dedicated pre-treatment product is essential. Identify the type of stain (oil-based, water-based, organic) and choose a product accordingly.
- Spray Bottle: For applying the cleaning solution or pre-treatment. Choose one with an adjustable nozzle for different spray patterns.
- Carpet Brush: A stiff-bristled brush for agitating the cleaning solution and loosening dirt. Use a brush with synthetic bristles to avoid damaging the carpet fibers. A drill brush attachment can save a lot of elbow grease.
- Microfiber Towels: For blotting up excess moisture and wiping down surfaces. Choose high-quality microfiber towels that won't leave behind lint.
- Wet/Dry Extractor (Optional but Recommended): This is the best tool for deep cleaning. It sprays cleaning solution and then immediately extracts it, leaving the carpet much drier than other methods. Rent one from a local hardware store if you don't want to buy one.
- Detailing Brush (Optional): For cleaning tight areas like around the pedals and under the seats.
- Rubber Gloves: To protect your hands from the cleaning solutions.
How It Works: The Deep Cleaning Process
Now for the nitty-gritty. Here's a step-by-step guide to deep cleaning your auto carpet:
- Preparation:
- Remove all loose items from the car, including floor mats.
- Thoroughly vacuum the entire carpet, paying attention to corners, edges, and under the seats. Use the crevice tool to reach tight spots.
- Pre-Treatment (if necessary):
- Identify any stubborn stains and apply the appropriate pre-treatment product.
- Follow the manufacturer's instructions for application and dwell time (the amount of time the product needs to sit on the stain). Typically, this involves spraying the stain and letting it sit for 5-10 minutes.
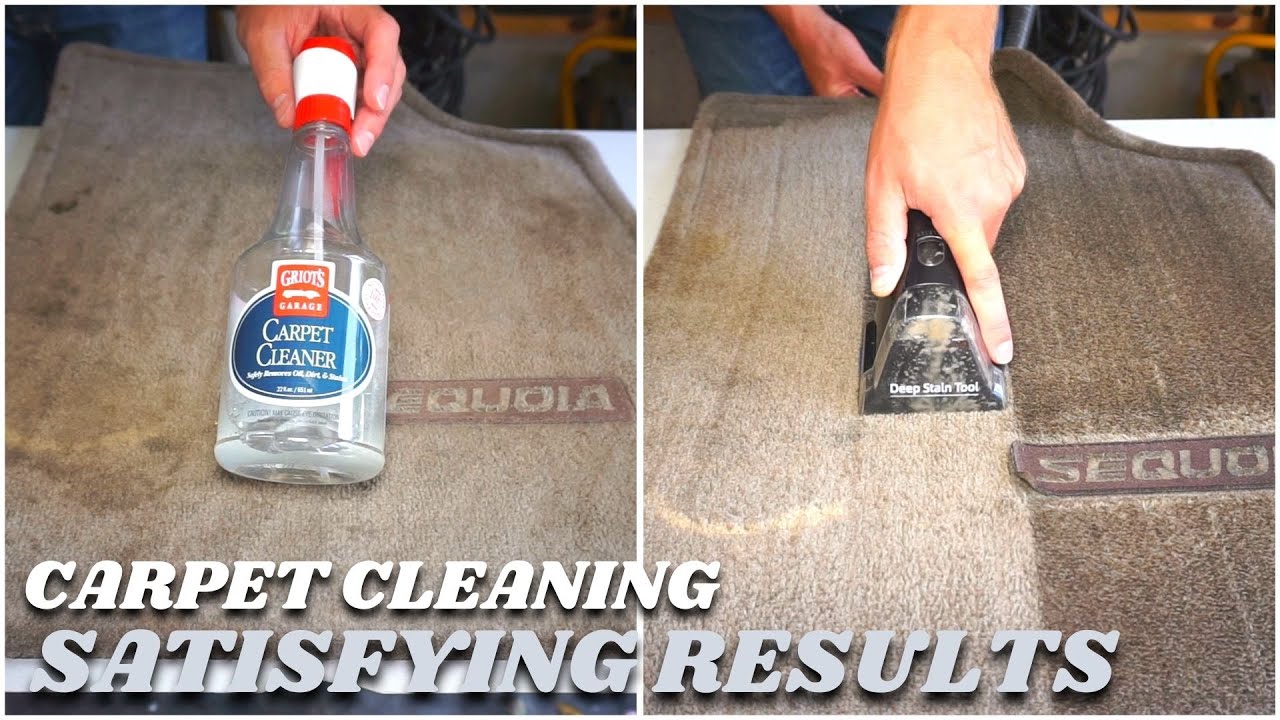
- Cleaning Solution Application:
- In a well-ventilated area, spray the carpet cleaning solution evenly over the entire carpet surface. Avoid oversaturating the carpet.
- Agitation:
- Using the carpet brush, agitate the cleaning solution into the carpet fibers using firm, overlapping strokes. Work in small sections to ensure thorough cleaning.
- For heavily soiled areas, scrub more vigorously.
- Extraction (if using a Wet/Dry Extractor):
- Follow the manufacturer's instructions for operating the extractor. Typically, this involves spraying the cleaning solution and then immediately extracting it in a single pass.
- Overlap each pass slightly to ensure complete coverage.
- Empty the dirty water tank frequently.
- Blotting (if not using an Extractor):
- Use clean microfiber towels to blot up as much of the cleaning solution as possible. Press firmly and work in small sections.
- Change towels frequently as they become saturated.
- Rinsing (Optional but Recommended):
- If you have access to a wet/dry extractor, you can rinse the carpet with clean water. This helps remove any remaining cleaning solution residue.
- Otherwise, skip this step.
- Drying:
- Open all the car doors and windows to allow the carpet to air dry.
- You can also use a fan to speed up the drying process.
- Avoid using the car until the carpet is completely dry to prevent mildew growth. This can take several hours, or even overnight.
- Final Touches:
- Once the carpet is completely dry, vacuum it again to fluff up the fibers.
- Replace the floor mats.
Real-World Use – Basic Troubleshooting Tips
Even with the best preparation, things can sometimes go wrong. Here are a few troubleshooting tips:
- Stains Not Lifting: Reapply the pre-treatment product and allow it to dwell for a longer period of time. You may also need to try a different stain remover specifically formulated for the type of stain you're dealing with. Consider a steam cleaner for really stubborn stains.
- Excessive Moisture: If the carpet is still very wet after blotting, use a wet/dry vacuum to extract more moisture. You can also place a dehumidifier in the car to help speed up the drying process. Make sure to check under the carpets to ensure no water is trapped.
- Lingering Odor: If you still smell an odor after cleaning, sprinkle baking soda over the carpet and let it sit for several hours before vacuuming. Baking soda absorbs odors.
- Cleaner Residue: If the carpet feels sticky or stiff after cleaning, you may have used too much cleaning solution or not extracted it properly. Rinse the carpet with clean water and extract or blot thoroughly.
Safety – Highlight Risky Components
Cleaning car carpets is generally safe, but there are a few things to keep in mind:
- Ventilation: Always work in a well-ventilated area to avoid inhaling the fumes from the cleaning solutions. Open the car doors and windows, and consider using a fan.
- Skin Protection: Wear rubber gloves to protect your hands from the cleaning solutions. Some cleaners can cause skin irritation.
- Eye Protection: Wear safety glasses or goggles to protect your eyes from splashes.
- Electrical Safety: When using electrical equipment like vacuum cleaners or extractors, make sure the cords are in good condition and that you're using a grounded outlet. Avoid using electrical appliances in wet conditions. Never submerge electrical appliances in water.
- Product Compatibility: Always test cleaning solutions in an inconspicuous area before applying them to the entire carpet. Some cleaners can damage certain types of carpet fibers or upholstery.
Deep cleaning your auto carpet is a rewarding DIY project that can significantly improve the appearance and air quality of your vehicle. With the right tools, techniques, and safety precautions, you can achieve professional-quality results. Good luck, and happy cleaning!