How To Deep Clean Car Seats
So, you're ready to tackle deep cleaning your car seats? Excellent! Whether you're prepping your ride for a show, banishing the lingering scent of that unfortunate coffee spill, or just giving your interior some TLC, a thorough seat cleaning can make a world of difference. This isn't just about surface-level sprucing; we're talking about getting down into the fibers and eliminating embedded dirt, grime, and allergens. This article will walk you through the process like a seasoned mechanic guiding a capable DIYer, focusing on best practices and ensuring a professional-grade result.
Purpose of Deep Cleaning
The purpose of deep cleaning car seats goes beyond mere aesthetics. It's about:
- Hygiene: Car seats accumulate sweat, dead skin cells, food crumbs, and other organic matter, creating a breeding ground for bacteria and mold. Regular deep cleaning eliminates these contaminants.
- Longevity: Grime and abrasive particles can wear down the fabric or leather over time. Deep cleaning removes these, extending the lifespan of your seats.
- Value: A clean interior significantly increases your car's resale value.
- Comfort: A clean seat simply feels better. It's more comfortable and inviting.
- Allergen Removal: Carpets and upholstery can trap allergens such as pollen, dust mites and pet dander.
Key Specs and Main Parts (of the Deep Cleaning Process)
Here’s a breakdown of the key equipment and materials you'll need:
- Vacuum Cleaner: A powerful vacuum with various attachments (crevice tool, upholstery brush) is essential for removing loose debris. Look for one with strong suction and a HEPA (High-Efficiency Particulate Air) filter to capture even the smallest particles.
- Upholstery Cleaner: Choose a cleaner specifically designed for your seat material (fabric, leather, vinyl). Using the wrong cleaner can damage the material. Consider a pH-neutral cleaner to prevent discoloration. Always test in an inconspicuous area first!
- Detailing Brushes: A variety of soft-bristled brushes (nylon, horsehair) will help agitate dirt and lift it from the fibers. Different sizes and shapes are useful for getting into tight spaces and crevices.
- Microfiber Towels: These are crucial for wiping away cleaner and absorbing moisture. Opt for high-quality towels that won't leave lint behind.
- Spray Bottle: For applying the upholstery cleaner evenly.
- Hot Water Extractor (Optional): This professional-grade tool sprays a cleaning solution and simultaneously vacuums it up, providing a deeper clean and faster drying time. If you plan on cleaning your car seats regularly, this could be a good investment.
- Leather Conditioner (if applicable): After cleaning leather seats, apply a leather conditioner to restore moisture and prevent cracking.
- Protective Gear: Gloves to protect your hands from chemicals and a mask to avoid inhaling fumes.
How It Works: The Deep Cleaning Process
Here's a step-by-step guide to deep cleaning your car seats:
- Preparation: Remove any loose items from the car and open the doors and windows for ventilation.
- Vacuuming: Thoroughly vacuum the seats, paying close attention to seams, crevices, and under the seats. Use the crevice tool to reach tight spots and the upholstery brush to agitate dirt.
- Spot Treatment: Identify any stains and pre-treat them with a stain remover specifically designed for the type of stain (e.g., grease, coffee, ink). Follow the product instructions carefully.
- Applying Cleaner: Spray the upholstery cleaner evenly onto a small section of the seat. Avoid oversaturating the material, as this can lead to mold growth.
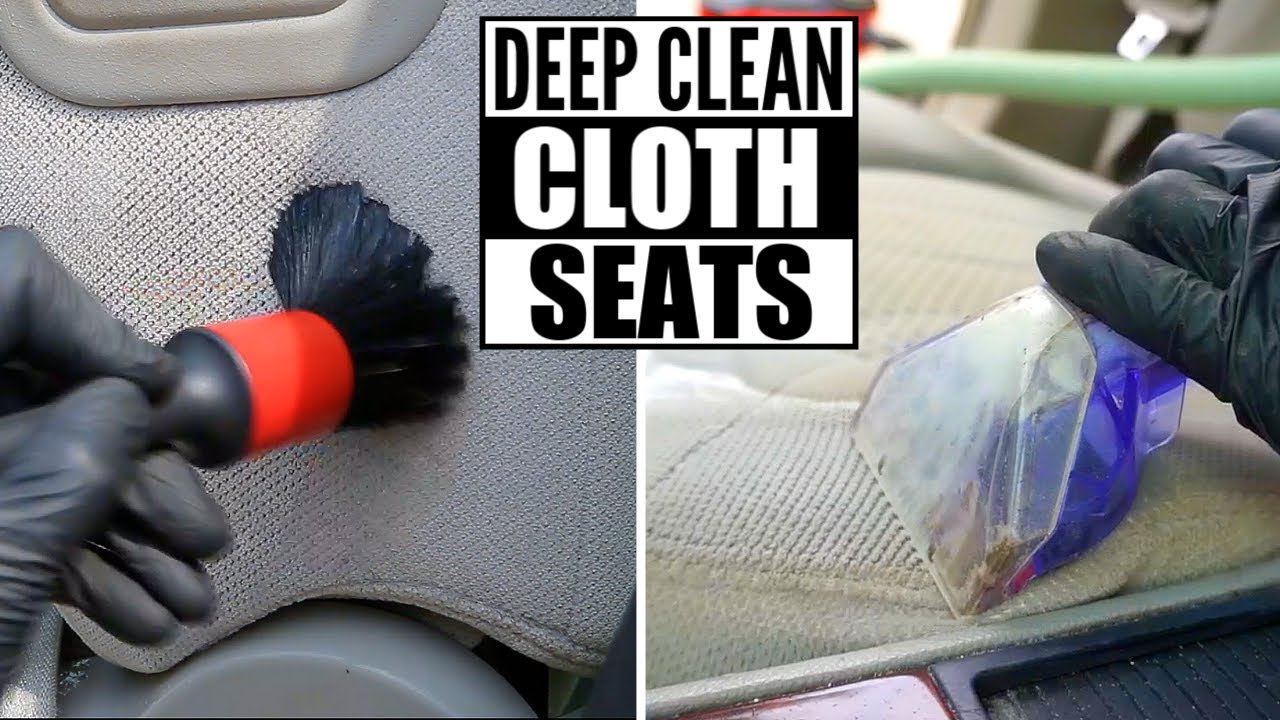
- Agitation: Use a detailing brush to gently agitate the cleaner into the fibers. Work in circular motions and avoid scrubbing too hard, which can damage the material.
- Wiping: Use a clean microfiber towel to wipe away the cleaner and lifted dirt. Rinse the towel frequently in clean water.
- Extraction (Optional): If using a hot water extractor, follow the manufacturer's instructions. Typically, you'll spray the cleaning solution and then immediately vacuum it up.
- Drying: Allow the seats to air dry completely. This may take several hours or even overnight, depending on the humidity and temperature. To speed up the drying process, you can use fans or a dehumidifier. Cover seats with dry towels until fully dry.
- Leather Conditioning (if applicable): Once the leather seats are completely dry, apply a leather conditioner according to the product instructions. This will help restore moisture and prevent cracking.
- Final Vacuuming: After the seats are dry, give them one last vacuum to remove any remaining loose particles.
Real-World Use: Basic Troubleshooting Tips
Here are some common issues you might encounter and how to address them:
- Stubborn Stains: For particularly stubborn stains, you may need to repeat the cleaning process or try a different stain remover. Consider using an enzymatic cleaner for organic stains like blood or vomit.
- Water Stains: If you notice water stains after cleaning, try lightly dampening the entire seat and then blotting it dry with a clean towel. This can help even out the color.
- Odor Removal: If your car seats have a lingering odor, try sprinkling baking soda on them and letting it sit for several hours before vacuuming it up. You can also use an odor eliminator spray.
- Fabric Discoloration: If you notice any discoloration after cleaning, it's possible that the cleaner was too harsh or that the material was already damaged. In this case, it's best to consult a professional upholstery cleaner. Always test your cleaner in an inconspicuous area before full application!
Safety: Highlight Risky Components
While deep cleaning car seats is generally safe, it's important to take precautions to avoid injury and damage:
- Chemical Exposure: Always wear gloves and a mask when handling cleaning chemicals. Avoid inhaling fumes and make sure to ventilate the area properly.
- Electrical Hazards: When using a hot water extractor or other electrical cleaning equipment, be careful to avoid water damage to the car's electrical system. Never submerge electrical components in water.
- Material Damage: Using the wrong cleaner or scrubbing too hard can damage the seat material. Always test the cleaner in an inconspicuous area first and use gentle pressure when cleaning.
- Airbag Deployment: Be extremely careful when cleaning around airbag sensors. Disconnecting the battery before cleaning near airbag sensors is a good idea, but consult your car's service manual for the correct procedure to avoid accidental deployment. Airbag deployment can cause serious injury.
Important Note: Before you commence any cleaning, refer to your vehicle's owner’s manual, to ensure compliance with the manufacturer's recommendation for interior upholstery and cleaning standards.