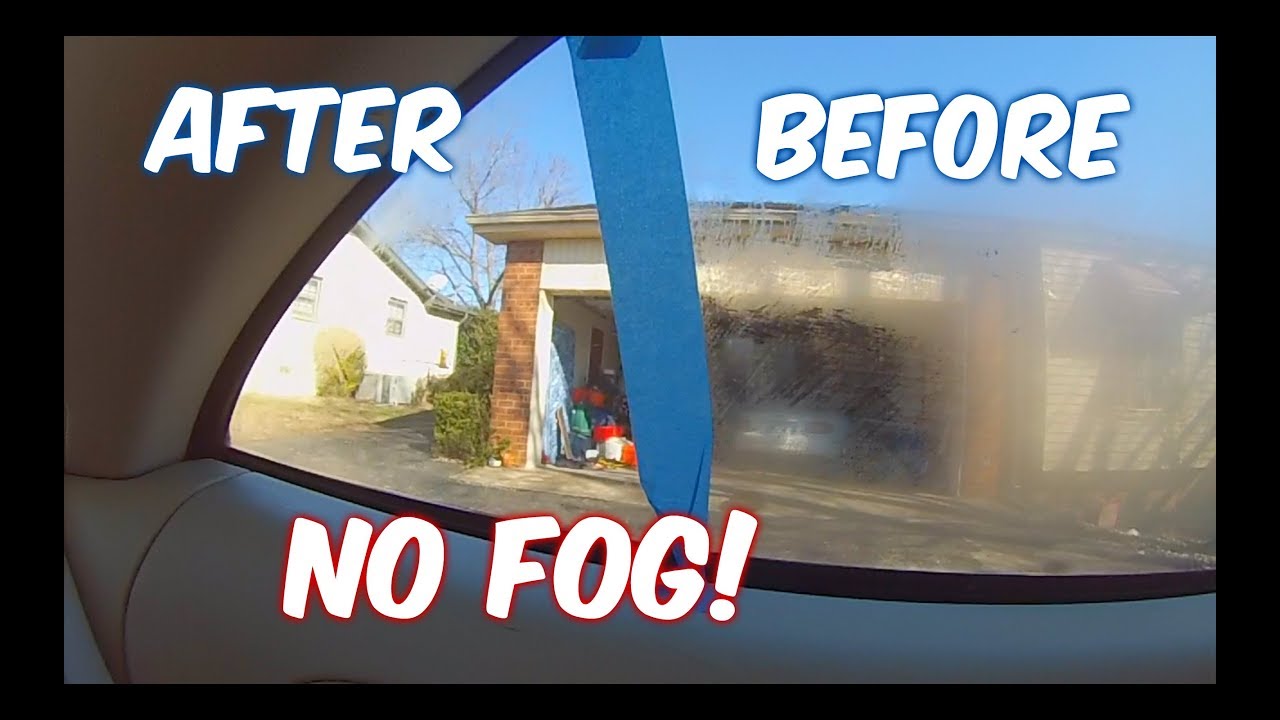
How To Defog Windows In Rain
Okay, so you're dealing with foggy windows on a rainy day. We've all been there. Visibility drops, stress levels rise. But understanding how your car's defogging system works empowers you to diagnose issues, potentially fix them yourself, and definitely appreciate the engineering that goes into keeping you safe on the road. This article will break down the components and operation of your car's defogging system, focusing on both the front and rear windows.
Understanding the Defogging System
The purpose of understanding the defogging system isn't just about fixing a broken component. It's about preventative maintenance, understanding the limits of your system, and making informed decisions when modifications are considered. Knowing the system inside and out can save you money on unnecessary repairs and help you identify potential problems before they become major headaches. Furthermore, if you're considering modifications, like installing aftermarket heated seats, understanding the electrical load and impact on your vehicle's electrical system is crucial. You can use the downloadable diagram (link provided at the end) for easier reference.
Key Specs and Main Parts
The defogging system relies on a combination of heating, ventilation, and air conditioning (HVAC) components. The key specs to consider are the blower motor's CFM (cubic feet per minute) rating, the refrigerant type and pressure within the A/C system, and the resistance of the rear window defogger grid.
Here's a breakdown of the main parts:
- Blower Motor: This forces air through the HVAC system. Its speed is controlled by the blower motor resistor or a solid-state blower motor controller.
- HVAC Control Panel: This allows the driver to select the desired temperature, airflow direction (including defrost), and blower speed.
- Heater Core: A small radiator that circulates hot engine coolant, warming the air passing through it.
- Evaporator Core: Part of the air conditioning system; it cools and dehumidifies the air.
- A/C Compressor: Compresses the refrigerant, increasing its temperature and pressure. Driven by the engine via a belt.
- Condenser: A radiator-like component that cools the high-pressure refrigerant from the compressor, changing it from a gas to a liquid.
- Refrigerant Lines: Carry the refrigerant between the compressor, condenser, evaporator, and expansion valve.
- Expansion Valve (or Orifice Tube): Meters the amount of refrigerant entering the evaporator, reducing its pressure and temperature.
- Air Ducts: Direct the airflow to the appropriate vents, including the windshield defrost vents.
- Rear Window Defogger Grid: A series of thin, electrically conductive lines embedded in the rear window. When energized, they heat up and evaporate condensation.
- Rear Window Defogger Relay: Controls the flow of electricity to the rear window defogger grid.
- Sensors: Temperature sensors (cabin, ambient) feed data to the HVAC control unit, optimizing system performance.
Understanding the Symbols in the Diagram
The diagram uses standard automotive electrical and HVAC symbols. Let's break down some of the common ones:
- Solid Lines: Typically represent electrical wiring. Thicker lines may indicate higher current carrying capacity.
- Dashed Lines: Often represent vacuum lines or refrigerant lines in the HVAC system.
- Colors: Wire colors are usually indicated on the diagram using abbreviations (e.g., BLU for blue, RED for red, GRN for green, BLK for black). These are crucial for identifying the correct wires when troubleshooting.
- Ground Symbol: A downward-pointing arrow or a series of horizontal lines, indicating the connection to the vehicle's chassis ground.
- Resistor Symbol: A zigzag line, representing electrical resistance. In the rear defogger grid, this represents the heating element.
- Relay Symbol: Shows the relay coil and the switch it controls. Helps in understanding how the circuit is switched.
- Fuse Symbol: Indicates a fuse for circuit protection.
- HVAC Blower Motor Symbol: Indicates HVAC Blower Motor.
- HVAC Compressor Symbol: Indicates HVAC Compressor.
How It Works: Front and Rear Defogging
Front Windshield Defogging: The process involves using the air conditioning system to dehumidify the air, and then heating it to prevent re-condensation on the windshield. When you select the defrost setting, the following happens:
- The HVAC control panel activates the A/C compressor. This dehumidifies the air by cooling it below its dew point. The moisture condenses on the evaporator core and is drained out of the vehicle.
- The blower motor is set to a higher speed to maximize airflow to the windshield.
- The airflow is directed through the heater core, warming the dehumidified air. This warm, dry air is then directed to the windshield vents.
- The warm, dry air absorbs moisture from the windshield, clearing the fog.
The A/C system is critical for effective front defogging, even in cold weather. That's because the primary goal is to remove moisture.
Rear Window Defogging: This is a simpler system, relying solely on resistive heating. When you activate the rear defogger switch:
- The switch energizes the rear defogger relay.
- The relay closes, allowing current to flow through the rear window defogger grid.
- The grid, acting as a resistor, heats up.
- The heat evaporates the condensation on the rear window.
- A timer typically shuts off the defogger after a set period (e.g., 10-15 minutes) to prevent overheating and conserve battery power.
Real-World Use: Basic Troubleshooting Tips
If your defogger isn't working effectively, here are some basic troubleshooting steps:
- Front Defogger:
- Check the A/C system: Is the A/C compressor engaging? If not, check the refrigerant level. Low refrigerant can prevent the compressor from engaging.
- Inspect the blower motor: Does the blower motor work on all speeds? If not, check the blower motor resistor or controller.
- Verify airflow: Are the defrost vents delivering strong airflow? If not, check for blocked ducts or a malfunctioning mode door actuator.
- Check the cabin air filter: A clogged cabin air filter can severely restrict airflow, reducing the effectiveness of the defogger.
- Rear Defogger:
- Check the fuse: This is the first and easiest step. Consult your owner's manual for the location of the rear defogger fuse.
- Inspect the defogger grid: Look for any breaks in the grid lines. You can often repair small breaks with a defogger repair kit (conductive paint).
- Test the relay: Use a multimeter to test the relay for proper operation. You can also try swapping it with a known good relay.
- Check the wiring: Inspect the wiring connectors at the defogger grid for corrosion or damage.
- Voltage Test: Use a multimeter to see if voltage is going into the defogger grid. No voltage going in, then the problem is upstream in the system.
Safety: Highlight Risky Components
Working on automotive systems can be dangerous. Here are some key safety considerations:
- A/C System: The refrigerant in the A/C system is under high pressure and can cause severe frostbite if released. Do not attempt to open or service the A/C system without proper training and equipment. Refer to a qualified A/C technician.
- Electrical System: Always disconnect the negative battery terminal before working on any electrical components. This prevents accidental short circuits and electrical shocks.
- Engine Coolant: The engine coolant in the heater core is hot and under pressure. Allow the engine to cool completely before attempting to work on the cooling system.
- Sharp Objects: Be careful when working around the defogger grid, as the thin lines can be easily damaged. Use proper tools and techniques to avoid scratching or breaking the glass.
- Tools: Always use the correct tools for the job. For example, a multimeter is essential for diagnosing electrical problems.
Important: When working on automotive electrical systems, always consult the vehicle's wiring diagram before making any modifications or repairs. Incorrect wiring can damage the vehicle's electrical system and create a safety hazard.
By understanding the components, operation, and safety precautions, you can confidently troubleshoot and maintain your car's defogging system. Remember, this article provides a general overview. Specific details may vary depending on the make and model of your vehicle.
For a detailed diagram of a typical automotive defogging system, click here to download the PDF file: [Link to downloadable Diagram - Placeholder]. This diagram will provide a visual reference for the components and their connections, making it easier to diagnose and repair problems.