How To Defrost Windows Inside Car
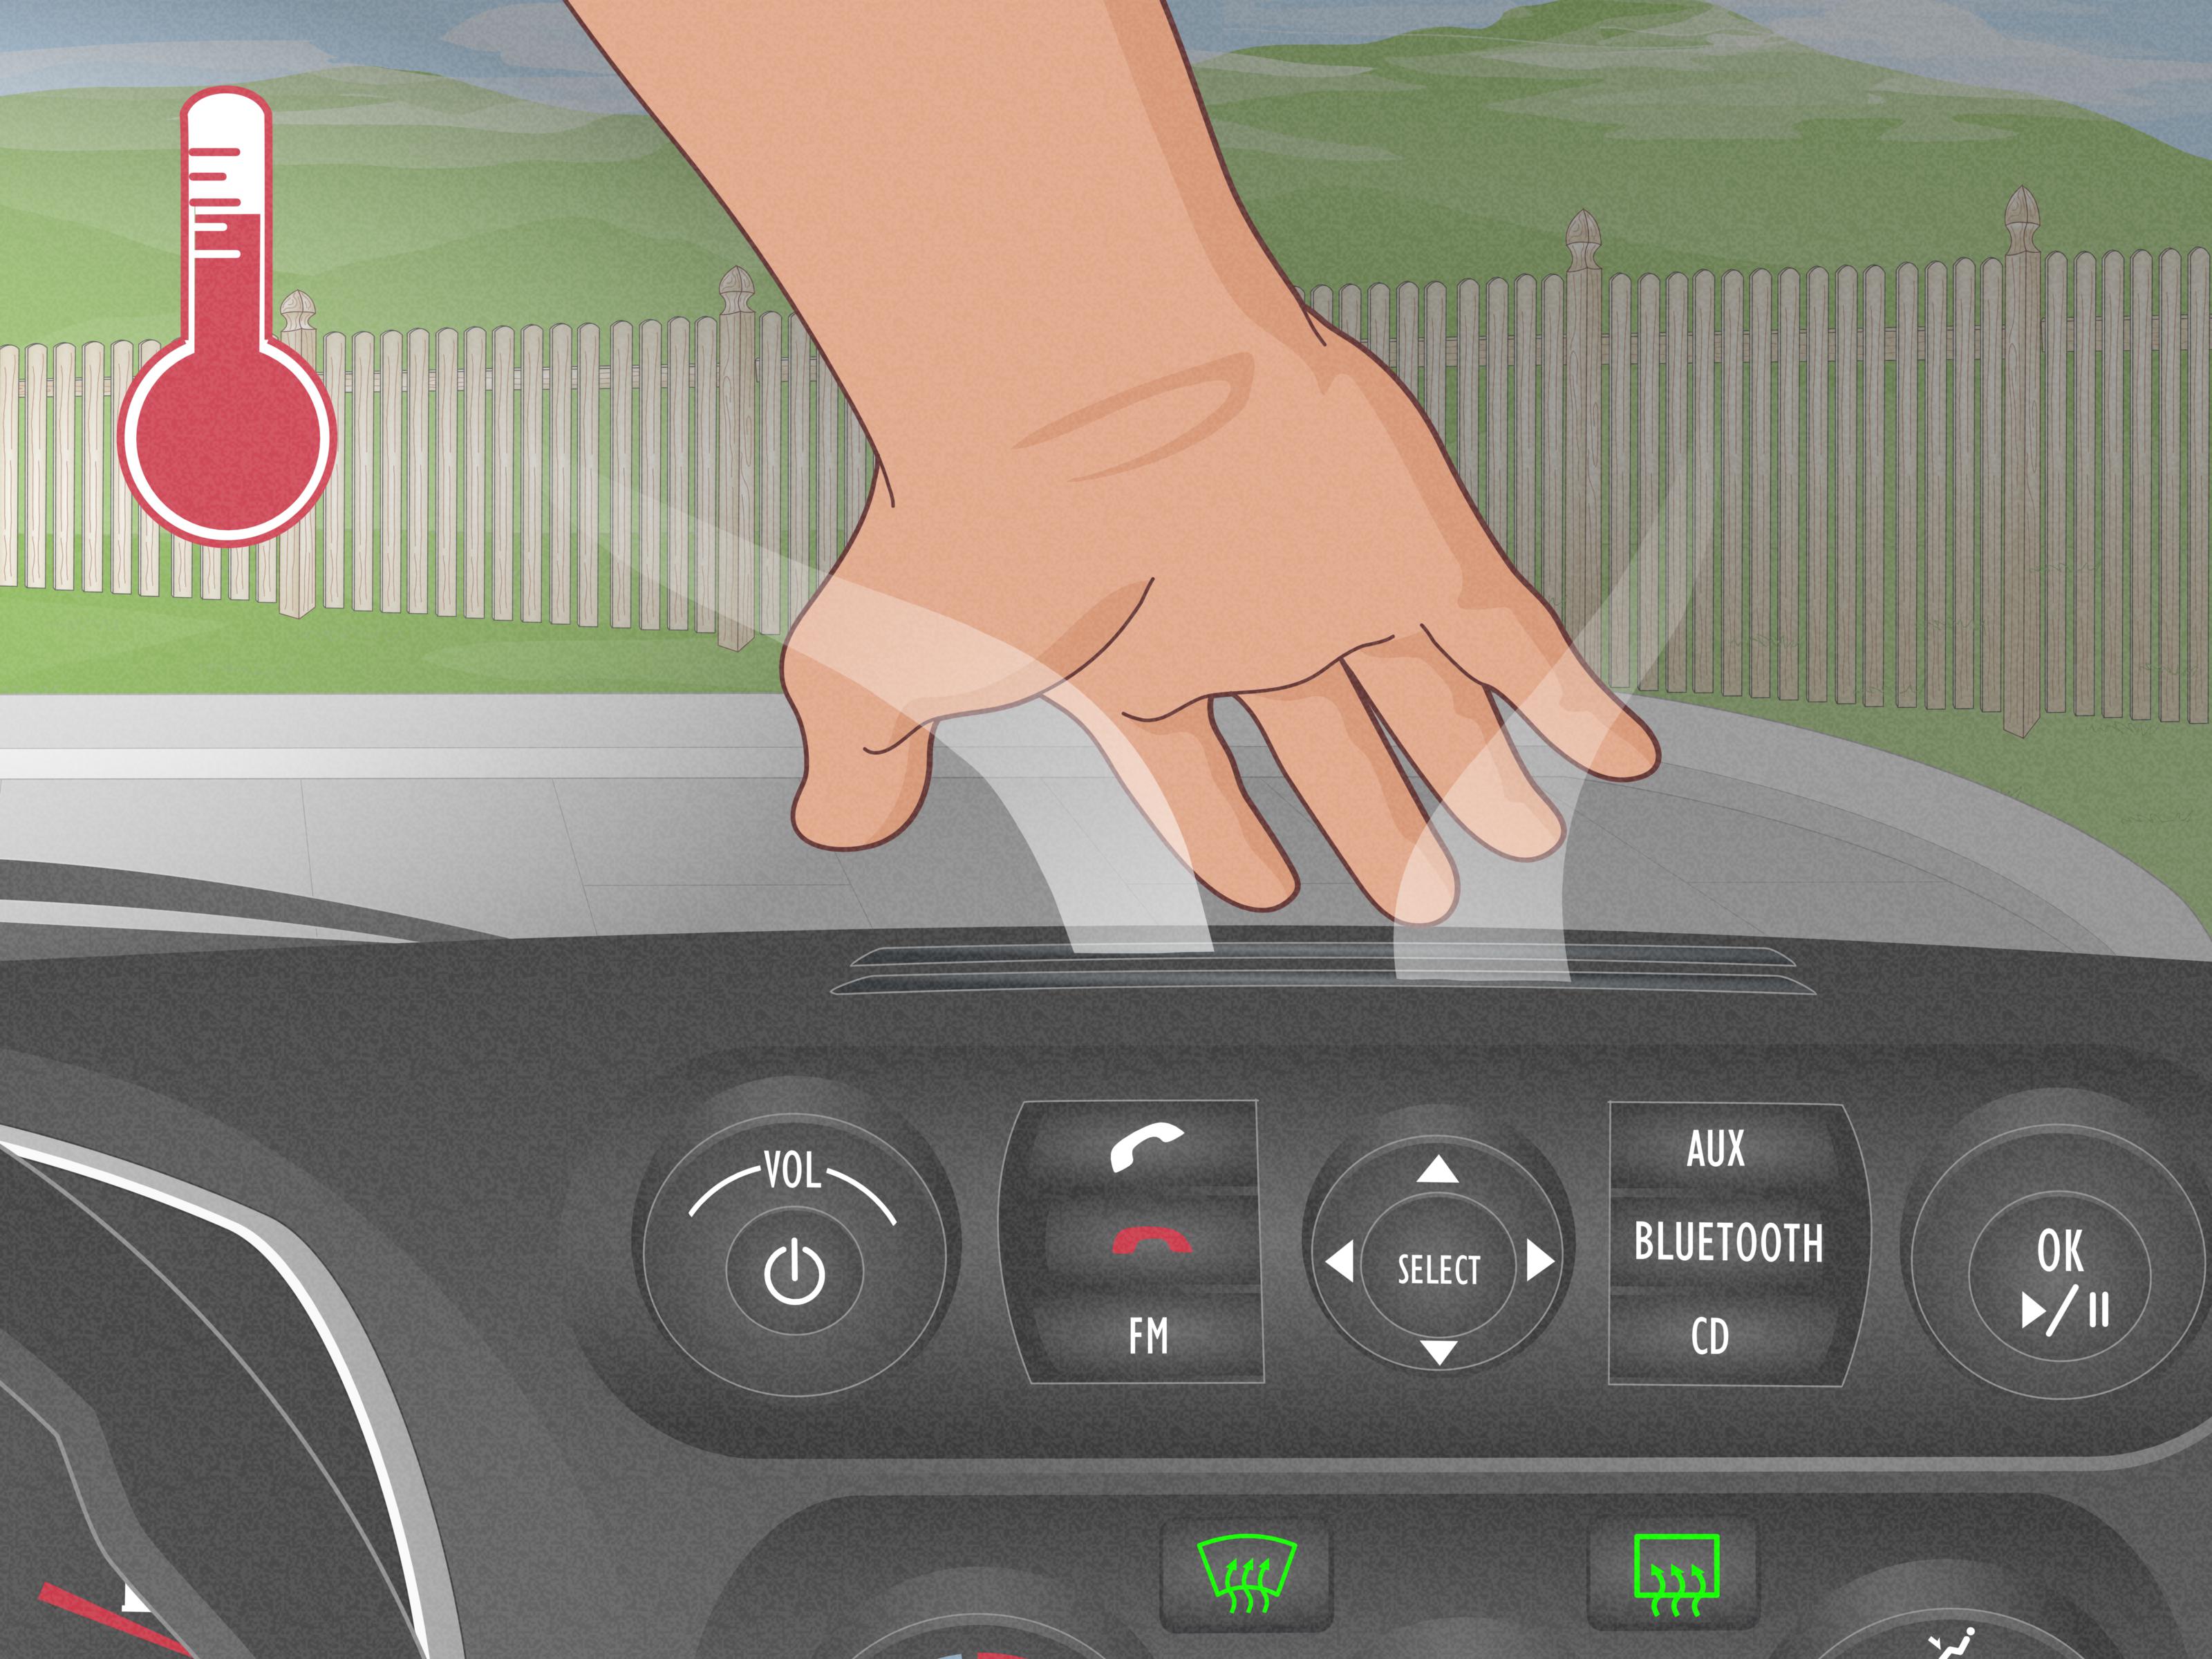
Alright, let's dive into a problem every driver faces, especially in colder climates: how to efficiently defrost the inside of your car windows. We're not just talking about scraping with a credit card; we're focusing on the *system* your car uses to combat internal condensation and ice. Understanding this system allows you to troubleshoot minor issues, optimize its performance, and potentially save yourself a trip to the mechanic. We've got the full schematic diagram available for download too, which we'll reference along the way. This discussion is geared towards the experienced DIYer, so we'll assume a basic understanding of automotive systems.
Purpose of Understanding Your Car's Defrost System
Knowing how your car's defrost system works isn't just academic; it has practical applications. First, it can help you diagnose problems. Is the air coming out lukewarm? Is the fan weak? Understanding the components lets you pinpoint potential failures. Second, it allows for optimization. Some cars have relatively weak defrost systems from the factory. Knowing the system allows you to explore modifications, like upgrading blower motors or cleaning out blocked vents. Finally, it empowers you to perform basic repairs yourself, saving money and time. Imagine diagnosing a faulty blend door actuator instead of automatically paying a mechanic hundreds of dollars.
Key Specs and Main Parts
The system we are discussing pertains specifically to defrosting the *inside* of your windshield. This relies heavily on the HVAC (Heating, Ventilation, and Air Conditioning) system, but directs the output specifically towards the windshield. The main parts involved are:
- Refrigerant Circuit: While seemingly counter-intuitive, the A/C compressor and refrigerant cycle often play a crucial role in defrosting, even in cold weather. The A/C system dehumidifies the air before it's heated, which is critical for effectively removing moisture from the windshield. Think of it as drying the air before warming it.
- Compressor: Compresses the refrigerant, increasing its temperature and pressure. Critical for the refrigerant cycle to function correctly. A malfunctioning compressor effectively disables the entire defrost function.
- Condenser: Located near the radiator, the condenser dissipates heat from the compressed refrigerant, turning it into a high-pressure liquid.
- Evaporator Core: Located inside the dashboard, the evaporator absorbs heat from the cabin air, cooling it down. This is where the air is dehumidified as moisture condenses on the cold evaporator surface.
- Heater Core: A small radiator located inside the dashboard that receives hot coolant from the engine. It heats the air blowing through the HVAC system.
- Blower Motor: This electric motor forces air through the heater core and evaporator core, and ultimately through the vents. A weak blower motor will significantly reduce the effectiveness of the defrost system.
- Blend Door: A hinged flap inside the HVAC system that controls the proportion of air flowing through the heater core. Adjusting the blend door allows you to control the temperature of the air coming out of the vents. Critical for optimal defrosting.
- Mode Door: This door directs airflow to different vents in the car (face, feet, defrost). The defrost setting forces the door to direct most airflow to the windshield vents.
- Defrost Vents: Specifically designed to distribute airflow evenly across the windshield.
- Control Panel: The buttons, knobs, or touchscreen interface that allows you to select the defrost mode, temperature, and fan speed.
Symbols and Lines in the Schematic
Schematics use specific symbols to represent each component. While the specific symbols vary slightly between manufacturers, here are some common ones:
- Solid Lines: Represent electrical wiring. Thicker lines usually indicate higher current-carrying capacity.
- Dashed Lines: Often represent vacuum lines or control cables.
- Rectangles: Typically represent electrical components like relays or control modules.
- Circles: Can represent gauges, sensors, or switches.
- Resistor Symbol (Zig-zag Line): Represents a resistor, which limits current flow.
- Ground Symbol (Downward Triangle): Indicates a connection to the chassis ground (negative terminal of the battery).
- Color Coding: Wire colors are often indicated using abbreviations (e.g., "BLU" for blue, "GRN" for green, "RED" for red).
The diagram available for download includes a legend that specifically identifies all the symbols used in that particular schematic. Understanding these symbols is key to tracing circuits and troubleshooting problems.
How It Works: The Defrost Process
Here's a simplified explanation of how the defrost system operates, assuming the "defrost" setting is selected:
- Activating the System: Selecting the defrost mode on the control panel signals the HVAC control module.
- A/C Compressor Engagement: The control module typically engages the A/C compressor, even if the temperature setting is high. This dehumidifies the air.
- Airflow Direction: The mode door is actuated, directing the majority of the airflow towards the defrost vents located at the base of the windshield.
- Heating: The blend door is adjusted to allow a significant portion (or all) of the airflow to pass through the heater core, warming the air.
- Blower Motor Operation: The blower motor forces the heated and dehumidified air through the defrost vents and onto the windshield.
The combination of warm, dry air is crucial. The warmth raises the temperature of the glass, preventing further condensation or melting existing ice. The dry air absorbs the moisture that evaporates from the windshield.
Real-World Use: Basic Troubleshooting Tips
Here are some common problems and troubleshooting tips:
- Weak Airflow: Check the blower motor resistor. This resistor controls the blower motor speed. If it fails, you might only have one or two speeds working. Also, check the cabin air filter. A clogged filter severely restricts airflow.
- No Heat: Check the engine coolant level. A low coolant level will prevent the heater core from getting hot. Also, check the blend door actuator. If it's faulty, it might not be opening the blend door to allow air to pass through the heater core. Finally, check the heater core itself for leaks or blockages.
- No A/C: If the A/C compressor isn't engaging, check the refrigerant level. Low refrigerant will prevent the compressor from turning on. Also, check the A/C compressor clutch. It might be faulty.
- Fogging Persists: Ensure the recirculation mode is *off*. Recirculating air traps moisture inside the cabin, making it harder to defrost. Clean the inside of your windshield. Dirt and grime can attract moisture.
Use a multimeter to test electrical connections. Ensure you have the correct voltage and continuity where expected based on the schematic.
Safety Considerations
Working on the HVAC system involves some risks:
- Refrigerant: Refrigerant is a hazardous chemical. Never release refrigerant into the atmosphere. If you need to evacuate the system, take it to a qualified technician with the proper equipment.
- High Voltage: The blower motor circuit can carry significant current. Disconnect the battery before working on any electrical components.
- Hot Surfaces: The heater core can get very hot. Allow the engine to cool down before working on the heater core or related components.
- Airbag System: Some HVAC components are located near the airbag system. Be extremely careful not to damage any airbag components. Mishandling airbags can result in serious injury.
Always consult the service manual for your specific vehicle before attempting any repairs. The information provided here is general in nature and may not apply to all vehicles.
Remember we have the file, and reader can download the diagram from this link.