How To Detect Ac Leak In Car
Alright, let's dive into the world of automotive AC leaks. These leaks can slowly drain your refrigerant, leaving you sweating in the summer. This guide is designed to help you, the experienced DIYer, understand how to detect AC leaks in your car. We'll cover the purpose of leak detection, key components, troubleshooting, and, most importantly, safety.
Why Bother with AC Leak Detection?
Knowing how to detect an AC leak is crucial for a few reasons:
- Cost Savings: Catching a small leak early can prevent it from becoming a major repair, saving you money on refrigerant refills and component replacements.
- Performance: Leaks reduce the AC system's efficiency, leading to poor cooling performance. Identifying and fixing leaks restores optimal cooling.
- Environmental Responsibility: Refrigerants can be harmful to the environment. Fixing leaks prevents the release of these substances into the atmosphere.
- Diagnosis: Understanding the system allows you to more accurately diagnose issues beyond just "it's not blowing cold."
Key Specs and Main Parts of an Automotive AC System
Before we get into leak detection, let's briefly review the main components of an automotive AC system:
- Compressor: The heart of the system. Compresses the refrigerant, increasing its pressure and temperature.
- Condenser: Located in front of the radiator, it dissipates heat from the high-pressure refrigerant, turning it into a high-pressure liquid.
- Receiver-Drier (or Accumulator): Filters debris and removes moisture from the refrigerant. The receiver-drier is typically found on systems with a thermal expansion valve, while the accumulator is used with an orifice tube.
- Expansion Valve (or Orifice Tube): Meters the flow of refrigerant into the evaporator, causing a pressure drop and significant temperature reduction. The expansion valve is a more sophisticated metering device than the simple orifice tube.
- Evaporator: Located inside the dashboard, it absorbs heat from the passenger compartment, cooling the air.
- Refrigerant Lines: Connect all the components, carrying the refrigerant throughout the system. These lines are typically made of aluminum or rubber.
- O-rings and Seals: Located at all connections, these prevent refrigerant from leaking. They are a common source of leaks, especially as they age and dry out.
How an AC System Works (Simplified)
The AC system operates on a closed-loop cycle. Here's a simplified explanation:
- The compressor pumps low-pressure, low-temperature refrigerant gas.
- The compressed, high-pressure, high-temperature gas flows to the condenser, where it rejects heat to the outside air and condenses into a high-pressure, high-temperature liquid.
- The high-pressure liquid refrigerant flows to the receiver-drier (or accumulator), which removes moisture and contaminants.
- The high-pressure liquid refrigerant flows to the expansion valve (or orifice tube), which meters the refrigerant and causes a pressure drop, resulting in a low-pressure, low-temperature liquid.
- The low-pressure, low-temperature liquid refrigerant flows to the evaporator, where it absorbs heat from the air passing over it, cooling the cabin. The refrigerant evaporates into a low-pressure, low-temperature gas.
- The low-pressure, low-temperature gas flows back to the compressor, and the cycle repeats.
Detecting AC Leaks: Methods and Tools
Several methods can be used to detect AC leaks. The best approach depends on the severity of the leak and the tools available.
- Visual Inspection: Look for signs of refrigerant oil residue near connections, hoses, and components. Refrigerant oil often carries a fluorescent dye, making leaks easier to spot under a UV light. This is the first and easiest step. Always wear eye protection when inspecting AC systems!
- Electronic Leak Detector: These devices are highly sensitive and can detect even small leaks. They work by sensing changes in the refrigerant concentration in the air. These are expensive but very effective.
- UV Dye and Light: Introduce a UV dye into the AC system (using a special injector). After running the AC for a while, use a UV light to inspect for leaks. The dye will glow brightly at the leak location. This is a common and relatively inexpensive method.
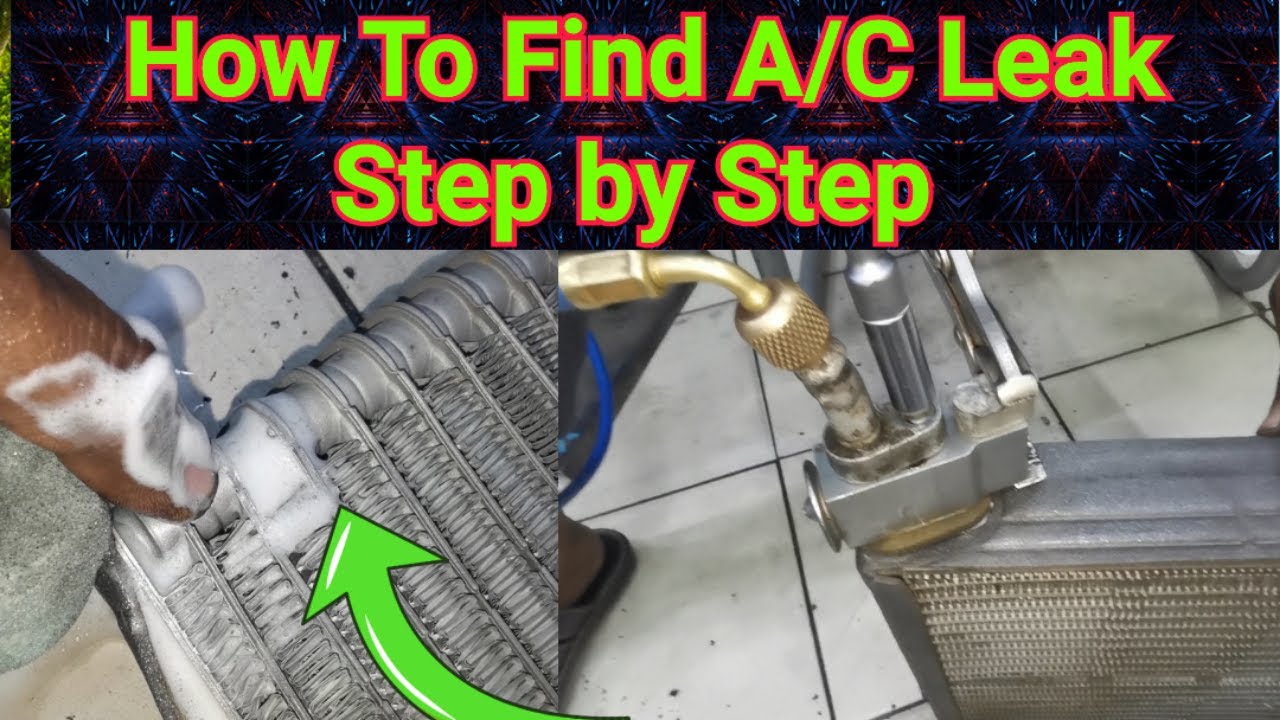
- Soap and Water Solution: Mix a solution of soap and water and apply it to connections and hoses. Look for bubbles forming, indicating a leak. This method is best for larger leaks.
- Pressure Testing: Use a manifold gauge set to monitor the high and low-side pressures of the AC system. A significant drop in pressure indicates a leak. Requires understanding of AC system pressures and operation.
Real-World Troubleshooting Tips
Here are some common AC leak locations and troubleshooting tips:
- O-rings and Seals: These are the most common leak points, especially at hose connections and component fittings. Replace worn or damaged O-rings.
- Compressor Shaft Seal: A leaking compressor shaft seal can be difficult to detect. Look for oil residue around the compressor shaft. This often requires compressor replacement or rebuild.
- Condenser: The condenser is vulnerable to damage from road debris. Inspect for bent fins and leaks, especially at the bottom.
- Evaporator: Evaporator leaks are often difficult to access, requiring dashboard removal. Look for a musty odor inside the car, which can indicate a leak.
- Hoses: Inspect hoses for cracks, damage, and leaks. Replace hoses as needed. Remember to use AC-specific hoses.
- Receiver-Drier/Accumulator: Check for leaks around the fittings and body of the unit.
Basic Troubleshooting Steps:
- Start with a visual inspection. Look for obvious signs of leaks.
- Use a UV light to check for dye leaks.
- If no leaks are found, perform a pressure test.
- If a leak is suspected but not easily found, use an electronic leak detector.
Safety First!
Working with AC systems involves handling refrigerant, which can be dangerous. Here are some important safety precautions:
- Wear safety glasses to protect your eyes from refrigerant and debris.
- Work in a well-ventilated area to avoid inhaling refrigerant fumes.
- Do not overfill the AC system. Refer to the vehicle's service manual for the correct refrigerant charge.
- Never disconnect refrigerant lines while the system is pressurized. Use a refrigerant recovery machine to safely remove the refrigerant.
- Refrigerant can cause frostbite. Avoid direct contact with liquid refrigerant.
- The compressor contains high-pressure components. Do not disassemble the compressor unless you are trained to do so.
Specifically, the high-pressure side of the system (from the compressor to the expansion valve/orifice tube) presents the greatest risk due to the elevated pressures involved.
Conclusion
Detecting AC leaks in your car requires a systematic approach and a good understanding of the system. By following these steps and using the appropriate tools, you can identify and fix leaks, restoring your AC system to optimal performance. Remember to prioritize safety when working with refrigerant and high-pressure components.
We have a detailed AC system diagram available for download to further assist you in your troubleshooting. This diagram will help you visualize the system layout and identify the location of various components. You can request the diagram and download instructions below.