How To Do A Compression Test On An Engine
A compression test is one of the most fundamental, yet incredibly informative, diagnostic procedures you can perform on an internal combustion engine. It essentially measures the peak pressure achieved within each cylinder during the compression stroke, giving you a direct indication of the health of the piston rings, valves, cylinder head gasket, and even the cylinder walls themselves. If you're experiencing a loss of power, rough idling, poor fuel economy, or difficulty starting, a compression test should be one of your first steps in troubleshooting.
Understanding Engine Compression
Before diving into the procedure, let's quickly review the basics of engine operation and compression. A typical four-stroke engine (intake, compression, combustion, exhaust) relies on creating a sealed chamber within each cylinder. As the piston moves upward during the compression stroke, it compresses the air-fuel mixture. This compression dramatically increases the temperature of the mixture, making it easier to ignite by the spark plug. The higher the compression, the more powerful the combustion, and thus, the more efficient the engine. Think of it like squeezing a spring – the tighter you squeeze, the more energy is released when it’s let go.
The compression ratio is a static value determined by the engine's design, representing the ratio of the cylinder volume at its largest (piston at bottom dead center – BDC) to its smallest (piston at top dead center – TDC). However, the compression pressure that you measure with a compression test is a dynamic value, affected by factors like engine wear, valve sealing, and even atmospheric conditions.
How Compression is Achieved
Several components are critical for maintaining proper compression:
- Piston Rings: These metallic rings fit into grooves on the piston and seal against the cylinder walls. They prevent combustion gases from leaking past the piston and into the crankcase (a phenomenon known as blow-by).
- Valves: The intake and exhaust valves open and close at precise times to allow air-fuel mixture to enter the cylinder and exhaust gases to exit. They must seal tightly against the valve seats to prevent leakage during the compression and combustion strokes.
- Cylinder Head Gasket: This gasket seals the cylinder head to the engine block, preventing leaks between the cylinders and the cooling and oil passages. A compromised head gasket can lead to loss of compression, coolant mixing with oil, or combustion gases leaking into the cooling system.
- Cylinder Walls: The inner surface of the cylinder must be smooth and round to provide a good sealing surface for the piston rings. Wear or damage to the cylinder walls can result in reduced compression.
Performing a Compression Test: The Technical Breakdown
Now, let's get to the nitty-gritty of performing a compression test. You'll need a few basic tools:
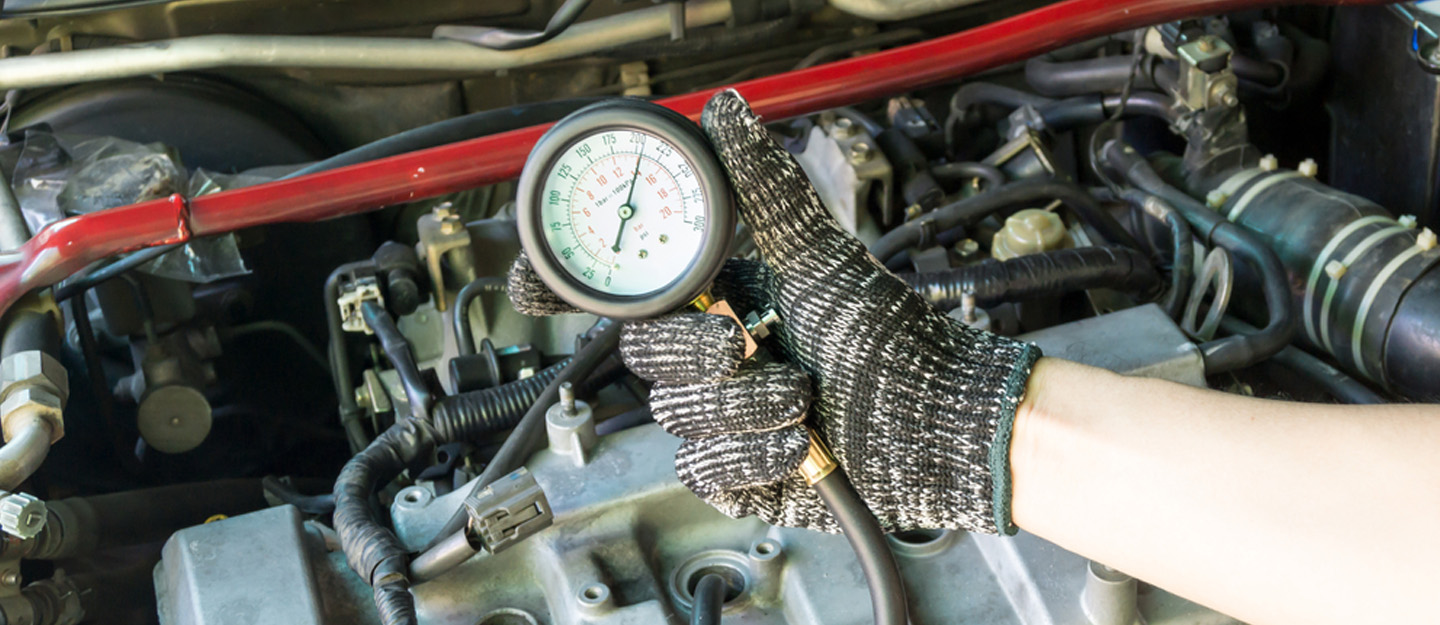
- Compression Tester: This is the most crucial tool. It typically consists of a gauge, a hose, and an adapter that screws into the spark plug hole. Choose a tester with a range appropriate for your engine (most gasoline engines have compression pressures between 120-220 PSI).
- Spark Plug Socket and Wrench: To remove and install the spark plugs.
- Socket Wrench Set: For disconnecting fuel injectors or ignition coils.
- Screwdrivers: Possibly needed to remove engine covers or air intake components.
- Battery Charger: To ensure a strong battery during cranking.
- Safety Glasses: Always protect your eyes!
- Gloves: Protect your hands.
- Service Manual: To find the correct compression specifications for your engine.
Step-by-Step Procedure
- Warm Up the Engine: Run the engine until it reaches operating temperature. This ensures that the engine components are properly expanded and that the oil is distributed throughout the engine. A cold engine can give inaccurate readings.
- Disable the Fuel System: To prevent fuel from being injected into the cylinders during the test, you need to disable the fuel injectors. This can typically be done by disconnecting the electrical connectors to the injectors. Important: Consult your vehicle's service manual for the specific procedure for disabling the fuel system on your car. On some newer cars, you may need to disconnect the fuel pump relay instead. Failure to disable the fuel system can result in fuel flooding the cylinders and potentially damaging the engine or catalytic converter.
- Disable the Ignition System: Similarly, you need to disable the ignition system to prevent the spark plugs from firing. This can usually be done by disconnecting the ignition coils or the coil pack. Again, consult your service manual for the specific procedure.
- Remove the Spark Plugs: Carefully remove all the spark plugs from the engine. Inspect the spark plugs for signs of wear, oil fouling, or other problems. Note the condition of each spark plug and which cylinder it came from, as this can provide valuable clues about engine condition.
- Install the Compression Tester: Screw the compression tester adapter into the spark plug hole of the first cylinder you want to test. Make sure the adapter is properly seated and tightened to prevent leaks.
- Crank the Engine: With the throttle held wide open (this allows maximum airflow into the cylinders), crank the engine for several seconds (typically 5-7 compression strokes). Watch the gauge on the compression tester. The needle should rise quickly and then stabilize.
- Record the Reading: Note the maximum compression pressure reading on the gauge.
- Repeat for Each Cylinder: Repeat steps 5-7 for each of the remaining cylinders.
- Analyze the Results: Compare the compression readings for each cylinder.
Interpreting the Results
Here's how to interpret the compression test results:
- Normal Compression: All cylinders have readings within the manufacturer's specifications (check your service manual). The readings are relatively consistent, with no more than a 10% difference between the highest and lowest readings.
- Low Compression in One Cylinder: This could indicate a problem with the piston rings, valves, or cylinder head gasket in that cylinder. Perform a leak-down test to further diagnose the cause.
- Low Compression in Two Adjacent Cylinders: This is a strong indication of a blown cylinder head gasket between those two cylinders.
- Consistently Low Compression in All Cylinders: This could indicate worn piston rings, worn cylinder walls, or a timing issue.
- Zero Compression in One or More Cylinders: This indicates a serious problem, such as a bent or broken valve, a hole in the piston, or a severely blown head gasket.
The "Wet" Compression Test
If you find low compression in one or more cylinders, a "wet" compression test can help determine whether the problem is with the piston rings or the valves. To perform a wet compression test, squirt a small amount of engine oil (about a tablespoon) into the cylinder through the spark plug hole. Then, repeat the compression test. If the compression reading increases significantly after adding oil, it indicates that the piston rings are likely worn. The oil helps to temporarily seal the rings against the cylinder walls, improving compression. If the compression reading does not increase significantly, it suggests that the problem is more likely with the valves.
Common Issues and Maintenance Concerns
- Dead Battery: Repeated cranking can quickly drain the battery. Use a battery charger to maintain a strong charge.
- Incorrect Adapter: Using the wrong adapter for the spark plug hole can damage the threads in the cylinder head. Make sure you use the correct adapter.
- Leaking Adapter: A leaking adapter will give inaccurate readings. Ensure the adapter is properly seated and tightened.
- Damaged Compression Tester: A faulty compression tester will obviously give inaccurate readings. Inspect the tester for damage before use.
- Forgetting to Disable Fuel and Ignition: This is a critical step! Failure to disable the fuel and ignition systems can cause serious problems.
Do's and Don'ts / Best Practices
Do's:
- Do warm up the engine before performing the test.
- Do disable the fuel and ignition systems.
- Do use the correct adapter for the spark plug hole.
- Do hold the throttle wide open during cranking.
- Do record the readings for each cylinder.
- Do consult your service manual for the correct compression specifications.
- Do use a battery charger to maintain a strong battery.
Don'ts:
- Don't perform the test on a cold engine.
- Don't forget to disable the fuel and ignition systems.
- Don't use the wrong adapter.
- Don't over-tighten the adapter.
- Don't crank the engine for too long at once.
- Don't ignore safety precautions.
Conclusion
Performing a compression test is a valuable diagnostic tool for assessing the health of your engine. While it might seem intimidating at first, following these steps carefully and consulting your service manual will give you the knowledge to obtain accurate readings. If you're unsure about any part of the procedure, it's always best to consult with a qualified mechanic. However, with a little patience and attention to detail, you can confidently perform a compression test and gain a better understanding of the condition of your engine. A compression test is one of the cheapest and most effective way to get a good understanding of your engines internals. Always remember, data is king!