How To Do A Oil Change
So, you're ready to tackle an oil change yourself? Excellent! It's one of the most fundamental maintenance tasks you can perform on your vehicle, and with the right tools and knowledge, it's a relatively straightforward process. This article will provide a comprehensive guide to performing an oil change, aimed at the experienced DIYer. We'll cover everything from necessary tools and safety precautions to step-by-step instructions and troubleshooting tips.
Purpose of Regular Oil Changes
Before diving into the "how-to," let's quickly cover the "why." Engine oil serves several critical functions: lubricating moving parts to reduce friction and wear, cooling the engine by carrying away heat, cleaning the engine by suspending contaminants, and sealing the piston rings against the cylinder walls. Over time, oil degrades due to heat, contamination, and sheer mechanical breakdown. This leads to reduced lubrication, increased wear, overheating, and sludge buildup. Regular oil changes are essential to remove this degraded oil and replace it with fresh, clean oil, ensuring optimal engine performance and longevity.
Key Specs and Main Parts
Understanding the components involved is crucial. Here's a breakdown of the key specs and parts you'll be dealing with:
Key Specs:
- Oil Type: Your vehicle's owner's manual specifies the correct oil viscosity (e.g., 5W-30) and oil type (conventional, synthetic, or synthetic blend). Using the wrong type or viscosity can negatively impact engine performance and longevity. Always consult your manual!
- Oil Filter: Choose a high-quality oil filter compatible with your vehicle. Filters come in various sizes and materials. Again, consult your owner's manual or parts retailer.
- Oil Capacity: This is the amount of oil your engine requires, typically measured in quarts or liters. Overfilling or underfilling the engine can cause damage. Refer to your owner's manual.
- Torque Specs: The drain plug and oil filter have specific torque requirements to ensure a proper seal without overtightening. Overtightening can strip threads or damage the filter. Use a torque wrench!
Main Parts:
- Oil Drain Plug: Located at the bottom of the oil pan, this plug is removed to drain the old oil.
- Oil Filter: This filter removes contaminants from the oil.
- Oil Pan: This reservoir holds the engine oil.
- Oil Fill Cap: Located on top of the engine, this is where you add new oil.
- Dipstick: Used to check the oil level.
The Oil Change Process: A Step-by-Step Guide
Now, let's get our hands dirty. Here's a detailed guide to performing an oil change:
- Gather Your Supplies:
Before you begin, gather all the necessary tools and materials. This includes:
- New oil (correct type and quantity)
- New oil filter
- Wrench for drain plug (typically a socket or box-end wrench)
- Oil filter wrench
- Torque wrench
- Oil drain pan
- Funnel
- Gloves
- Rags or shop towels
- Jack and jack stands (if needed to access the drain plug)
- Wheel chocks
- Prepare the Vehicle:
Park the vehicle on a level surface. Engage the parking brake and use wheel chocks for added safety. If necessary, use a jack to raise the vehicle to access the drain plug. Always use jack stands to support the vehicle before working underneath it. Never rely solely on the jack!
- Warm the Engine (Optional):
Running the engine for a few minutes (2-3 minutes) can help warm the oil, making it flow more easily. However, be careful not to overheat the oil. Avoid running the engine for too long.
- Locate and Remove the Drain Plug:
Position the oil drain pan under the drain plug. Using the correct wrench, carefully loosen and remove the drain plug. Be prepared for the oil to flow out. Let the oil drain completely. This may take 15-30 minutes.
- Remove the Old Oil Filter:
While the oil is draining, locate the oil filter. Position the drain pan underneath the filter to catch any spills. Use the oil filter wrench to loosen and remove the old filter. Be careful, as the filter will contain some oil.
- Prepare and Install the New Oil Filter:
Lightly lubricate the rubber gasket on the new oil filter with fresh oil. This helps create a good seal. Screw the new filter onto the engine by hand until the gasket makes contact, then tighten it another 1/2 to 3/4 of a turn, according to the filter manufacturer's instructions. Avoid overtightening.
- Reinstall the Drain Plug:
Clean the drain plug and install a new crush washer (if applicable). Tighten the drain plug to the manufacturer's specified torque using a torque wrench. Overtightening can damage the oil pan.
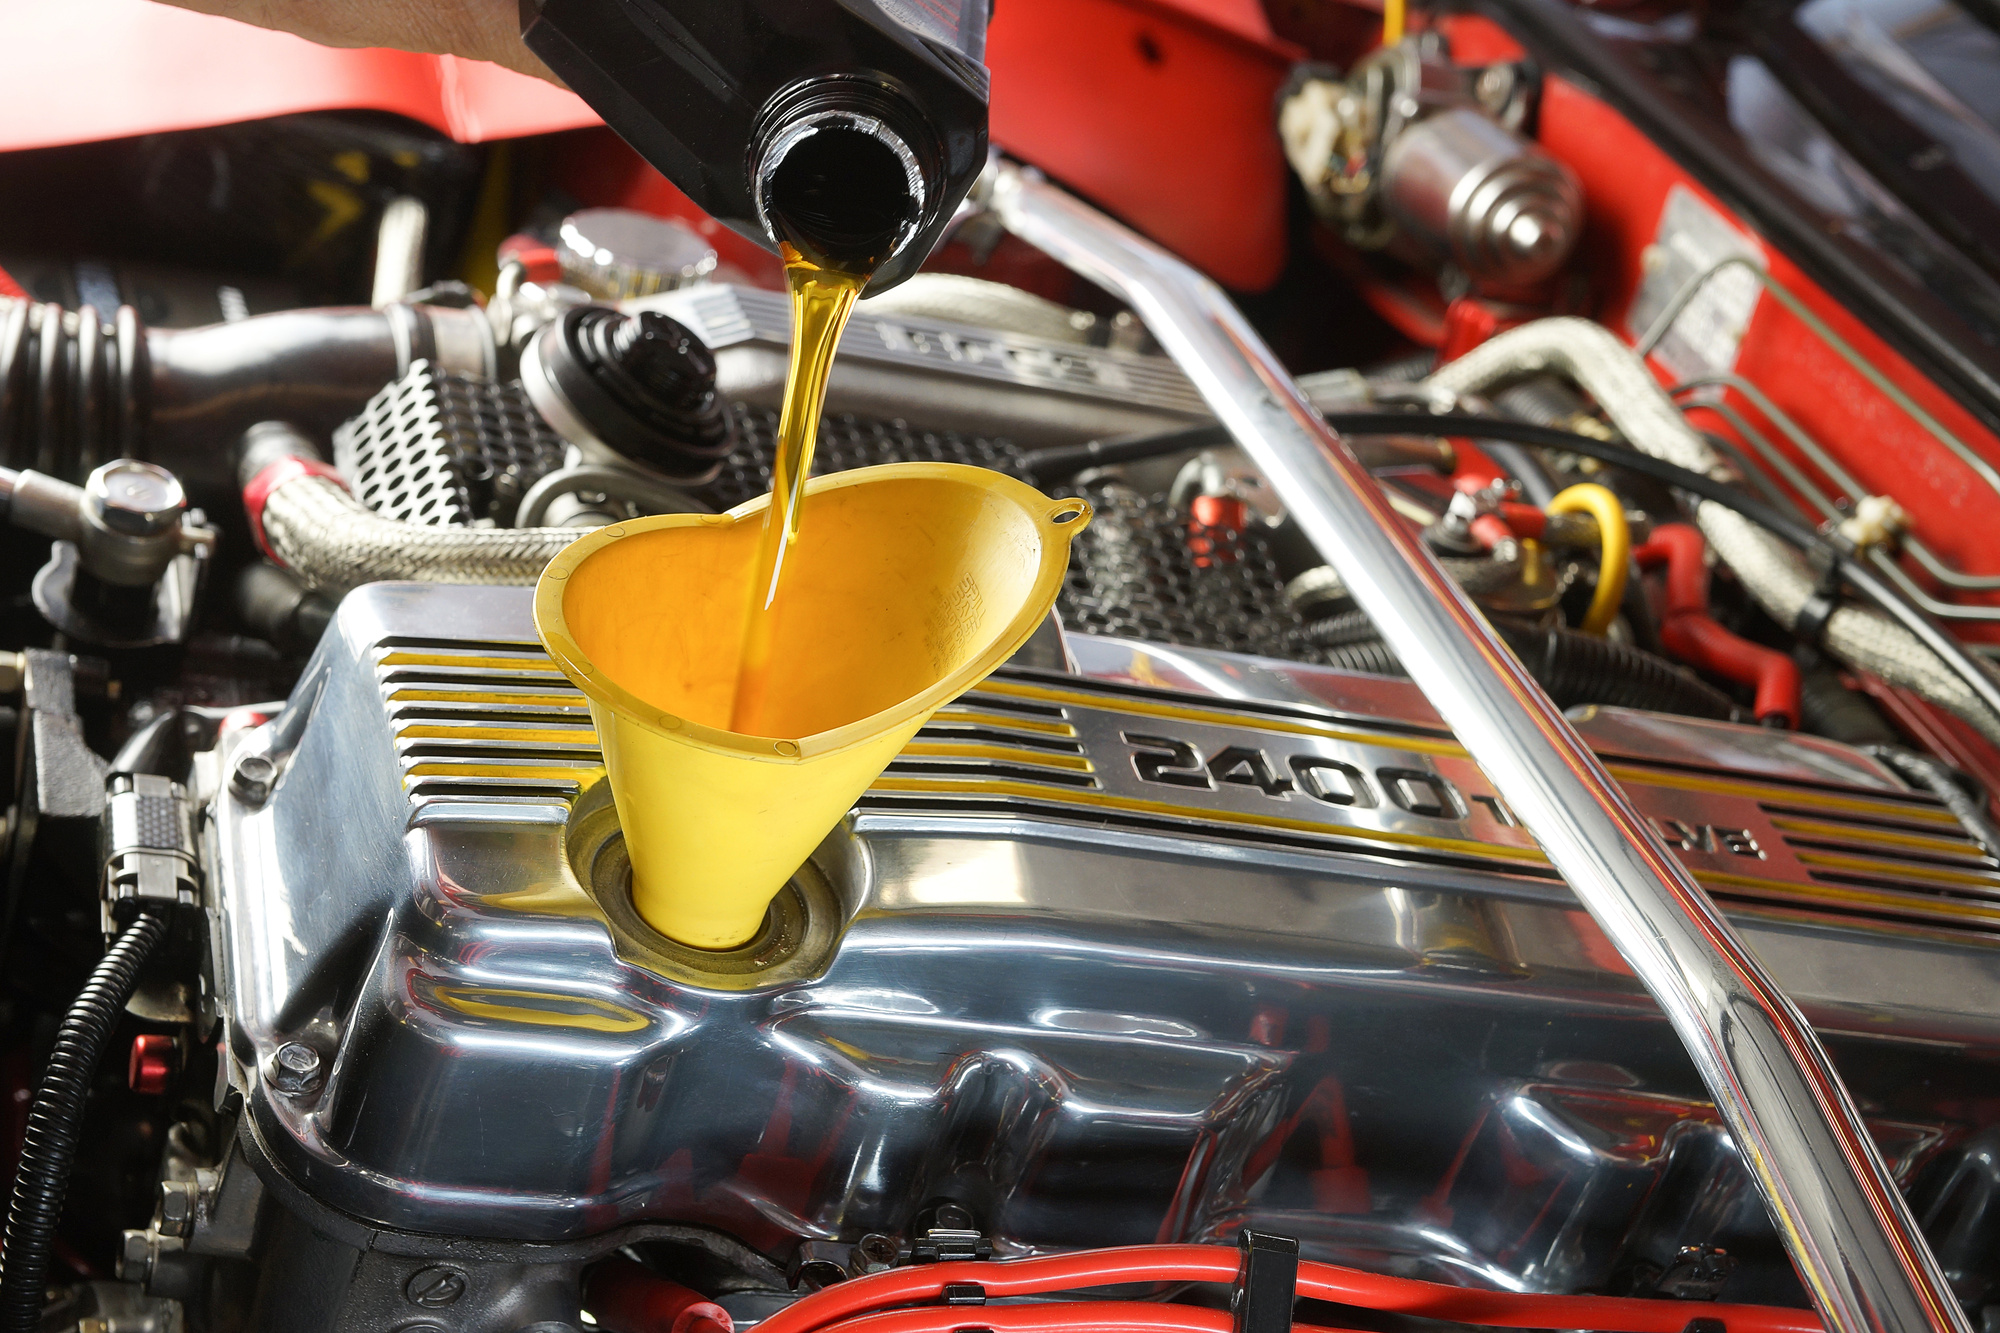
- Add New Oil:
Locate the oil fill cap and remove it. Using a funnel, carefully pour the correct amount of new oil into the engine, as specified in your owner's manual. Start with slightly less than the recommended amount and check the dipstick.
- Check the Oil Level:
Wait a few minutes for the oil to settle, then check the oil level using the dipstick. The oil level should be between the "MIN" and "MAX" marks. Add more oil as needed to reach the correct level. Be careful not to overfill.
- Start the Engine and Check for Leaks:
Start the engine and let it run for a few minutes. Check for any leaks around the drain plug and oil filter. If you see any leaks, immediately shut off the engine and tighten the drain plug or filter as needed.
- Reset the Oil Life Monitoring System:
Many modern vehicles have an oil life monitoring system that needs to be reset after an oil change. Consult your owner's manual for instructions on how to reset this system.
- Dispose of the Used Oil and Filter Properly:
Take the used oil and oil filter to a recycling center or auto parts store for proper disposal. Do not pour used oil down the drain or into the ground.
Real-World Use – Basic Troubleshooting Tips
- Stripped Drain Plug Threads: This is a common problem caused by overtightening. If you strip the threads, you'll need to repair or replace the oil pan. A temporary fix might involve using an oversized drain plug, but this is not a permanent solution.
- Oil Filter Leaks: Usually caused by an improperly installed oil filter or a damaged gasket. Make sure the gasket is properly lubricated and the filter is tightened to the correct specifications.
- Difficulty Removing the Oil Filter: Use an oil filter wrench with a good grip. If the filter is stuck, you can try piercing it with a screwdriver and using it for leverage (be very careful!).
- Low Oil Pressure After Oil Change: This could indicate a serious problem, such as a clogged oil pump or a faulty oil pressure sensor. Stop the engine immediately and have it inspected by a qualified mechanic. Never ignore low oil pressure!
Safety – Highlight Risky Components
Oil changes involve working with potentially hazardous materials and equipment. Here are some crucial safety precautions:
- Hot Engine: Be extremely careful when working on a hot engine. Hot oil and engine components can cause severe burns. Allow the engine to cool down sufficiently before starting.
- Jack Stands: Never work under a vehicle supported only by a jack. Always use jack stands! A jack can fail, causing the vehicle to collapse.
- Used Oil: Used oil contains harmful contaminants. Wear gloves to protect your skin and avoid contact with your eyes.
- Proper Disposal: Dispose of used oil and filters responsibly. Never pour used oil down the drain or into the ground.
Performing an oil change is a rewarding experience that can save you money and increase your understanding of your vehicle. By following these instructions and taking the necessary safety precautions, you can confidently tackle this essential maintenance task. Remember, if you're unsure about any step, consult a qualified mechanic.
We have a detailed diagram of a generic engine lubrication system available for download, showing the flow of oil through the engine and the location of key components. This diagram can be a valuable resource for further understanding the oil change process and troubleshooting potential problems. This visual aid provides a clearer perspective of the whole system!