How To Do An Oil Change
So, you're ready to tackle an oil change yourself? Excellent! It's a satisfying skill to have and can save you a good chunk of change in the long run. This guide is aimed at the intermediate DIYer, so we'll skip the absolute basics and dive into the nitty-gritty, focusing on best practices and common pitfalls. We'll cover everything from preparing your workspace to properly disposing of the used oil. Let's get started!
Purpose of an Oil Change and Why It Matters
The primary purpose of an oil change is to maintain optimal engine lubrication. Engine oil lubricates the various moving parts within your engine, reducing friction and wear. Over time, oil degrades due to heat, contaminants (like dirt and metal particles), and the combustion process itself. This degradation leads to reduced viscosity (thickness), meaning it can't effectively lubricate those vital engine components. Old, dirty oil can also lead to sludge buildup, which further restricts oil flow and can cause serious engine damage. Regular oil changes are therefore crucial for engine longevity, performance, and fuel efficiency. Neglecting oil changes can lead to costly repairs down the line, ranging from premature wear of bearings and piston rings to complete engine failure.
Key Specs and Main Parts
Before you even think about getting under the car, you need to gather the right parts and specs. This isn't a one-size-fits-all situation; consult your owner's manual for the precise specifications for your vehicle. Here’s what you'll need:
- New Oil: The correct weight (viscosity) and type (synthetic, semi-synthetic, or conventional) as specified in your owner's manual. Common examples are 5W-30, 10W-30, and 0W-20.
- New Oil Filter: Make sure it's the correct filter for your vehicle's engine. There are many different sizes and thread types. Cross-reference the part number with your vehicle's specifications. Using the wrong filter can lead to leaks or even engine damage.
- New Drain Plug Washer/Gasket: This is a small, often overlooked part, but it's essential for creating a tight seal between the drain plug and the oil pan. Replace it every time you change your oil to prevent leaks. Copper, aluminum, or fiber washers are common.
And of course, you'll need the right tools:
- Wrench or Socket Set: To remove the drain plug and oil filter. The size of the drain plug wrench is specific to your vehicle.
- Oil Filter Wrench: There are several types available, including cap-type, strap-type, and claw-type wrenches. Choose the one that best fits your filter and provides good leverage.
- Oil Drain Pan: A large container to catch the used oil. Make sure it has adequate capacity to hold all of the oil from your engine.
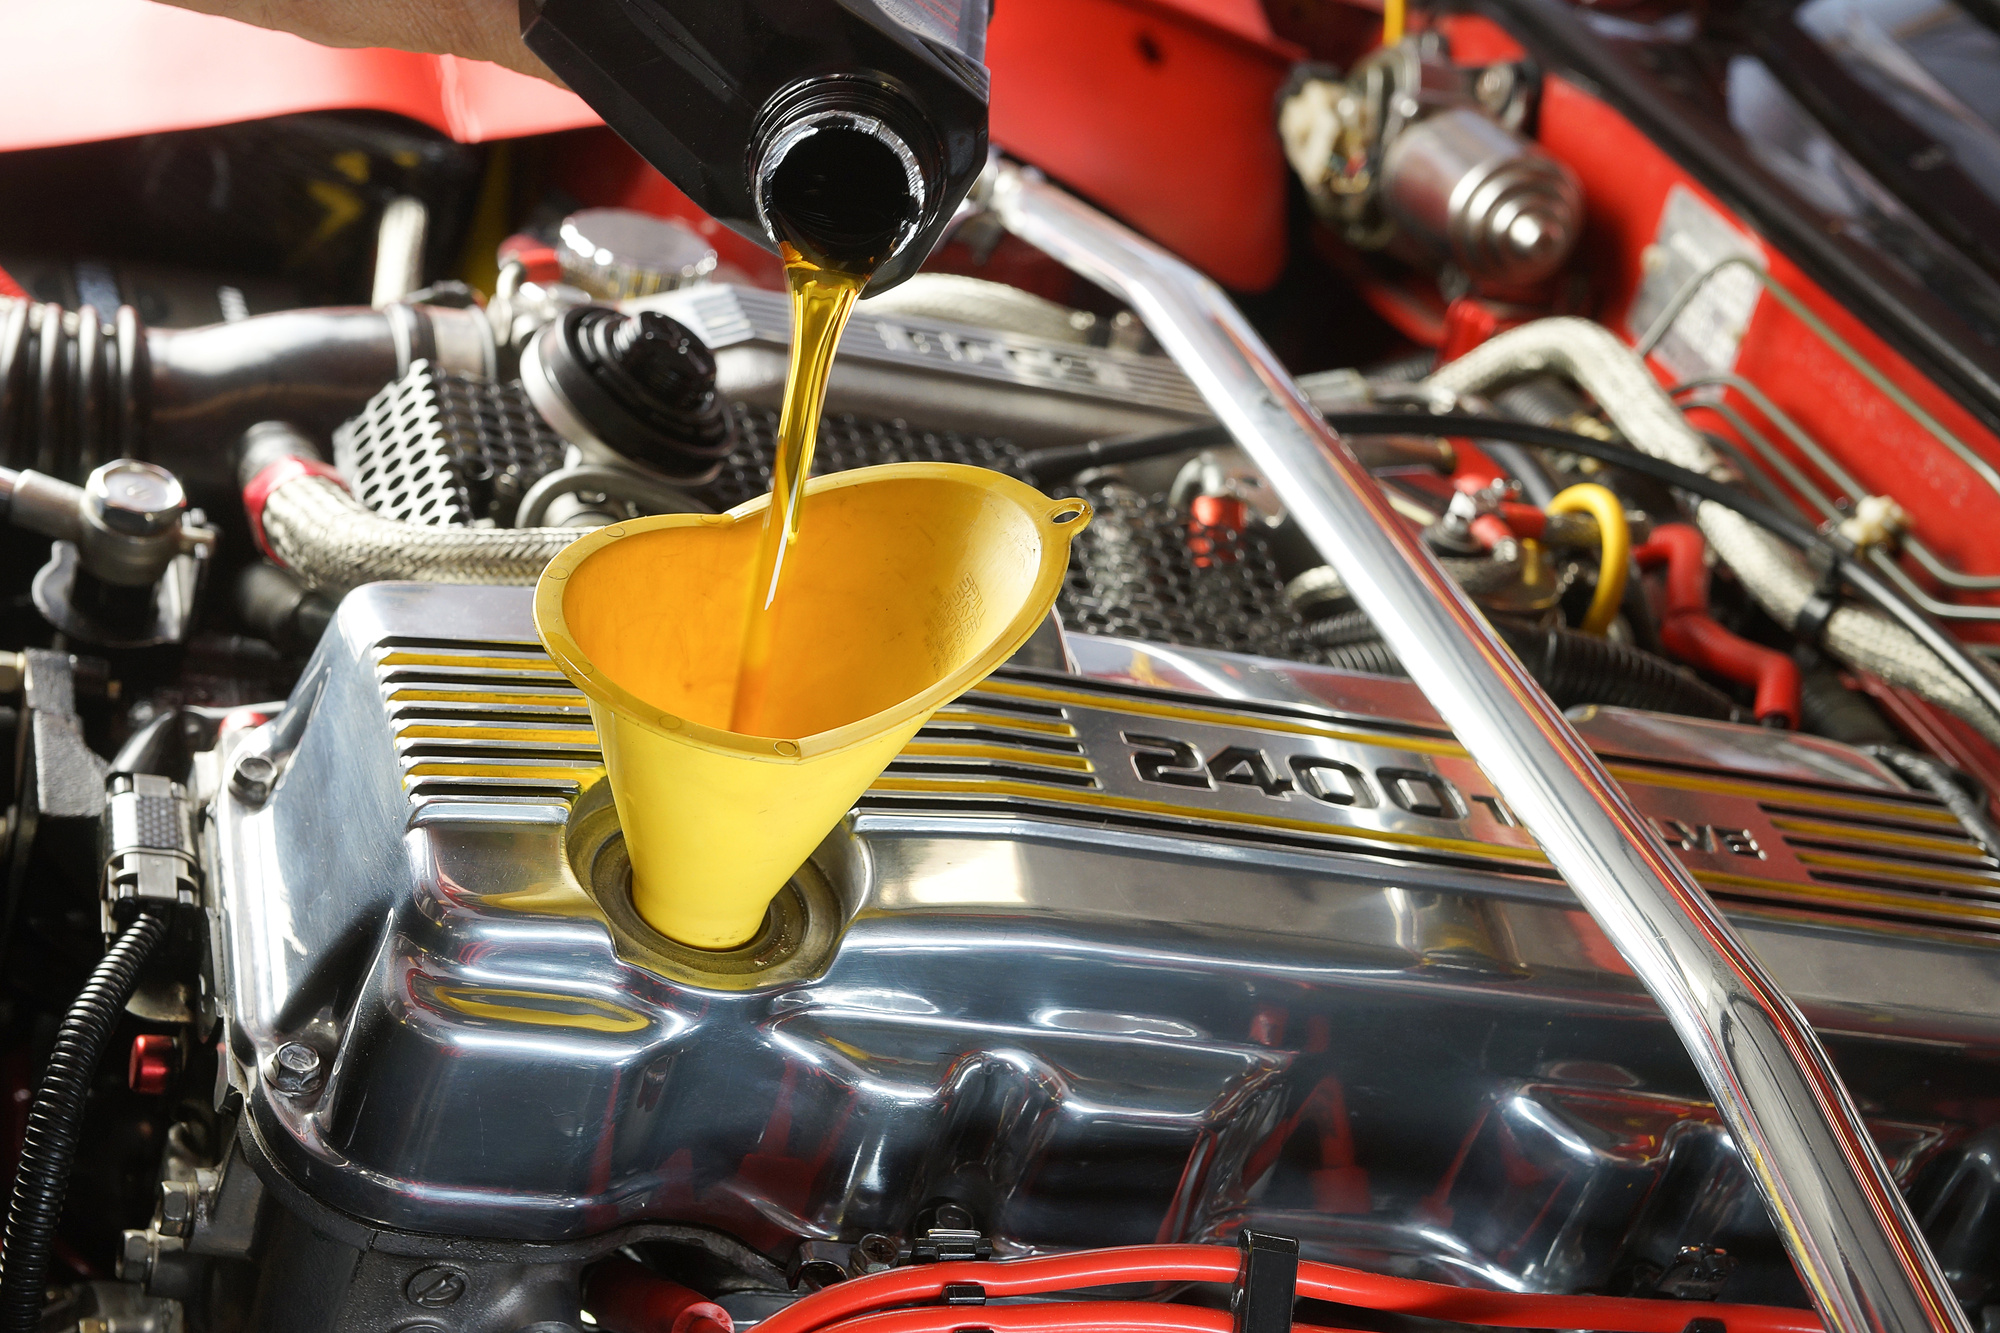
- Funnel: To pour the new oil into the engine without spilling.
- Jack and Jack Stands: To safely lift your vehicle. Never work under a vehicle supported only by a jack.
- Gloves: To protect your hands from dirty oil.
- Rags or Shop Towels: For cleaning up spills.
- Wheel Chocks: To prevent the vehicle from rolling.
The Oil Change Process: A Step-by-Step Guide
- Preparation: Warm up the engine slightly (a few minutes is sufficient). This helps the oil flow more easily. Park the vehicle on a level surface, engage the parking brake, and chock the rear wheels. Gather all your tools and supplies.
- Lifting the Vehicle: Consult your owner's manual for the correct jacking points. Use a jack to lift the vehicle and securely place jack stands under the frame. Ensure the jack stands are properly seated and stable before proceeding.
- Locating the Drain Plug: Identify the oil drain plug on the bottom of the oil pan. It's typically a large bolt at the lowest point of the pan.
- Draining the Old Oil: Position the oil drain pan under the drain plug. Carefully loosen the drain plug with the correct wrench or socket. Unscrew the plug by hand, being prepared for the oil to gush out. Let the oil drain completely, which can take 15-20 minutes.
- Removing the Oil Filter: While the oil is draining, locate the oil filter. It's usually a cylindrical canister screwed onto the engine block. Use the oil filter wrench to loosen the filter. Be prepared for some residual oil to spill when you remove the filter. Have a rag handy to catch the drips.
- Preparing the New Oil Filter: Lightly lubricate the rubber gasket on the new oil filter with fresh oil. This helps create a good seal and prevents the gasket from sticking to the engine block.
- Installing the New Oil Filter: Screw the new oil filter onto the engine block by hand until the gasket makes contact. Then, tighten it an additional 1/2 to 3/4 of a turn as specified on the filter. Do not overtighten.
- Replacing the Drain Plug: Once the oil has completely drained, clean the drain plug and install a new drain plug washer/gasket. Tighten the drain plug to the manufacturer's specified torque using a torque wrench. Overtightening can damage the oil pan. Consult your service manual for the correct torque spec.
- Adding New Oil: Locate the oil fill cap on top of the engine. Remove the cap and insert a funnel. Pour in the amount of oil specified in your owner's manual. Start with slightly less than the specified amount, as you can always add more later.
- Checking the Oil Level: Remove the dipstick, wipe it clean, and reinsert it. Pull it out again and check the oil level. Add more oil as needed to reach the "full" mark on the dipstick.
- Running the Engine: Start the engine and let it run for a few minutes. Check for leaks around the drain plug and oil filter.
- Final Check: Turn off the engine and let it sit for a few minutes. Recheck the oil level and add more oil if necessary. Make sure the oil pressure light on the dashboard goes out after starting the engine.
- Disposing of Used Oil: Properly dispose of the used oil and filter at a designated recycling center or auto parts store. Do not pour used oil down the drain or into the ground.
Real-World Use: Basic Troubleshooting Tips
- Drain Plug Stripped: If the drain plug is stripped, you may need to use a slightly larger self-tapping drain plug or, in severe cases, replace the oil pan.
- Oil Filter Stuck: If the oil filter is stuck, try using a different type of oil filter wrench for better leverage. As a last resort, you can puncture the filter with a screwdriver and use it as a lever, but be extremely careful to avoid damaging the engine.
- Oil Leak After Change: If you notice an oil leak after the oil change, check the drain plug and oil filter to ensure they are properly tightened. Also, make sure the drain plug washer/gasket is new and correctly installed.
- Oil Pressure Light Stays On: If the oil pressure light stays on after the oil change, immediately turn off the engine and check the oil level. If the oil level is correct, there may be a more serious issue with the oil pump or engine. Consult a professional mechanic.
Safety Considerations
Working on vehicles involves inherent risks. Here are some key safety precautions:
- Never work under a vehicle supported only by a jack. Always use jack stands placed on solid, level ground.
- Wear safety glasses to protect your eyes from splashing oil or debris.
- Wear gloves to protect your hands from dirty oil and chemicals.
- Be careful when working with hot engine components. Allow the engine to cool down sufficiently before starting the oil change.
- Clean up any spills immediately to prevent slips and falls.
- Properly dispose of used oil and filters to protect the environment.
Final Thoughts
Changing your own oil is a rewarding experience. By following these steps and taking necessary precautions, you can save money and gain a better understanding of your vehicle. Remember to always consult your owner's manual for specific instructions and specifications for your car. And most importantly, be safe!
We have the detailed diagram covering all the components mentioned in this article, including torque specs and specific locations, in a downloadable PDF format. Feel free to download and reference it for your next oil change.