How To Do Compression Test On Engine
So, you suspect your engine isn’t running at its peak? Maybe it's lacking power, burning oil, or you're just hearing some unusual noises. One of the most informative tests you can perform is a compression test. It's a relatively straightforward procedure that can give you a solid understanding of the health of your engine's cylinders. This article will guide you through the process, explaining the theory behind it and the best practices to ensure accurate results.
Background: The Internal Combustion Engine and Compression
Before diving into the “how-to,” let’s briefly recap the basics of the four-stroke engine. The four strokes are intake, compression, combustion (or power), and exhaust. During the compression stroke, the piston moves upwards in the cylinder, compressing the air-fuel mixture. This compression is crucial. The higher the compression ratio, the greater the potential energy released during combustion. A healthy engine will have consistent and sufficiently high compression across all cylinders. A loss of compression indicates a problem within that cylinder.
Several factors contribute to compression: the seal between the piston rings and the cylinder wall, the integrity of the intake and exhaust valves, and the cylinder head gasket. If any of these are compromised, compression will leak, resulting in reduced engine performance and potential damage. Therefore, a compression test is essential diagnostic tool.
Technical Breakdown: How a Compression Test Works
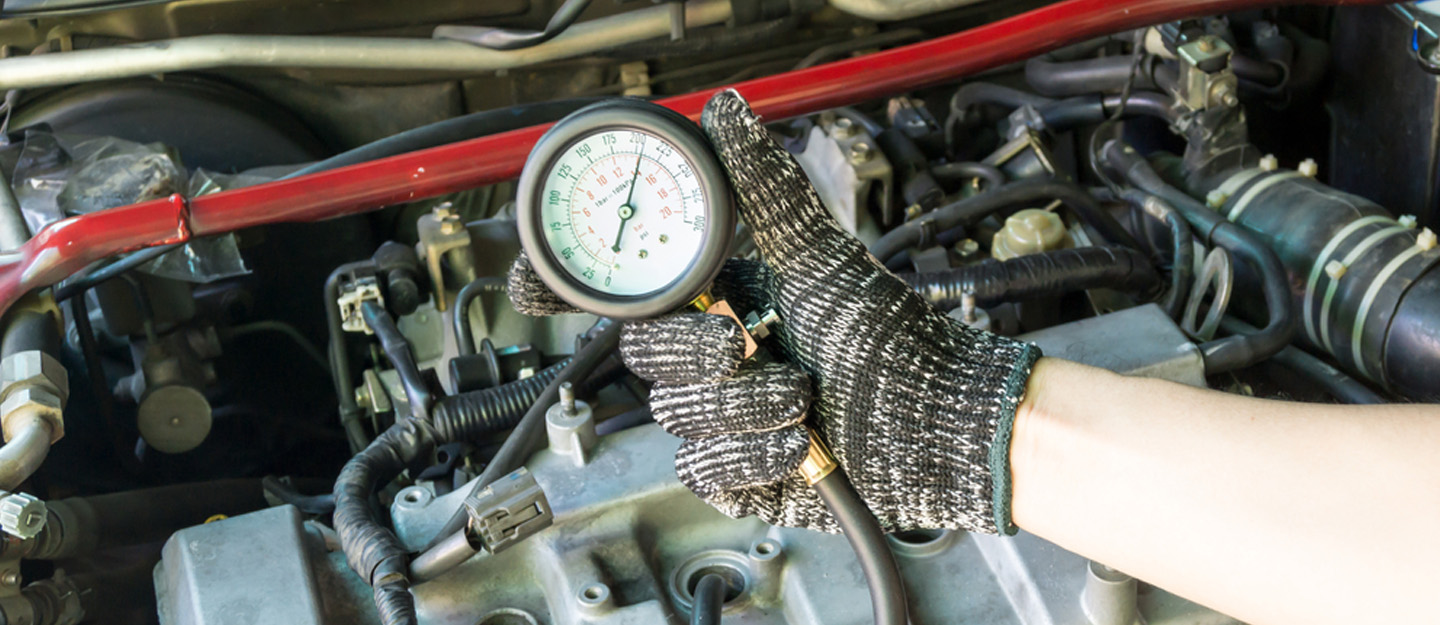
The compression test measures the maximum pressure achieved within each cylinder during the compression stroke. This is done using a compression tester, which is essentially a pressure gauge with a one-way valve. Here's the detailed step-by-step process:
1. Preparation is Key
Safety First! Disconnect the negative battery cable. This prevents accidental starting of the engine, which could damage the compression tester and potentially cause injury. It's also wise to wear safety glasses throughout the process.
Warm Up the Engine (Slightly): Run the engine briefly – just long enough to take the chill off, a couple of minutes should suffice. Do not let the engine reach operating temperature. A slightly warm engine ensures the piston rings and other components are expanded to their normal operating clearances, providing a more accurate reading. But too hot can be dangerous while removing spark plugs.
Gather Your Tools: You'll need:
- A compression tester (with various adapter sizes to fit your spark plug holes)
- Spark plug socket and wrench
- Socket wrench with extensions
- Screwdriver (various sizes)
- Pen and paper (to record your readings)
- Throttle plate prop (optional, but helpful)
2. Accessing the Cylinders
Remove the Spark Plugs: This step provides access to the cylinders. Label each spark plug wire or coil pack with the corresponding cylinder number before disconnecting them. This is crucial to avoid misfiring issues when reinstalling them. Use the spark plug socket and wrench to carefully remove each spark plug. Inspect the spark plugs as you remove them. The condition of the spark plug can provide clues about the health of the cylinder. For example, oil fouling suggests worn piston rings or valve stem seals. Carbon fouling suggests a rich fuel mixture.
Disable the Fuel and Ignition Systems: This step prevents fuel from entering the cylinders during the test. For fuel injection systems, you'll typically want to disconnect the fuel pump relay or fuse. Consult your vehicle's repair manual for the specific location. For the ignition system, you'll typically want to disconnect the primary wire(s) to the ignition coil or disable the electronic ignition module. Again, consult your repair manual. This ensures no fuel is injected and no spark is generated, preventing potential fires or damage to the engine.
Open the Throttle Plate: This is crucial for allowing maximum airflow into the cylinders during the test. Use a throttle plate prop (a simple piece of wood or metal) or have an assistant hold the throttle fully open. A closed or partially closed throttle plate will restrict airflow and result in artificially low compression readings.
3. Performing the Test
Install the Compression Tester: Select the correct adapter for your spark plug hole and screw the compression tester hose into the first cylinder's spark plug hole. Make sure it's snug but not overtightened. Some testers use a rubber cone that you press into the spark plug hole. If using this type, hold it firmly in place to maintain a good seal.
Crank the Engine: With the compression tester installed, crank the engine for approximately 5-7 revolutions (or until the needle on the gauge stops rising). Watch the gauge carefully and record the highest reading achieved. It is crucial to be consistent in the amount of revolutions done on each cylinder.
Repeat for All Cylinders: Remove the compression tester from the first cylinder and repeat the process for the remaining cylinders, carefully recording each reading.
4. Interpreting the Results
Compare the Readings: Analyze your recorded data. A healthy engine will have compression readings within a specified range (consult your vehicle's repair manual for the exact specifications). More importantly, the compression readings should be relatively consistent across all cylinders. Generally, a difference of more than 10-15% between the highest and lowest readings indicates a problem.
Low Compression in One Cylinder: If you find low compression in one or more cylinders, it suggests a potential issue with that cylinder's piston rings, valves, or head gasket.
The "Wet" Compression Test: To further diagnose the problem, perform a "wet" compression test. Add a small amount of engine oil (about a tablespoon) into the cylinder with low compression through the spark plug hole. Repeat the compression test. If the compression reading increases significantly after adding oil, it indicates that the piston rings are likely the source of the leak. The oil temporarily seals the gap between the rings and the cylinder wall, improving compression. If the reading does not improve significantly, it suggests a problem with the valves (e.g., a burned or bent valve) or the head gasket.
Common Issues and Maintenance Concerns
Several things can cause compression problems. Here are a few common culprits:
- Worn Piston Rings: As the engine ages, the piston rings can wear down, leading to reduced compression.
- Leaking Valves: Valves that are not seating properly (due to carbon buildup, damage, or improper adjustment) can cause compression leaks.
- Blown Head Gasket: A damaged head gasket can allow compression to leak between cylinders or into the cooling system.
- Cracked Cylinder Head or Block: In rare cases, cracks in the cylinder head or block can also cause compression loss.
Regular engine maintenance, including oil changes and valve adjustments (if applicable), can help prevent compression problems. Using high-quality engine oil and avoiding excessive engine idling can also extend the life of your engine components.
Do’s and Don’ts / Best Practices
Do's:
- Consult your repair manual: Always refer to your vehicle's repair manual for specific instructions and compression specifications.
- Use a quality compression tester: Invest in a reputable compression tester for accurate and reliable results.
- Warm the engine slightly: A slightly warm engine provides more accurate readings.
- Disable the fuel and ignition systems: This prevents fuel injection and spark during the test.
- Open the throttle plate fully: This ensures maximum airflow into the cylinders.
- Record all readings carefully: Keep a detailed record of the compression readings for each cylinder.
- Perform a "wet" compression test if necessary: This can help pinpoint the source of the leak.
Don'ts:
- Overtighten the compression tester adapter: This can damage the spark plug threads.
- Crank the engine for too long: Cranking for excessive periods can overheat the starter motor.
- Ignore low compression readings: Low compression indicates a problem that needs to be addressed.
- Attempt repairs without proper knowledge or tools: If you are not comfortable performing engine repairs, consult a qualified mechanic.
Conclusion
A compression test is a valuable diagnostic tool for assessing the health of your engine. By following the steps outlined in this article and adhering to best practices, you can accurately measure the compression in each cylinder and identify potential problems. Remember to always consult your vehicle's repair manual for specific instructions and compression specifications. If you're unsure about any aspect of the test or the interpretation of the results, it's always best to consult a qualified mechanic. While this test can offer a wealth of information, remember it's just one piece of the puzzle. It's crucial to consider all symptoms and perform other diagnostic tests as needed to accurately diagnose engine problems. Good luck, and happy wrenching!