How To Draw A Nissan Gtr
Alright, let's talk about something a little different today: sketching out a Nissan GT-R. Now, I know what you're thinking – what does drawing a car have to do with wrenching on one? Well, understanding the shape, lines, and proportions of a car, especially a complex machine like the GT-R, can actually be incredibly helpful. Whether you're planning a custom paint job, visualizing a body kit modification, or just trying to better understand its aerodynamics, having a good grasp of its visual structure is a plus.
We're not aiming for photorealism here. Instead, we're going to build a technical sketch that focuses on accuracy and capturing the essence of the GT-R's design. Think of it as a visual blueprint, a foundation for further creative exploration or even a quick reference guide during your next project.
Key Specs and Main Parts (Visually Speaking)
Before we even put pencil to paper, let's quickly recap the defining features of the GT-R. We’re primarily focusing on the R35 generation for this exercise.
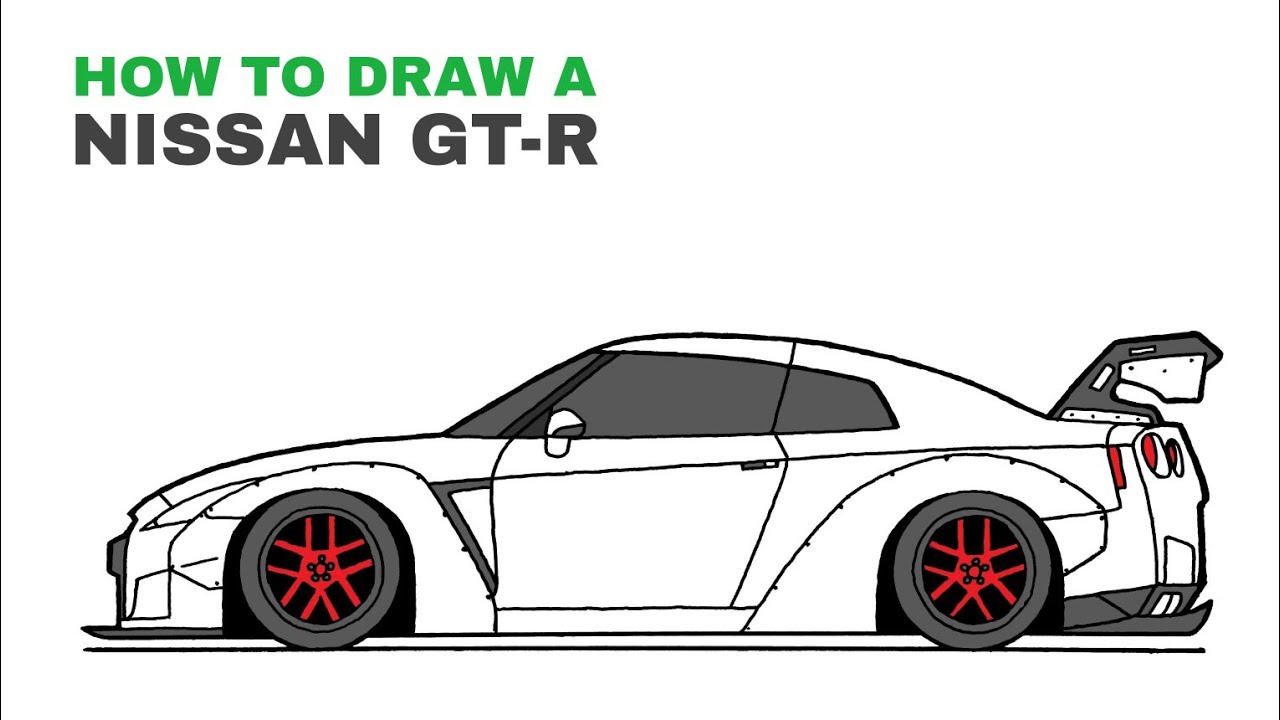
- Overall Proportions: The GT-R is a squat, wide, and muscular sports coupe. Its roofline slopes gently towards the rear, culminating in a distinct trunk.
- Front End: Aggressive and instantly recognizable. Pay close attention to the sharp angles of the headlights and the iconic grille opening. The lower splitter is also a critical detail.
- Side Profile: Notice the short overhangs, the pronounced fender flares (especially the rear), and the relatively high beltline. The side vents behind the front wheels are a signature element.
- Rear End: The quad taillights are probably the most iconic feature. The large rear wing and aggressive diffuser are also crucial to capturing the GT-R's performance-oriented design.
- Wheels & Tires: Large diameter wheels and low-profile tires are essential for capturing the aggressive stance. Remember to consider the wheel arches and how the wheels sit within them.
We’ll be representing these components in our sketch, focusing on their relative size and position to create an accurate representation of the GT-R.
Symbols – Lines, Tones, and Composition
Unlike a mechanical diagram with standard symbols, drawing relies more on convention. Here's how we'll approach it:
- Line Weight: Varying the thickness of your lines is key. Use bolder lines for outlines and major features. Thinner lines can indicate smaller details or lines that are further away from the viewer. Experiment with line weight to add depth and visual interest.
- Perspective Lines: We'll be using basic two-point perspective for this drawing. This means that all parallel lines converge at two vanishing points on the horizon line. This gives the drawing a sense of depth and realism.
- Hatching and Shading: Use hatching (parallel lines) and shading to indicate form and volume. Remember that light typically comes from above, so darker areas will be underneath or on the sides of objects.
- Tonal Values: Different gray tones help define the form of the vehicle. Think about how light interacts with the surfaces of the car. Areas that are directly hit by light will be lighter, while areas that are in shadow will be darker.
- Implied Lines: These aren't actually drawn, but our brains fill in the gaps. Use them to suggest curves or contours, especially in areas where the light is catching the surface.
The composition refers to how the GT-R is positioned on the page. We want to ensure that it fills the frame nicely without feeling cramped or awkwardly placed.
How It Works: Building the Sketch
Here's the breakdown of how we'll construct the sketch, step-by-step:
- Establish the Horizon Line and Vanishing Points: Lightly draw a horizontal line across your paper. This is your horizon line. Mark two points on this line – these are your vanishing points. The further apart they are, the less distorted the perspective will be.
- Define the Overall Shape: Lightly sketch a rectangular box that will contain the GT-R. This box will act as a guide to ensure that the proportions are accurate. This box represents the overall length, width, and height of the car.
- Rough in the Main Lines: Use perspective lines converging towards your vanishing points to define the main lines of the car, such as the roofline, the hood, and the side panels. Focus on capturing the general shape and proportions accurately. Don't worry about details at this stage.
- Add Key Features: Start adding the key features of the GT-R, such as the headlights, grille, taillights, and wheels. Use your reference images to ensure that these features are positioned correctly and have the right proportions. Pay close attention to the angles and curves of these features.
- Refine the Lines: Once you are happy with the basic layout, start refining the lines. Use darker, more confident lines to define the outlines of the car and its key features. Erase any unnecessary construction lines. This is where you really start to bring the drawing to life.
- Add Details: Add details such as the side vents, the door handles, the mirrors, and the badges. These details will add realism to your drawing. Remember to use varying line weights to add depth and visual interest.
- Hatching and Shading: Use hatching and shading to add form and volume to the car. Imagine how light is hitting the car and use different gray tones to represent the highlights and shadows. This will make the drawing look more three-dimensional.
- Final Touches: Review your drawing and make any final adjustments. Add any details that you may have missed. Erase any remaining construction lines. Sign your work!
Remember, this is a process. Don't be afraid to make mistakes and experiment. The more you practice, the better you'll become at capturing the essence of the GT-R’s design.
Real-World Use – Basic Visual Troubleshooting
Okay, how can a sketch help you in the garage? Well, imagine you're planning a custom wrap or considering adding aftermarket side skirts. A good sketch allows you to visualize the end result before you spend any money or start cutting metal. You can:
- Experiment with color schemes: Quickly test out different color combinations and see how they look on the car's body.
- Visualize body modifications: Sketch out different body kit options and see how they change the car's overall appearance.
- Plan decal placements: Use the sketch to plan the placement of decals and graphics.
- Identify problem areas: By carefully studying the sketch, you may identify potential areas where modifications might cause problems, such as interference with other components.
Let's say you're thinking about adding a widebody kit. By sketching out the proposed modifications, you can get a better sense of how the wider fenders will affect the car's proportions and stance. You can also use the sketch to identify any potential clearance issues with the wheels and tires.
Safety – Respecting the Machine
While drawing a car isn't inherently dangerous, it’s a good reminder to approach any project, whether it’s artistic or mechanical, with respect for the machine.
When working on a real GT-R, always remember to:
- Disconnect the battery: Before working on any electrical components, disconnect the negative battery terminal to prevent accidental shocks or short circuits.
- Use proper tools: Using the right tools for the job will prevent damage to the car and reduce the risk of injury.
- Consult the service manual: The service manual contains detailed information about the car's components and systems. Always consult it before attempting any repairs or modifications.
- Be aware of high-voltage systems: The GT-R may have high-voltage systems for certain components. Be extremely careful when working around these systems.
Drawing can help you develop a deeper understanding of the car's structure, but it’s no substitute for proper training and safety precautions when working on the real thing.
So, there you have it. A basic guide to sketching a Nissan GT-R. Remember to practice, experiment, and have fun with it. The goal is to improve your understanding of the car's design and use that knowledge to enhance your projects.
We've got a detailed, downloadable diagram available to help you further refine your drawing skills. It includes perspective guides, key measurements, and detailed sketches of individual components. This diagram will serve as a valuable reference tool as you hone your artistic skills and deepen your appreciation for the iconic Nissan GT-R.