How To Drive A Stick Shift Car
Welcome, fellow gearheads! You're here because you want to master the art of driving a stick shift – and maybe even troubleshoot some common issues along the way. Forget the automated world for a moment; we're diving into the satisfyingly mechanical realm of manual transmissions. This isn't just about getting from point A to point B; it’s about connecting with your machine.
Why Understand the Stick Shift?
Purpose: Whether you're looking to buy an older, more affordable vehicle, impress your friends with your driving prowess, troubleshoot transmission problems, or even consider a performance modification, understanding the inner workings of a manual transmission is invaluable. It allows you to diagnose issues before they escalate into costly repairs and gives you a deeper appreciation for how your car actually *works*. Plus, the diagram we’re about to dissect is essential for any serious repair or upgrade work. We have this diagram available for download, and we’ll share the link at the end.
Having a firm grasp of the components and their interactions provides a solid foundation for tackling everything from replacing a clutch to understanding the effect of different gear ratios. Think of it as understanding the blueprint before you build – or rebuild – your machine.
Key Specs and Main Parts
A manual transmission, at its core, is about selecting different gear ratios to match engine speed to wheel speed. This allows the engine to operate within its optimal power band while providing the necessary torque to accelerate or maintain speed at various conditions. Let's break down the main players:
Essential Components:
- Engine: The source of power, providing rotational force to the transmission.
- Clutch: A mechanism that connects or disconnects the engine from the transmission. Key parts of the clutch include:
- Clutch disc: Friction material sandwiched between the pressure plate and flywheel.
- Pressure plate: Applies force to the clutch disc.
- Flywheel: A heavy disc attached to the engine crankshaft that provides inertia and a surface for the clutch to engage.
- Throw-out bearing (release bearing): Actuates the pressure plate when the clutch pedal is depressed.
- Transmission Input Shaft: Receives power from the engine via the clutch.
- Transmission Output Shaft: Delivers power to the driveshaft and, ultimately, the wheels.
- Gears: Different sized gears create different gear ratios. The ratio determines the trade-off between torque and speed. Smaller gears provide higher torque but lower speed and vice versa.
- Shift Forks and Rails: Mechanisms that move gears into and out of engagement.
- Synchronizers (Synchros): Cone-shaped devices that equalize the speeds of the gears before they engage, preventing grinding.
- Differential: Allows the wheels to rotate at different speeds when turning.
Key Specifications to Consider:
- Gear Ratios: These numerical values (e.g., 3.50:1) indicate the number of rotations the engine must make for one rotation of the output shaft in each gear. Lower ratios provide higher torque for acceleration, while higher ratios offer better fuel economy at cruising speeds.
- Final Drive Ratio: The gear ratio in the differential, which further multiplies torque.
- Transmission Type: (e.g., 5-speed, 6-speed) Denotes the number of forward gears.
- Clutch Size: Diameter of the clutch disc, influencing torque capacity.
Interpreting the Diagram: Symbols and Conventions
Understanding the diagram is crucial. Here's a quick guide to some common conventions:
- Solid Lines: Typically represent mechanical linkages or shafts that transmit power directly.
- Dashed Lines: Often indicate hydraulic or pneumatic lines, such as those used in clutch actuation systems.
- Color Coding: Colors can vary depending on the diagram, but they often differentiate between different systems or components. For example, red might indicate high-pressure hydraulic lines, while blue could represent electrical circuits. Consult the diagram's legend for specific color assignments.
- Gear Symbols: Gears are typically represented as circles with teeth. The size of the circle indicates the relative size of the gear, which correlates to its gear ratio.
- Clutch Symbol: A stylized representation of the clutch disc and pressure plate.
- Arrow: Used to indicate the direction of force, rotation, or fluid flow.
Pay attention to the exploded views often included in these diagrams. They show how the components fit together in the proper sequence. These are indispensable during reassembly.
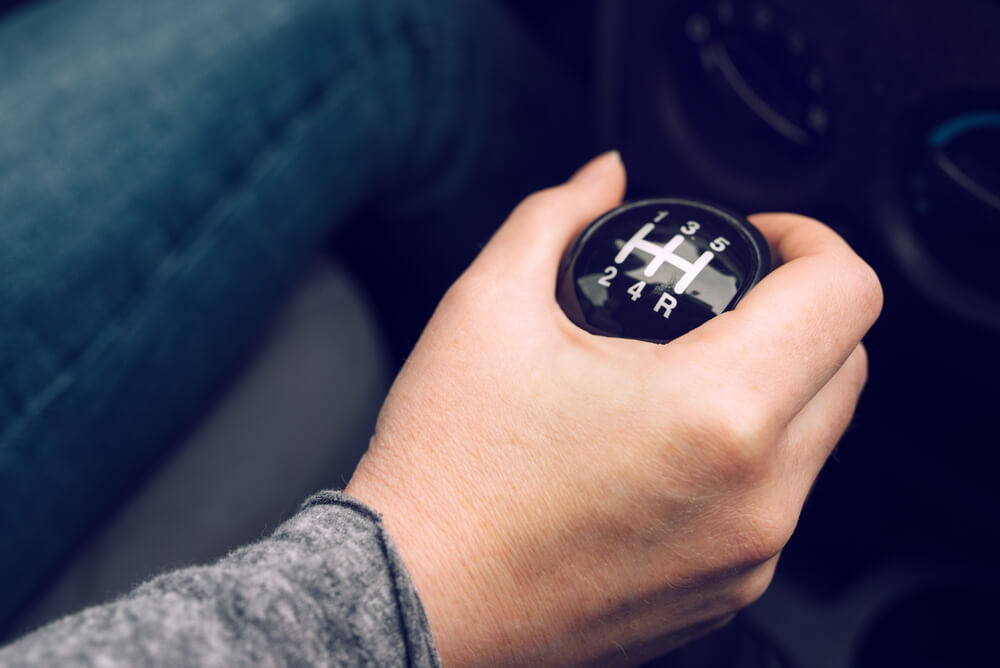
How It Works: The Mechanics of Shifting
The essence of driving a stick lies in coordinating the clutch, throttle, and gear selector. Here’s a simplified overview of the process:
- Starting: Depress the clutch pedal to disengage the engine from the transmission. Start the engine.
- First Gear: Move the gear selector into first gear. Gradually release the clutch pedal while simultaneously applying throttle. The goal is to reach the "friction point" – where the clutch starts to engage – and smoothly blend in the throttle to prevent stalling.
- Upshifting: As the vehicle gains speed, depress the clutch pedal. Move the gear selector to the next higher gear. Release the clutch pedal and apply throttle, again coordinating the two to ensure a smooth transition.
- Downshifting: Depress the clutch pedal. Move the gear selector to a lower gear. Here's the trick: before releasing the clutch, "blip" the throttle to increase the engine speed slightly. This helps match the engine speed to the transmission speed in the lower gear, preventing a jarring shift. This is called rev-matching.
- Stopping: Depress the clutch pedal fully as you slow down to prevent stalling. You can either shift into neutral or remain in gear with the clutch depressed until you come to a complete stop.
The synchronizers (synchros) are critical here. Their job is to equalize the speed of the gears before they engage. If the synchros are worn or damaged, you'll likely experience grinding when shifting. A grinding noise is a sign that the gears are colliding at different speeds.
Real-World Use: Troubleshooting Common Issues
Here are a few basic troubleshooting tips you can diagnose by referring to the diagram and understanding the components:
- Clutch Slippage: The engine revs up excessively without a corresponding increase in speed. This indicates that the clutch disc is not gripping the flywheel properly. Possible causes include a worn clutch disc, contaminated surfaces (oil leak), or a malfunctioning pressure plate.
- Difficulty Shifting: Difficulty engaging gears can be caused by several factors, including a misadjusted clutch linkage, worn synchronizers, or low transmission fluid. Inspecting the linkage (cables or rods) for proper adjustment is a good first step.
- Grinding Gears: As mentioned earlier, grinding is a sign of worn synchronizers. It can also be caused by incomplete clutch disengagement.
- Clutch Pedal Feels Soft or Spongy: This could indicate air in the hydraulic clutch system or a leak. Check the master cylinder and slave cylinder for leaks.
- Unusual Noises: Whining or howling noises can indicate worn bearings within the transmission. Clunking noises can point to worn U-joints in the driveshaft or excessive play in the differential.
Safety: Respect the Machine
Working on a manual transmission involves dealing with heavy components and potentially hazardous fluids. Here are some safety precautions:
- Always support the vehicle securely with jack stands. Never work under a vehicle supported only by a jack.
- Disconnect the battery before working on any electrical components.
- Wear appropriate safety gear, including eye protection and gloves.
- Be careful when handling transmission fluid, as it can be harmful if swallowed or inhaled.
- The clutch assembly stores significant spring energy. When disassembling the pressure plate, use a proper clutch alignment tool to prevent the spring from suddenly releasing and causing injury.
Manual transmissions can be incredibly reliable and rewarding to work on. With a solid understanding of the components and a healthy dose of caution, you can diagnose and repair many common issues yourself. By referring to a detailed diagram, you can confidently tackle repairs, upgrades, or even a complete transmission rebuild.
Ready to dive deeper? You can download the detailed diagram we've been referencing at [link to diagram]. Happy wrenching!