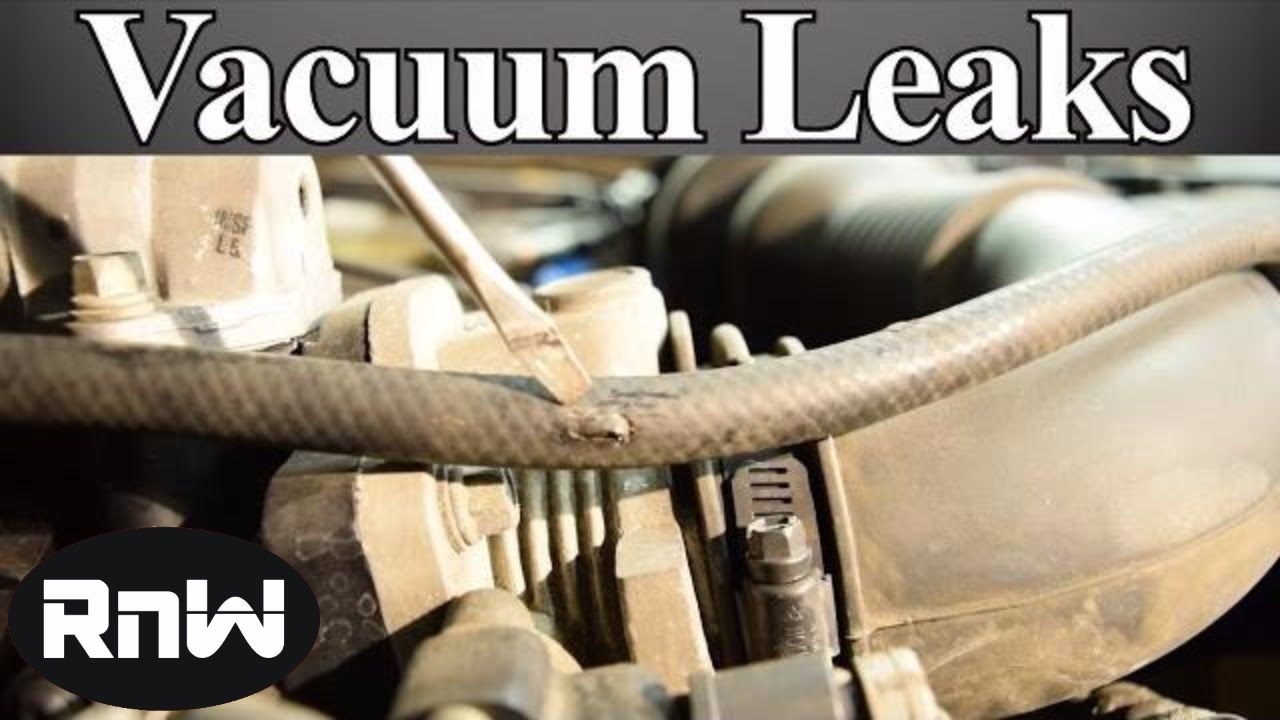
How To Find Vacuum Leak On A Car
The dreaded stumble. The erratic idle. The flashing check engine light. These are all potential symptoms pointing to a single, often overlooked culprit: a vacuum leak. While modern engine management systems are incredibly sophisticated, even the smallest breach in the carefully controlled vacuum network can wreak havoc on performance and fuel economy. But fear not, amateur engineers! Locating and fixing these leaks isn't an exercise in arcane wizardry. With a systematic approach and a little know-how, you can diagnose and conquer these gremlins yourself.
The Vacuum Leak's Impact: A Broken Window Analogy
Imagine your car's intake manifold as a house meticulously sealed to maintain a specific air pressure. The engine control unit (ECU), our vigilant homeowner, is constantly adjusting the furnace (fuel injectors) to keep the house at a comfortable temperature (ideal air/fuel ratio). Now, picture a small, uninvited guest – a broken window. This is your vacuum leak. Outside air rushes in, disrupting the carefully balanced pressure inside. The ECU, sensing the change, tries to compensate by adjusting the fuel injectors, but it's often a losing battle, leading to poor idling, hesitation, and overall reduced performance.
How the Vacuum System Works: An Orchestrated Dance
The vacuum system in your car is a network of hoses and components that utilize the engine's inherent vacuum – a partial vacuum created by the downward stroke of the pistons in the intake manifold. This vacuum is essential for various functions, including:
- Power brakes: The brake booster uses vacuum to amplify the force you apply to the brake pedal, making braking easier.
- Emission controls: Vacuum operates valves and actuators that regulate emissions systems like the EGR (Exhaust Gas Recirculation) and PCV (Positive Crankcase Ventilation) systems.
- Fuel management: Vacuum is sometimes used to control fuel pressure regulators and other components related to fuel delivery.
- HVAC controls: Many older vehicles use vacuum to operate the blend doors in the heating and air conditioning system, directing airflow.
The PCV (Positive Crankcase Ventilation) system is a particularly important area to understand. It's designed to vent harmful crankcase gases (blow-by) back into the intake manifold to be burned during combustion. A vacuum leak in the PCV system can seriously affect engine performance and emissions.
Common Vacuum Leak Locations: The Usual Suspects
Pinpointing the exact location of a vacuum leak can be challenging, but these are some of the most common offenders:
- Vacuum hoses: Cracked, brittle, or disconnected hoses are the most frequent cause of vacuum leaks. Check all hoses connected to the intake manifold, vacuum reservoir, brake booster, and other vacuum-operated components.
- Intake manifold gaskets: These gaskets seal the intake manifold to the cylinder head. Over time, they can dry out and crack, creating leaks.
- Throttle body gasket: Similar to the intake manifold gasket, the throttle body gasket can also fail, leading to leaks.
- PCV valve and hose: As mentioned earlier, the PCV valve and its connecting hose are prime suspects.
- Brake booster: A faulty brake booster can leak vacuum into the cabin, often accompanied by a hissing sound when the brake pedal is depressed.
- EGR valve: The EGR valve can leak if its diaphragm is damaged or if the valve is not sealing properly.
- Vacuum reservoirs: Some vehicles have vacuum reservoirs to store vacuum for various systems. These reservoirs can develop leaks.
- Fuel Injector O-rings: These seals prevent air from leaking around the fuel injectors.
Methods for Finding Vacuum Leaks: Detective Work
Several methods can be used to locate vacuum leaks. Here's a breakdown of the most common techniques:
- Visual Inspection: Start with a thorough visual inspection of all vacuum hoses and components. Look for cracks, breaks, or loose connections. This is the simplest and often most effective first step.
- Audible Inspection: Listen carefully for hissing sounds while the engine is running. These sounds can indicate a vacuum leak, especially near hose connections or gaskets.
- Carburetor Cleaner/Propane Test: (Use with extreme caution, as these substances are flammable!) With the engine running, carefully spray small amounts of carburetor cleaner or propane around potential leak locations. If the engine speed increases or smooths out, you've likely found a leak. Important: Keep the spray nozzle away from hot engine components and exhaust manifolds. Have a fire extinguisher nearby.
- Smoke Test: A smoke test is a more advanced and safer method. A smoke machine injects a non-toxic smoke into the intake system. Any leaks will be readily apparent as smoke escapes from the affected area. This is a common technique used by professional mechanics.
- Scan Tool Data: A scan tool can provide valuable information about engine performance, including fuel trims. High fuel trims (positive or negative) can indicate a vacuum leak, as the ECU is trying to compensate for the unmetered air entering the engine.
Pros and Cons of Different Leak Detection Methods
| Method | Pros | Cons |
|---|---|---|
| Visual Inspection | Simple, free, no special tools required. | Can miss small leaks, relies on visual acuity. |
| Audible Inspection | Simple, free, no special tools required. | Can be difficult to hear leaks in a noisy engine bay. |
| Carb Cleaner/Propane | Relatively inexpensive, can quickly pinpoint leaks. | Highly flammable, potential fire hazard, can damage sensors. |
| Smoke Test | Safe, effective, can find even small leaks. | Requires a smoke machine (can be expensive). |
| Scan Tool Data | Provides valuable diagnostic information, can help narrow down the search. | Requires a scan tool, requires knowledge of engine parameters. |
Real-World Examples and Manufacturer Specifics
Different manufacturers use slightly different vacuum system designs. For example, some older BMW models are notorious for vacuum leaks in the rubber boots connecting the mass airflow sensor to the throttle body. These boots are prone to cracking and tearing over time. Similarly, certain Ford trucks with the 5.4L engine often experience vacuum leaks in the vacuum lines connected to the brake booster. Chrysler minivans are known for leaks in the vacuum reservoir that controls the HVAC system. Knowing the common problem areas for your specific make and model can save you a lot of time and frustration.
Consider a scenario where a Subaru owner notices a rough idle and poor fuel economy. After a visual inspection, they find a cracked vacuum hose connected to the PCV valve. Replacing the hose resolves the issue, restoring smooth idling and improving fuel economy. In another case, a Toyota mechanic uses a smoke machine to diagnose a persistent check engine light. The smoke reveals a tiny leak in the intake manifold gasket, which is then replaced, fixing the problem.
Fixing the Leak: A DIY Approach
Once you've located the leak, the repair process is usually straightforward. Here are some general tips:
- Replace cracked or damaged hoses: Use high-quality vacuum hose specifically designed for automotive applications. Make sure the hose is the correct diameter and length.
- Tighten loose connections: Ensure all hose clamps are properly tightened.
- Replace faulty gaskets: If the leak is coming from a gasket, replace it with a new one. Be sure to clean the mating surfaces thoroughly before installing the new gasket.
- Replace faulty components: If the leak is coming from a faulty component, such as a brake booster or PCV valve, replace it with a new one.
Pro Tip: When replacing vacuum hoses, it's a good idea to replace all the hoses in the area, even if they don't appear to be leaking. This will help prevent future leaks and save you time in the long run.
Wrapping Up: Insights and Recommendations
Finding and fixing vacuum leaks is a skill that every DIY mechanic should have in their toolbox. It's a relatively simple task that can have a significant impact on engine performance and fuel economy. Remember to start with a systematic approach, using visual and audible inspections to narrow down the potential leak locations. If you're comfortable using carburetor cleaner or propane, exercise extreme caution and follow safety guidelines. A smoke test is the safest and most effective method for finding even the smallest leaks. And don't forget to consult your vehicle's repair manual for specific information about your vacuum system.
While fixing a vacuum leak might seem daunting at first, remember the broken window analogy. You're simply patching a hole in a carefully controlled system. With patience, persistence, and a little bit of detective work, you can restore your engine's performance and say goodbye to that pesky stumble.