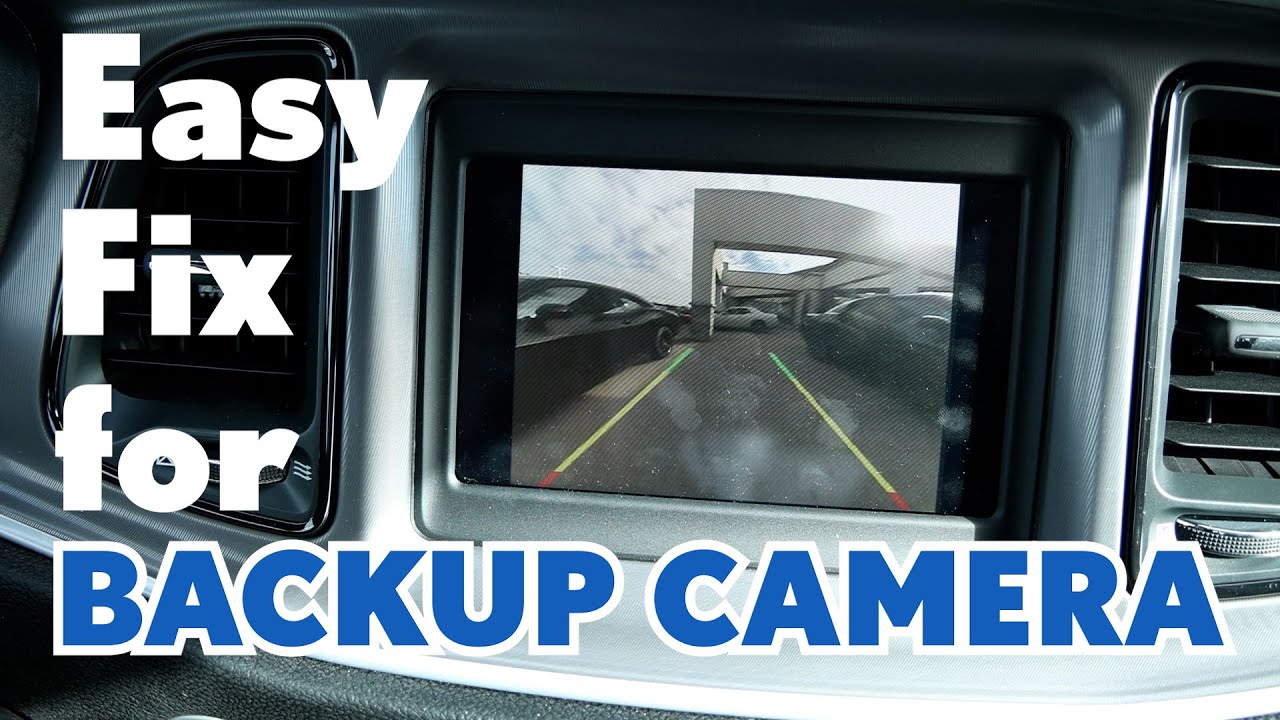
How To Fix A Backup Camera
So, your backup camera's gone kaput? Don't panic! While these systems seem complex, diagnosing and fixing common issues is totally achievable with the right approach and a little know-how. This guide is designed to help you, the experienced DIYer, tackle this project. We'll break down the system, cover troubleshooting steps, and even offer a downloadable wiring diagram to make your life easier. Consider this your friendly mechanic's guide to getting your backup camera back in action.
Purpose of Understanding Your Backup Camera System
Why bother diving into the inner workings of your backup camera? Here's why this knowledge is valuable:
- DIY Repairs: Save money by diagnosing and fixing common problems yourself.
- System Upgrades: Confidently upgrade or modify your system, like adding a higher-resolution camera or a wider-angle lens.
- Accurate Diagnosis: Understand the root cause of the problem instead of just throwing parts at it.
- Custom Installations: Integrate aftermarket cameras and displays seamlessly.
- Avoid Scams: Know enough to avoid unnecessary repairs from unscrupulous mechanics.
Key Specs and Main Parts
Before we get started, let's identify the key components of a typical backup camera system:
- Camera: The most crucial part, converting visual information into an electrical signal. Key specs include resolution (e.g., 720p, 1080p), viewing angle (e.g., 170 degrees), and lux rating (low-light sensitivity).
- Display: Shows the camera's feed. This could be integrated into your car's infotainment system, a dedicated screen in the rearview mirror, or an aftermarket display. Resolution and screen size are the important specs here.
- Wiring Harness: Connects the camera to the display and power source. This typically includes power (12V DC), ground, and a video signal wire (usually a composite video signal, though some newer systems use digital connections).
- Control Module (Optional): Some advanced systems have a control module that processes the video signal, overlays guidelines, or integrates with parking sensors.
- Reverse Light Trigger: This is a wire that connects to the reverse light circuit, telling the system when the car is in reverse and to activate the camera.
Understanding Wiring Diagram Symbols
Let's decipher those squiggly lines and symbols in the wiring diagram you can download later. Here are some common symbols you'll encounter:
- Solid Lines: Represent wires. Thicker lines often indicate higher current-carrying capacity.
- Dashed Lines: May represent shielded cables, ground connections, or CAN bus communication lines.
- Colors: Each wire is assigned a specific color (e.g., Red = +12V, Black = Ground, Yellow = Video Signal). Always refer to the diagram's color code legend.
- Circles: Represent connectors or terminal points.
- Rectangles: Represent components like the camera, display, or control module.
- Ground Symbol (often looks like an upside-down triangle or stacked lines): Indicates a connection to the vehicle's chassis ground. Important: Ensure proper grounding for the system to work correctly.
- Fuse Symbol: Indicates a fuse, crucial for protecting the circuit from overcurrent.
- Arrows: Show the direction of signal flow.
How a Backup Camera System Works
Here's the simplified process of how a backup camera system operates:
- Reverse Gear Engaged: When you shift into reverse, the reverse light circuit is activated.
- Reverse Light Trigger: The reverse light trigger wire detects this activation.
- Camera Activation: The reverse light trigger sends a signal to the camera and display (or control module) to power on.
- Image Capture: The camera captures a video feed of the area behind the vehicle.
- Signal Transmission: The camera transmits the video signal through the wiring harness to the display.
- Image Display: The display shows the live video feed, allowing you to see what's behind your car. Optional: Guidelines overlaid on the image help with parking.
Real-World Use: Basic Troubleshooting Tips
Now, let's get practical. Here's a basic troubleshooting guide to diagnose common backup camera issues:
- No Image on Display:
- Check Power: Verify that the camera and display are receiving power. Use a multimeter to test the voltage at the power and ground wires.
- Check Connections: Inspect all wiring connections for loose or corroded terminals. Re-seat connectors to ensure a good connection.
- Check Fuse: Inspect the fuse for the backup camera system. Replace if blown.
- Reverse Light Trigger: Verify that the reverse light trigger wire is properly connected and receiving a signal when the car is in reverse.
- Bad Camera: If all else fails, the camera itself might be faulty. Try swapping it with a known working camera to test.
- Image is Distorted or Flickering:
- Wiring Issues: Check the video signal wire for damage or interference. Shielded cables are essential in some cases.
- Grounding Issues: Ensure that the camera and display are properly grounded. A poor ground can cause signal noise.
- Camera Issues: The camera's image sensor may be damaged.
- Image is Dark or Grainy:
- Camera Lens: Clean the camera lens with a soft cloth. Dirt and debris can obstruct the view.
- Low-Light Performance: Check the camera's lux rating. If it's too high, the camera may not perform well in low-light conditions.
- Power Supply: Insufficient power can cause a weak image.
Safety Considerations
Working with automotive electrical systems can be dangerous. Here are some crucial safety precautions:
- Disconnect the Battery: Always disconnect the negative terminal of the battery before working on any electrical components. This prevents accidental shorts and electrical shocks.
- Identify High-Risk Components: Pay special attention to any components related to the airbag system. Incorrect wiring or tampering can trigger the airbags, causing serious injury. If you are uncomfortable working near airbags, consult a professional.
- Use Proper Tools: Use insulated tools to prevent electrical shocks.
- Read the Wiring Diagram: Always refer to the wiring diagram before making any connections. Incorrect wiring can damage your car's electrical system.
- Double-Check Your Work: Before reconnecting the battery, carefully double-check all connections to ensure they are secure and correct.
By following these guidelines and consulting the wiring diagram, you can confidently troubleshoot and repair your backup camera system. Remember to take your time, be patient, and prioritize safety.
We have the complete wiring diagram available for download. This diagram will be invaluable in tracing wires, identifying components, and understanding the system's overall architecture. With this resource and the knowledge you've gained here, you'll be well-equipped to tackle your backup camera repair!