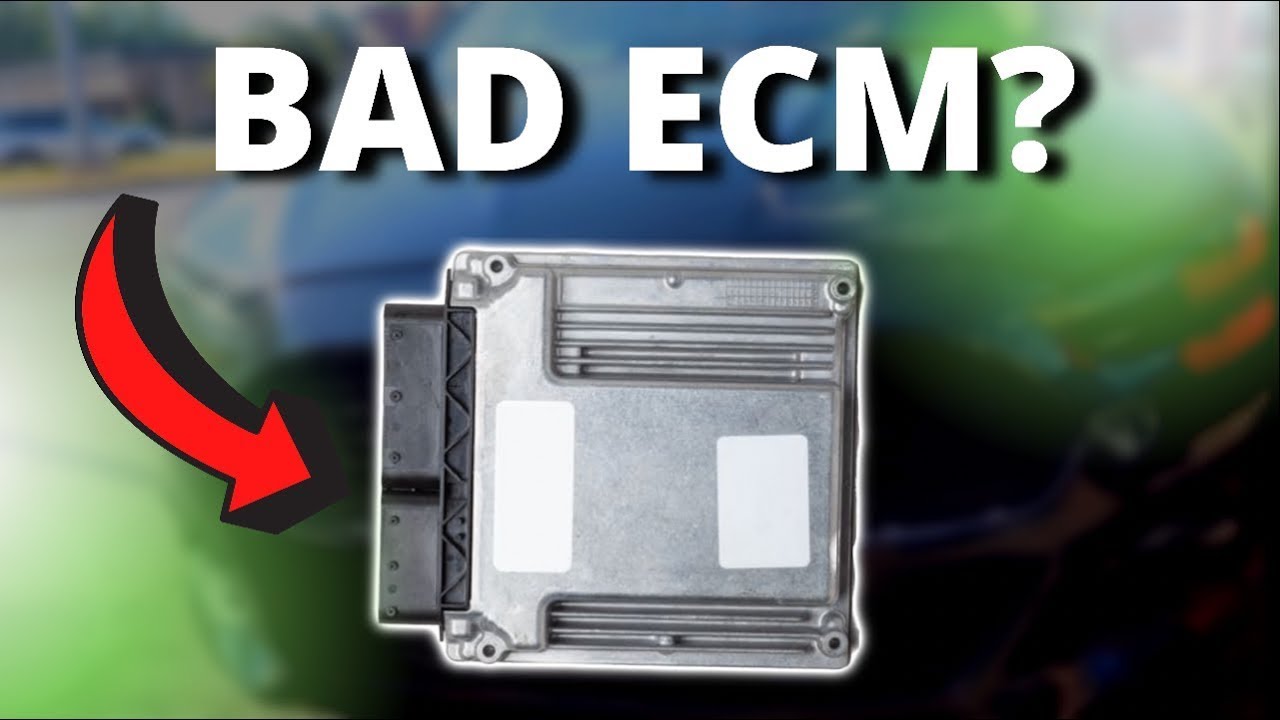
How To Fix A Bad Ecm
So, your Engine Control Module (ECM), or sometimes called a Powertrain Control Module (PCM), is acting up. Whether your car is throwing cryptic codes, running rough, or refusing to start altogether, a faulty ECM can be a real headache. While replacing it is sometimes the only solution, there are scenarios where you can diagnose and even *attempt* a repair. This article will guide you through understanding your ECM, identifying potential problems, and exploring possible fixes.
Understanding Your ECM: The Brain of Your Vehicle
Purpose: The ECM diagram, like any schematic, is your roadmap for understanding, diagnosing, and potentially repairing your ECM. It helps you trace circuits, identify components, and ultimately, determine why your ECM might be misbehaving. Useful for repairs, modifications and for understanding. We have the file, and reader can download the diagram.
Think of the ECM as the brain of your car's engine and drivetrain. It receives data from numerous sensors throughout the vehicle, processes that information, and then controls various actuators to optimize engine performance, fuel efficiency, and emissions. Without a functioning ECM, your car simply won't run properly, if at all.
Key Specs and Main Parts
While ECM designs vary from manufacturer to manufacturer and model to model, they all share some common components and specifications. Understanding these is crucial for diagnosis.
- Microcontroller/Processor: This is the heart of the ECM, responsible for all the calculations and decision-making. It interprets sensor data and sends commands to actuators. Its clock speed and memory capacity are important specifications.
- Memory (ROM, RAM, EEPROM): The ECM stores data in various types of memory. ROM (Read-Only Memory) contains the factory-installed program. RAM (Random Access Memory) is used for temporary data storage during operation. EEPROM (Electrically Erasable Programmable Read-Only Memory) stores learned values, like fuel trims, and can be reprogrammed.
- Input/Output (I/O) Ports: These are the connections that allow the ECM to communicate with sensors and actuators. They can be analog (voltage levels) or digital (on/off signals).
- Analog-to-Digital Converters (ADCs): These convert analog sensor signals (like voltage from a temperature sensor) into digital data that the microcontroller can understand.
- Digital-to-Analog Converters (DACs): These convert digital signals from the microcontroller into analog signals that can control actuators (like injector pulse width).
- Power Supply: The ECM needs a stable power supply to function correctly. It typically requires a 5V reference voltage and a 12V power supply.
- Communication Ports: The ECM communicates with other modules in the vehicle (like the Transmission Control Module or Anti-lock Braking System) via communication protocols like CAN (Controller Area Network) bus.
- Connectors: These are the physical interfaces for connecting the ECM to the vehicle's wiring harness.
Symbols on the ECM Diagram
An ECM diagram is a schematic representation of the electronic circuitry within the module. Understanding the symbols is key to interpreting the diagram.
- Lines: Solid lines represent electrical connections between components. Line thickness sometimes indicates the current carrying capacity of the wire. Dashed lines often represent connections to ground or power.
- Colors: Wires are often color-coded to help identify their function. Check the diagram's legend to understand the color-coding scheme used. Red is typically power, black is ground, and other colors indicate signal wires.
- Resistors: Shown as a zig-zag line. Their value in ohms is usually indicated nearby.
- Capacitors: Shown as two parallel lines. Their capacitance value is usually indicated nearby.
- Diodes: Shown as a triangle pointing to a vertical line. The direction of the triangle indicates the direction of current flow.
- Transistors: Shown as various symbols depending on the type (BJT, MOSFET, etc.). These are switching devices used to control current flow.
- Integrated Circuits (ICs): Shown as rectangular boxes with pin numbers. These represent complex electronic circuits contained within a single package.
- Ground: Shown as a series of descending horizontal lines. This indicates a connection to the vehicle's chassis ground.
How It Works: From Sensor to Actuator
Let's break down how the ECM controls a basic function, like fuel injection.
- A sensor, such as the Mass Airflow (MAF) sensor, measures the amount of air entering the engine.
- The MAF sensor sends an analog voltage signal to the ECM.
- The ECM's ADC converts this analog signal into a digital value.
- The microcontroller processes this data, along with data from other sensors (like engine temperature, throttle position, etc.), to determine the optimal amount of fuel to inject.
- The microcontroller sends a digital signal to the fuel injector driver circuit.
- The fuel injector driver circuit amplifies this signal and applies it to the fuel injector.
- The fuel injector opens for a specific duration (pulse width), injecting the calculated amount of fuel into the engine.
This process happens continuously, multiple times per second, to ensure the engine is running optimally.
Real-World Use: Basic Troubleshooting Tips
Before you start tearing into your ECM, here are some basic troubleshooting steps:
- Check for Diagnostic Trouble Codes (DTCs): Use an OBD-II scanner to retrieve any stored DTCs. These codes can provide valuable clues about the nature of the problem. Research the codes thoroughly before proceeding.
- Inspect the Wiring Harness and Connectors: Look for damaged, corroded, or loose wires and connectors. Pay close attention to the ECM's connectors. Clean and reseat them if necessary.
- Check the Power Supply: Verify that the ECM is receiving a stable 12V power supply and a 5V reference voltage. Use a multimeter to measure these voltages at the ECM's connector.
- Inspect for Physical Damage: Carefully inspect the ECM for any signs of physical damage, such as cracks, burns, or water damage.
- Check Ground Connections: Ensure that the ECM has a good ground connection to the vehicle's chassis. A poor ground connection can cause all sorts of problems.
Example: If you're getting a MAF sensor code, and the wiring to the MAF sensor seems fine, use the ECM diagram to trace the MAF sensor signal wire from the sensor connector to the ECM connector. Check for continuity (no breaks) in the wire using a multimeter. This will verify the wiring between components.
Safety: Handle with Care
The ECM contains sensitive electronic components that can be easily damaged. Here are some safety precautions to keep in mind:
- Disconnect the Battery: Always disconnect the negative battery terminal before working on the ECM. This will prevent accidental short circuits.
- Handle the ECM with Care: Avoid dropping or bumping the ECM.
- Use Static Protection: When handling the ECM, wear an anti-static wrist strap to prevent electrostatic discharge (ESD) from damaging the components.
- Avoid Moisture: Keep the ECM dry and away from water or other liquids.
- Be Careful with Probes: When probing the ECM's connectors with a multimeter, be careful not to short circuit any of the pins. Use fine-tipped probes and avoid forcing them into the connector.
High-Risk Components: The capacitors within the ECM can store a charge even after the power is disconnected. Do not attempt to disassemble or repair the ECM unless you have experience working with electronics and are familiar with discharging capacitors safely. There can be high voltage within some components, even when disconnected from the car's power supply.
Disclaimer: Repairing an ECM is an advanced task that should only be attempted by experienced technicians. Improper handling or repairs can damage the ECM and/or the vehicle. If you are not comfortable working on electronic circuits, it is best to take your car to a qualified mechanic.