How To Fix A Broken Car Mirror
So, you've smacked a curb, had a close encounter with a rogue shopping cart, or just found your side mirror looking a bit worse for wear. Don't panic! Replacing a broken car mirror is a pretty common DIY task that can save you a bundle compared to taking it to a shop. This guide is designed for the intermediate DIYer, offering a detailed walkthrough of the process, along with explanations of the components involved and important safety precautions.
Understanding Car Mirror Anatomy and Replacement
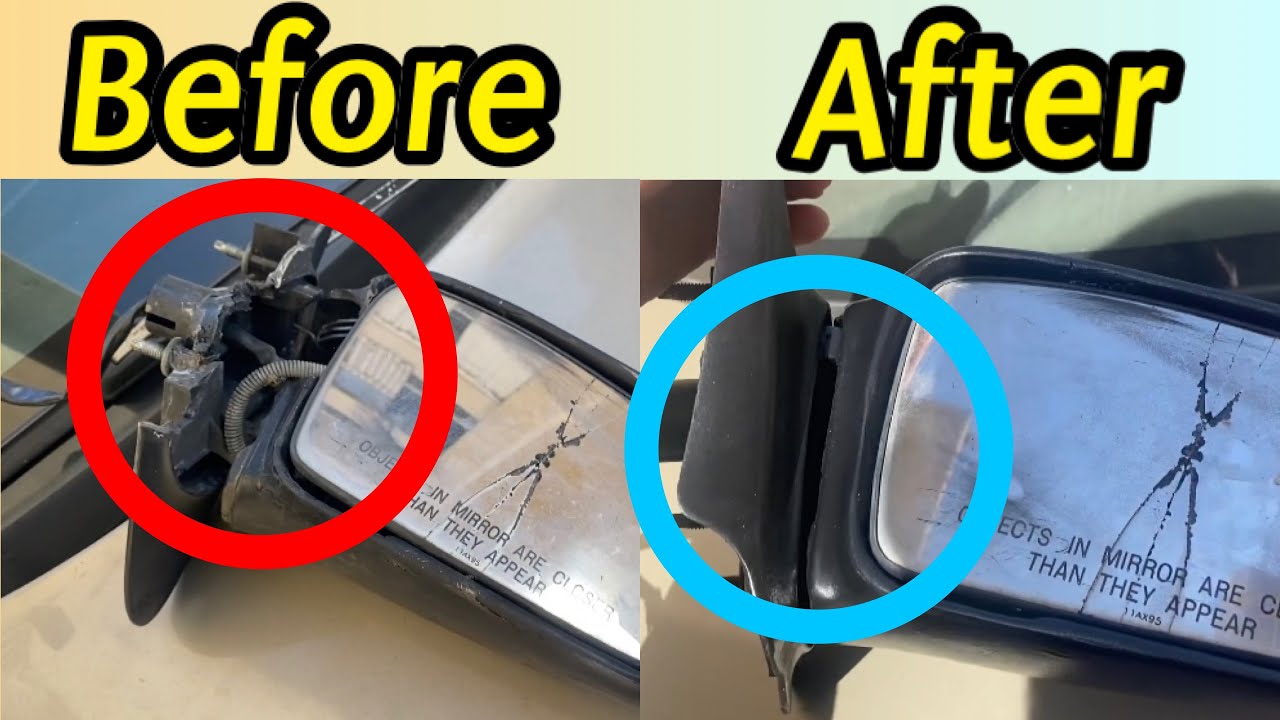
Before you dive in, let's break down what we're dealing with. Car mirrors, while seemingly simple, are actually comprised of several key components. Understanding these parts will make the repair process much smoother. The goal of the car mirror is to allow the driver visibility of their surroundings outside the range of sight.
Key Specs and Main Parts:
- Mirror Glass (Reflective Element): This is the actual glass that provides the reflection. It can be flat or convex (curved outward) to provide a wider field of view. Heated mirrors have a heating element adhered to the back of the glass.
- Mirror Housing (Casing): The plastic or composite shell that protects the mirror glass and internal components.
- Actuator/Motor (Power Mirrors): An electric motor and linkage system that allows you to adjust the mirror's position electronically from inside the car. Manual mirrors have adjustment levers instead of an actuator.
- Mounting Bracket: Attaches the entire mirror assembly to the car door.
- Wiring Harness (Power Mirrors): Connects the actuator and heated mirror (if equipped) to the car's electrical system.
- Turn Signal Indicator (Optional): Some mirrors have integrated turn signal lights for added visibility.
How It Works:
The basic principle is simple: light reflects off the mirror glass into the driver's eyes, providing a visual representation of the area behind and to the side of the vehicle. Power mirrors use a small DC motor and a series of gears to move the mirror glass in different directions. When you adjust the mirror using the interior controls, you're essentially sending an electrical signal to the actuator, which then moves the mirror. Heated mirrors use a resistive heating element on the rear of the glass to defog and defrost. This element is wired in parallel so that power continues to flow, even if part of the element breaks.
The Repair Process
The repair process will vary slightly depending on the type of damage and the specific vehicle. However, the general steps are as follows:
- Assessment: Determine the extent of the damage. Is it just the glass, or is the housing cracked as well? Does the actuator still work (if equipped)?
- Parts Acquisition: Order the necessary replacement parts. Make sure you get the correct part number for your specific vehicle make, model, and year. Using your VIN can help identify the correct part. Online retailers and local auto parts stores are good resources.
- Disassembly:
a. Disconnect the negative battery terminal. This is crucial to prevent electrical shorts.
b. Remove the interior door panel. This usually involves removing screws (often hidden under plastic covers) and then carefully prying the panel away from the door. Special trim removal tools are helpful for this step to avoid damaging the plastic.
c. Disconnect the wiring harness from the mirror assembly. There will likely be a connector with a locking clip. Squeeze the clip and gently pull the connector apart.
d. Unbolt or unscrew the mirror assembly from the door. The mounting bolts are typically located behind the door panel.
- Mirror Disassembly (if necessary): If you only need to replace the mirror glass, you may be able to remove it from the housing without removing the entire assembly. This often involves carefully prying the glass out of the housing, taking care not to break any clips or tabs. Heat can soften the adhesive on some mirrors, making removal easier.
- Installation:
a. Install the new mirror glass or assembly in reverse order of disassembly.
b. Reconnect the wiring harness.
c. Bolt or screw the mirror assembly back onto the door.
d. Reinstall the interior door panel.
e. Reconnect the negative battery terminal.
- Testing: Test the mirror's functionality (adjustment, heating, turn signal) to ensure everything is working properly.
Real-World Use – Basic Troubleshooting Tips:
- Mirror Won't Adjust (Power Mirrors): Check the fuse for the power mirror circuit. If the fuse is good, the problem could be with the actuator motor or the switch. A multimeter can be used to test for voltage at the actuator.
- Heated Mirror Not Working: Check the fuse for the heated mirror circuit. If the fuse is good, the problem could be with the heating element itself or the wiring. Use a multimeter to check for continuity in the heating element.
- Mirror Glass Keeps Falling Off: Make sure the surface is clean and dry before applying adhesive. Use a high-quality automotive-grade adhesive designed for mirrors.
Safety – Highlight Risky Components:
Electrical System: Always disconnect the negative battery terminal before working on the electrical system. This prevents shorts and potential damage to the car's electronics. Working with the electrical system can be dangerous if not done properly. Never cut wires without first ensuring the power is disconnected. Be careful when using a multimeter, as incorrect use can damage components.
Glass: Broken mirror glass can be sharp and dangerous. Wear gloves and eye protection when handling broken glass. Dispose of broken glass properly to prevent injuries.
Airbags: Some cars have side airbags located in the door. Be extremely careful when removing the door panel, as you could accidentally trigger the airbag. Consult your vehicle's service manual for instructions on how to safely disable the airbag system if necessary. **If you are not comfortable working around airbags, it is best to leave this repair to a professional.**
Diagrams and Further Assistance
Visual aids are incredibly helpful when tackling automotive repairs. Detailed diagrams showing the component breakdown and wiring schematics specific to your vehicle can make the process much easier. These diagrams can also help in tracing the specific wiring that needs to be worked on.
To that end, we have access to a comprehensive database of vehicle diagrams. Because diagrams are specific to make, model, and year, we can't embed one directly into this article. However, we have the file with diagrams and schematics. Contact us with your vehicle's year, make, and model, and we'll provide you with the relevant diagram to assist with your mirror replacement.**
Replacing a car mirror is a manageable DIY project for the experienced car owner. By understanding the components involved, following the correct procedures, and prioritizing safety, you can save money and gain valuable experience. Good luck with your repair!