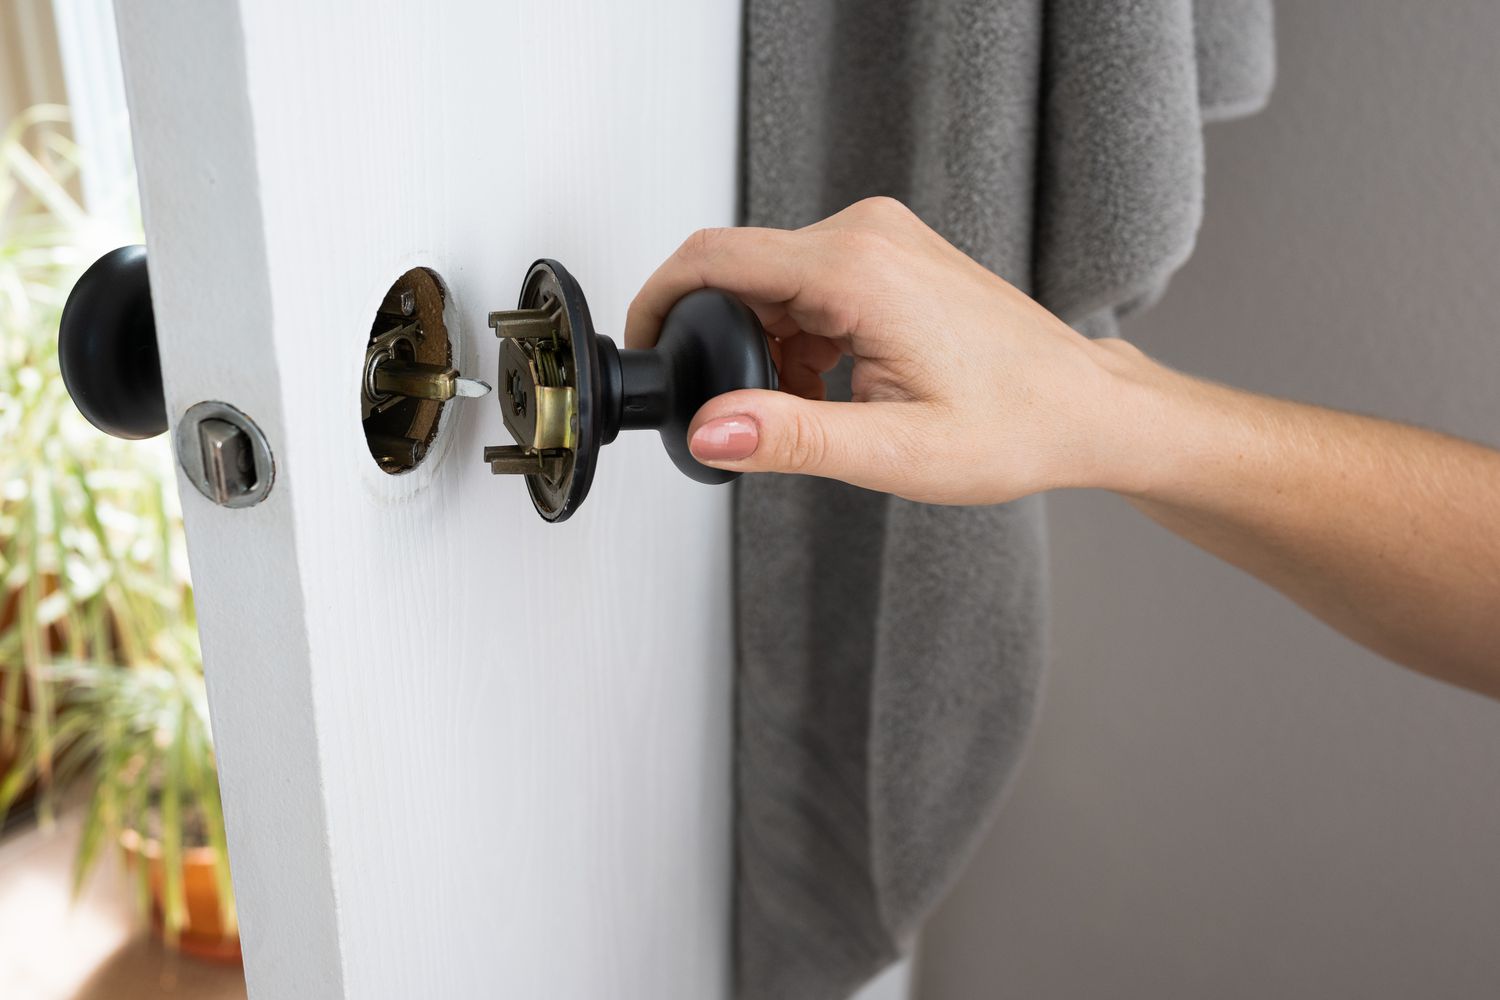
How To Fix A Door Handle That Fell Off
Okay, let’s talk about a common annoyance that can quickly escalate from inconvenient to downright infuriating: a door handle that’s decided to part ways with your vehicle. Whether it's snapped clean off, become loose and floppy, or simply detached, a non-functional door handle makes getting in and out of your car a real pain. This guide is designed for the intermediate DIYer – someone comfortable tackling basic car repairs and modifications – and will walk you through the process of diagnosing and fixing a detached door handle. We'll cover the mechanics involved, common failure points, and best practices to ensure a durable repair.
Understanding Your Door Handle System
Before we dive into repairs, let’s establish a solid understanding of how a typical automotive door handle system works. While there can be variations depending on the vehicle's make, model, and year, the fundamental principles remain largely the same.
External and Internal Components
The door handle system consists of both external and internal components, working in concert to unlatch the door:
- External Handle (Grab Handle): This is the part you physically grip to initiate the door opening sequence. It can be made of metal, plastic, or a combination of both. Its design is often dictated by aesthetics, but its underlying structure is crucial for reliability.
- Internal Handle (Latch Release Lever): Connected to the external handle via a series of linkages, this internal lever is what actually interacts with the door latch mechanism. Pulling on the external handle transmits force to this lever.
- Connecting Rods/Linkages: These are the intermediary pieces that transfer motion from the external handle to the internal latch release lever. They are typically metal rods or cables, and their integrity is critical for proper function.
- Door Latch Mechanism: Located inside the door itself, the latch mechanism is a complex assembly of levers, springs, and a striker plate. It's responsible for securing the door shut and releasing it when the latch release lever is activated. The striker plate is the metal loop or pin attached to the door frame that the latch engages with.
- Locking Mechanism: This component allows you to secure the door, preventing it from being opened even when the handle is activated. It's often connected to the latch mechanism and controlled by a key cylinder or an electric actuator.
How It Works: A Step-by-Step Breakdown
- User Action: You pull on the external door handle.
- Force Transfer: This action transmits force through the connecting rods or linkages.
- Latch Release: The connecting rods rotate or pull the internal latch release lever.
- Latch Disengagement: The latch release lever acts upon the door latch mechanism, causing it to disengage from the striker plate.
- Door Opens: The door is now free to swing open.
Diagnosing the Problem: Why Did It Fall Off?
Now that we understand the system, let's look at the common reasons why a door handle might fail. A thorough diagnosis is key to a lasting repair.
Common Causes:
- Broken Linkages: The connecting rods or cables can corrode, bend, or snap, especially in older vehicles. This is a frequent culprit and can render the handle useless, even if the handle itself is intact. Check for corrosion on the metal pieces.
- Worn-Out Fasteners: Screws, clips, or bolts that secure the handle to the door can loosen over time due to vibrations and temperature changes. This can lead to the handle becoming wobbly or completely detaching. This is extremely common after repeated use.
- Handle Breakage: The handle itself can crack or break, especially if it's made of plastic or a weak metal alloy. This is often caused by excessive force or normal wear and tear.
- Latch Mechanism Failure: Although less common than linkage or handle issues, a faulty latch mechanism can prevent the handle from properly disengaging the door. This could be due to a broken spring, a jammed lever, or corrosion within the mechanism.
- Corrosion: Rust and corrosion are silent killers of automotive components. They weaken metal parts, seize up moving parts, and generally wreak havoc on the entire system. Pay special attention to areas exposed to moisture or road salt.
Troubleshooting Steps:
- Visual Inspection: Carefully examine the handle, its mounting points, and any visible linkages. Look for obvious signs of damage, such as cracks, breaks, or corrosion. Also, check if any fasteners are missing or loose.
- Handle Movement: If the handle is still partially attached, try moving it. Does it feel loose and wobbly? Does it move freely without engaging the latch? This can help you pinpoint the location of the problem.
- Internal Inspection (Door Panel Removal): This is often necessary to get a clear view of the internal components. Carefully remove the door panel (refer to your vehicle's repair manual for specific instructions) to expose the connecting rods, latch mechanism, and other internal parts.
- Linkage Check: With the door panel removed, manually manipulate the connecting rods or cables to see if they move freely and engage the latch mechanism. If a linkage is broken or disconnected, you've found the source of the problem.
- Latch Mechanism Test: Manually actuate the latch mechanism with a screwdriver or other tool to ensure that it's functioning properly. If it's stiff, sticky, or doesn't fully disengage, it may need to be cleaned, lubricated, or replaced.
Fixing the Door Handle: A Step-by-Step Guide
Once you've diagnosed the problem, you can proceed with the repair. Here’s a general guide, but remember to consult your vehicle's repair manual for specific instructions and torque specifications.
Tools and Materials You'll Need:
- Screwdrivers (various sizes and types: Phillips, flathead, Torx)
- Socket set and wrenches
- Pliers (needle-nose and regular)
- Trim removal tools (to avoid damaging the door panel)
- Penetrating oil (for loosening corroded fasteners)
- New door handle assembly (if necessary)
- Replacement connecting rods or cables (if necessary)
- Replacement fasteners (screws, clips, bolts)
- Grease or lubricant (for the latch mechanism and linkages)
- Safety glasses and gloves
Repair Steps:
- Remove the Door Panel: Carefully remove the door panel according to your vehicle's repair manual. This usually involves removing screws, clips, and possibly disconnecting electrical connectors.
- Access the Door Handle Assembly: Once the door panel is off, you should have access to the inner workings of the door and the handle assembly.
- Disconnect Linkages (if necessary): If you're replacing the handle or linkages, disconnect the connecting rods or cables from the handle and the latch mechanism. Take pictures before disconnecting anything to help with reassembly.
- Remove the Old Handle: Remove the fasteners (screws, bolts, or clips) that secure the old handle to the door. Be careful not to drop any hardware inside the door cavity.
- Install the New Handle: Install the new handle in the reverse order of removal. Secure it with the appropriate fasteners, ensuring that it's properly aligned and tightened.
- Reconnect Linkages: Reconnect the connecting rods or cables to the handle and the latch mechanism. Make sure they are properly seated and secured.
- Test the Functionality: Before reassembling the door panel, test the handle to ensure that it properly engages and disengages the latch mechanism. Make any necessary adjustments to the linkages or handle position.
- Lubricate Moving Parts: Apply grease or lubricant to the latch mechanism, connecting rods, and other moving parts to ensure smooth operation and prevent future corrosion.
- Reinstall the Door Panel: Carefully reinstall the door panel, making sure all clips and fasteners are securely in place. Reconnect any electrical connectors that were disconnected.
- Final Test: Test the door handle and locking mechanism one last time to ensure that everything is working correctly.
Do's and Don'ts / Best Practices
- Do consult your vehicle's repair manual for specific instructions and torque specifications.
- Do use penetrating oil to loosen corroded fasteners.
- Do take pictures before disconnecting anything to help with reassembly.
- Do lubricate moving parts to ensure smooth operation.
- Don't overtighten fasteners, as this can damage the handle or door.
- Don't force anything. If something doesn't seem right, stop and re-evaluate.
- Don't use excessive force when removing the door panel, as this can damage the trim or clips.
- Best Practice: Consider replacing all the connecting rods and cables at the same time, even if only one is broken. This can prevent future problems and ensure consistent operation.
- Best Practice: When purchasing a new handle, opt for a high-quality replacement made of durable materials. A cheap handle may fail again sooner than you think.
Conclusion
A detached door handle can be a frustrating issue, but with a little knowledge and the right tools, it's a repair that many DIYers can tackle successfully. By understanding the mechanics of the door handle system, diagnosing the problem accurately, and following the steps outlined in this guide, you can get your door handle working again in no time. Remember to prioritize safety, consult your vehicle's repair manual, and take your time. While sometimes a replacement is inevitable, you might be surprised what a little know-how and some elbow grease can accomplish. If you are uncomfortable with the steps, or find significant corrosion or damage to the door frame, it might be time to visit a trusted mechanic.