How To Fix A Jammed Door Lock
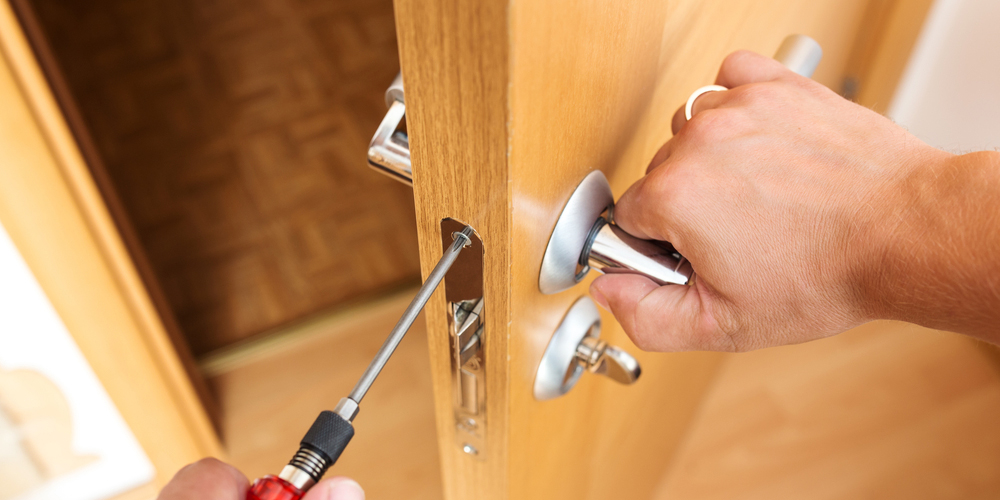
So, your door lock is jammed. Annoying, right? Before you start wrestling with it and potentially breaking something, let's take a methodical approach. This article provides a deep dive into the anatomy of a car door lock and guides you through troubleshooting and repair. We're assuming you're comfortable with basic tools and have some experience working on your car. If you're a complete beginner, consider starting with simpler projects first. But if you're ready to get your hands dirty, let's get started.
Understanding the Car Door Lock System
Purpose of the Diagram
Before we delve into the repair process, let's discuss the importance of having a diagram. A detailed schematic of your car door lock mechanism is invaluable for several reasons:
- Repair Guidance: It acts as a roadmap during disassembly and reassembly, preventing mistakes and ensuring you don't lose any crucial parts.
- Troubleshooting: Identifying components and their relationships helps pinpoint the source of the problem.
- Learning: Studying the diagram provides a deeper understanding of how the system works, empowering you to diagnose and fix issues more effectively in the future.
- Modification: For modders, understanding the lock's construction is vital for custom installations or security upgrades.
Key Specs and Main Parts
The complexity of a car door lock can vary, but the core components remain relatively consistent across different makes and models. Here's a breakdown:
- Door Handle (Exterior & Interior): The point of interaction for opening the door. They usually actuate levers or linkages.
- Lock Cylinder (Key Tumbler): Where you insert the key. It contains precisely cut tumblers that must align for the key to turn.
- Locking Mechanism (Latch): The actual part that engages with the door frame to keep the door closed. It typically includes a pawl, a striker plate, and springs.
- Actuator (Solenoid/Motor): In cars with power locks, this component uses electrical energy to move the locking mechanism.
- Linkages (Rods & Cables): Connect the door handle, lock cylinder, and actuator to the locking mechanism. These are prone to bending or disconnection.
- Door Lock Control Module (If equipped): This module manages the signals for the power door locks, remote keyless entry, and alarm system.
- Wiring Harness (If equipped): Provides electrical connection between actuator, module, and car's electrical system.
Symbols and Conventions
Understanding the symbols used in automotive diagrams is crucial for interpreting the schematic effectively. Common symbols include:
- Solid Lines: Typically represent mechanical linkages (rods, levers). The thickness may indicate the type or material of the linkage.
- Dashed Lines: Often indicate electrical wiring or vacuum lines.
- Arrows: Show the direction of movement or force.
- Circles/Squares with Labels: Represent specific components, such as actuators, motors, or sensors. Labels like "ACT" for actuator or "MOT" for motor are common.
- Color Coding (Electrical Diagrams): Wiring diagrams often use color-coded lines to indicate the wire's function (e.g., red for power, black for ground).
- ISO Symbols: International Organization for Standardization (ISO) symbols are used for various electrical components and functions. For instance, a zigzag line represents a resistor.
How It Works: The Mechanics of Locking
Let's break down the operation of a typical car door lock:
- Manual Operation (Key/Handle): When you insert and turn the key, the tumblers in the lock cylinder align, allowing the cylinder to rotate. This rotation moves a linkage that, in turn, actuates the locking mechanism (latch). The interior door handle works similarly, moving a separate linkage to disengage the latch.
- Power Lock Operation (Actuator): When you press the lock/unlock button (or use the remote), the door lock control module sends a signal to the actuator. The actuator (usually a solenoid or electric motor) generates a force that moves the locking mechanism. A rod or cable connects the actuator to the latch.
- Latch Engagement: The latch itself consists of a pawl that swings into a slot in the striker plate mounted on the door frame. A spring holds the pawl in the engaged position, keeping the door closed. When the latch is disengaged (manually or electrically), the pawl retracts, allowing the door to open.
Real-World Use: Basic Troubleshooting Tips
Now, let's address some common door lock problems and how to troubleshoot them:
- Key Won't Turn:
Try lubricating the lock cylinder with graphite lubricant. Worn or damaged key tumblers can also cause this. A locksmith can often re-key the cylinder or provide a new key based on the VIN. If lubricant doesn't work, the lock cylinder itself may be damaged and require replacement. Avoid forcing the key, as this can further damage the cylinder.
- Door Handle Feels Loose or Doesn't Actuate:
Inspect the linkages connecting the handle to the latch. They may have become disconnected, bent, or broken. Repair or replace the damaged linkages. Also, check for any obstructions preventing the handle from moving freely.
- Power Locks Not Working:
Check the fuse for the power door locks. Use a multimeter to test for voltage at the actuator. If there's no voltage, trace the wiring back to the door lock control module. A faulty actuator is a common culprit. Replacing the actuator usually involves removing the door panel. If only one door isn't working, but others are, the problem is likely the actuator or wiring in that specific door.
- Door Won't Open From Inside/Outside:
This could be a seized latch mechanism. Try applying penetrating oil to the latch area and jiggling the door while attempting to open it. If the latch is severely corroded, it may need to be replaced. It's also possible that the external handle linkage is detached from the latch mechanism.
Safety Considerations
Working on car door locks involves some inherent risks. Here are some critical safety precautions:
- Electrical System:
If you're working on the power lock system, disconnect the car battery's negative terminal to prevent accidental shorts. Be especially cautious when working around the door lock control module, as it's a sensitive electronic component.
- Sharp Edges:
Door panels and lock mechanisms often have sharp edges. Wear gloves to protect your hands.
- Airbags:
Some cars have side airbags integrated into the door. Disconnecting the battery is crucial before working on any electrical components in the door to prevent accidental airbag deployment. Consult your vehicle's service manual for specific airbag disabling procedures.
- Locking Yourself In:
When working on the door lock mechanism, be careful not to accidentally lock yourself inside the car. Keep a window open or have a second person present.
Remember to consult your vehicle's specific repair manual for detailed instructions and torque specifications. This guide provides a general overview, but every car is slightly different.
Finally, we have a detailed diagram available for download to assist you further in your repair. It provides a visual representation of all the key components and their relationships within the door lock system. This will be an invaluable resource as you troubleshoot and repair your jammed door lock.