How To Fix A Rear View Mirror That Is Loose
A loose rearview mirror is more than just an annoyance; it’s a safety hazard. A wobbly or detached mirror obscures your view of the road behind you, increasing the risk of accidents. Fortunately, fixing a loose rearview mirror is often a simple DIY project that can save you time and money compared to taking it to a mechanic.
Why Fixing a Loose Rearview Mirror Matters
The rearview mirror is a crucial component of your vehicle's safety system. It allows you to monitor traffic behind you, merge safely, and avoid collisions. A loose mirror can lead to several problems:
- Obstructed Vision: A vibrating or falling mirror makes it difficult to see clearly.
- Distraction: Constantly adjusting the mirror takes your attention away from driving.
- Accident Risk: Reduced visibility increases the likelihood of rear-end collisions.
- Legal Issues: In some jurisdictions, driving with a malfunctioning rearview mirror can be a violation.
Addressing this issue promptly ensures your safety and the safety of others on the road.
Understanding the Different Types of Rearview Mirrors and Mounts
Before attempting any repair, it's essential to identify the type of rearview mirror and mounting system in your car. Here's a breakdown of common types:
1. Windshield-Mounted Mirrors
These are the most common type. They are attached to the windshield using a special adhesive and a mounting button. There are variations within this type, including:
- Standard Mirrors: Simple mirrors with basic adjustment features.
- Auto-Dimming Mirrors: Mirrors that automatically darken in response to headlight glare. These usually have electrical connections.
- Integrated Technology Mirrors: Mirrors with built-in displays for backup cameras, compasses, or other features. These require careful handling due to their electronic components.
2. Headliner-Mounted Mirrors
Found primarily in older vehicles or some trucks and vans, these mirrors are attached to the headliner (the fabric covering the roof of the car). They typically use screws or bolts for attachment.
3. Clip-On Mirrors
These mirrors clip onto the existing rearview mirror. They are generally used as temporary replacements or for expanding the field of view, such as for keeping an eye on children in the backseat.
Identifying the Mounting System
The mounting system is how the mirror attaches to the car. Common systems include:
- Adhesive Button: Used for windshield-mounted mirrors. The button is glued to the windshield, and the mirror slides onto it.
- Set Screw: A small screw that tightens against the mounting button to hold the mirror in place.
- Screws or Bolts: Used for headliner-mounted mirrors.
- Clips: Used for clip-on mirrors.
Understanding your mirror and mounting type will help you choose the correct repair method and materials.
How to Fix a Loose Rearview Mirror: Step-by-Step Guide
The specific steps will vary depending on the type of mirror and mounting system, but here's a general guide:
Windshield-Mounted Mirrors
- Assess the Problem: Determine if the mirror is loose on the mounting button, or if the button itself has detached from the windshield.
- If the Mirror is Loose on the Button:
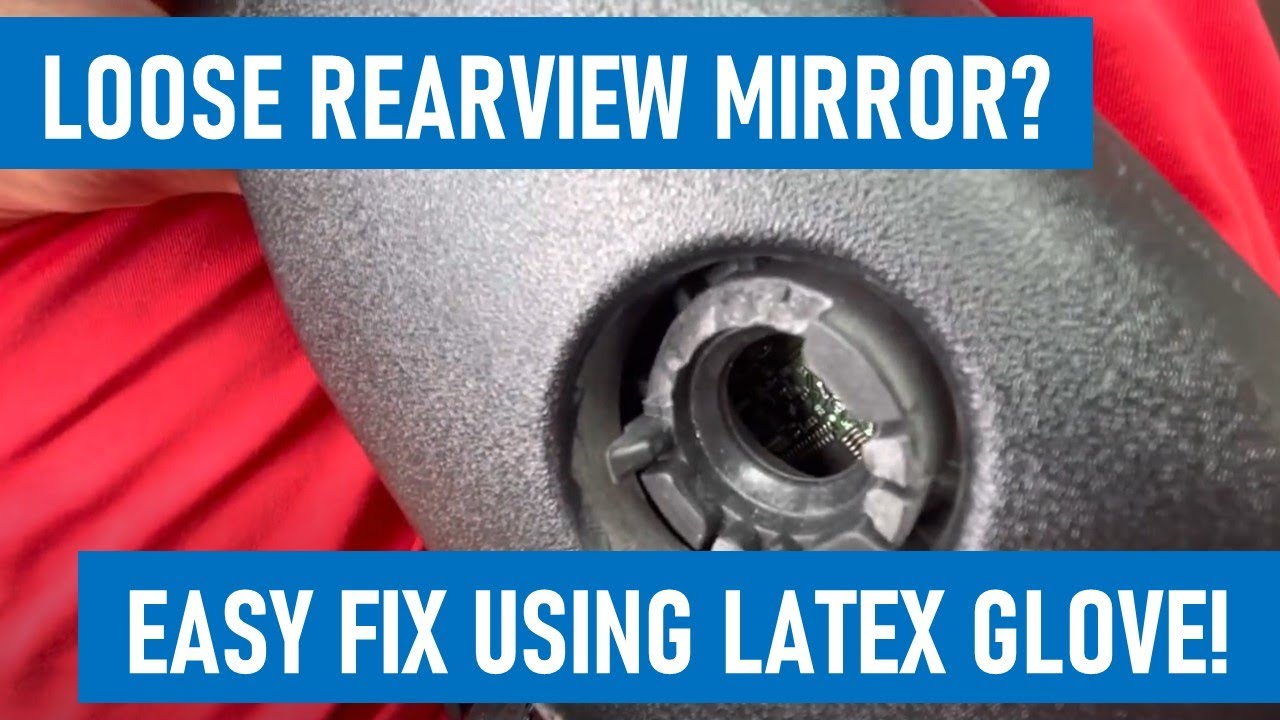
- Locate the Set Screw: Most mirrors have a small set screw on the underside where the mirror attaches to the button.
- Tighten the Set Screw: Use a small screwdriver (usually a Phillips or Allen head) to carefully tighten the set screw. Do not overtighten, as this can damage the mirror or the button.
- Test the Mirror: Gently wiggle the mirror to see if it is secure. If it's still loose, tighten the screw a little more.
- If the Button is Detached from the Windshield:
- Gather Your Materials: You'll need a rearview mirror adhesive kit (available at most auto parts stores), rubbing alcohol, a clean cloth, and masking tape.
- Prepare the Surfaces: Clean both the windshield and the mounting button with rubbing alcohol to remove any old adhesive or debris. Let them dry completely.
- Apply the Adhesive: Follow the instructions on the adhesive kit carefully. Typically, you'll apply a small amount of adhesive to the button and then firmly press it against the windshield in the original location (you may need to mark the original location beforehand).
- Secure the Button: Use masking tape to hold the button in place while the adhesive cures. The curing time is usually specified in the adhesive kit instructions (often 24 hours).
- Reattach the Mirror: After the adhesive has fully cured, remove the masking tape and carefully slide the mirror onto the button.
- Tighten the Set Screw: Tighten the set screw to secure the mirror to the button.
Headliner-Mounted Mirrors
- Assess the Problem: Check if the screws or bolts attaching the mirror to the headliner are loose or missing.
- Tighten or Replace Hardware: If the screws are loose, tighten them carefully. If they are stripped or missing, replace them with screws or bolts of the same size and type. You may need to access the mounting point from behind the headliner, which could require removing a trim piece.
- Inspect the Headliner: If the headliner material is damaged around the mounting points, you may need to reinforce it with a small piece of sheet metal or a repair kit before reattaching the mirror.
Clip-On Mirrors
- Check the Clips: Ensure that the clips are properly aligned and securely attached to the existing rearview mirror.
- Adjust the Mirror: Adjust the clip-on mirror to the desired position and ensure that it doesn't obstruct your view.
- Replace if Damaged: If the clips are broken or the mirror is damaged, replace the entire clip-on mirror.
How to Choose the Right Adhesive Kit
Selecting the right rearview mirror adhesive kit is crucial for a successful repair. Consider these factors:
- Compatibility: Ensure the kit is specifically designed for rearview mirrors and compatible with glass surfaces.
- Strength: Choose an adhesive with a strong bonding strength to withstand temperature changes and vibrations.
- Curing Time: Consider the curing time. Some adhesives cure in minutes, while others require 24 hours. Choose one that fits your needs and schedule.
- Reviews: Read online reviews to get feedback from other users about the kit's performance and ease of use.
Reputable brands often provide better results and longer-lasting repairs. Look for kits from well-known automotive adhesive manufacturers.
Real-World Owner Experiences
Many car owners have successfully repaired their loose rearview mirrors themselves. Here are a few common experiences and tips:
- "The set screw was the culprit! I tightened it, and the mirror is solid now. Saved me a trip to the mechanic." - This highlights the importance of checking the set screw first.
- "The adhesive button came off completely. The adhesive kit worked great, but I recommend using plenty of masking tape to hold the button in place while it cures." - This emphasizes the need for proper adhesion and support during the curing process.
- "I have an auto-dimming mirror, and I was worried about damaging the electrical connections. I disconnected the battery before working on it, just to be safe." - This demonstrates caution when dealing with mirrors with electrical components.
Frequently Asked Questions (FAQs)
Q: How long does it take for rearview mirror adhesive to dry?
A: Drying time varies depending on the adhesive kit. Some quick-drying adhesives cure in minutes, while others require 24 hours. Always follow the instructions on the adhesive kit.
Q: Can I use super glue to reattach my rearview mirror?
A: While super glue might seem like a quick fix, it's not recommended. Super glue is not designed for the specific bonding requirements of rearview mirrors and may not hold up to temperature changes and vibrations. Use a dedicated rearview mirror adhesive kit for best results.
Q: What if the windshield cracks when I try to reattach the mirror?
A: This is a rare occurrence, but it's possible if the windshield is already damaged or if you apply excessive pressure. Be gentle and avoid using excessive force. If you suspect the windshield is weak, consider having a professional reattach the mirror.
Q: My rearview mirror has electrical connections. Can I still fix it myself?
A: Yes, but use caution. Disconnect the car battery before working on the mirror to prevent electrical shock. Carefully disconnect and reconnect any electrical connectors. If you're not comfortable working with electrical components, it's best to consult a professional.
Q: How often should I check the tightness of my rearview mirror?
A: It's a good practice to periodically check the tightness of your rearview mirror, especially after driving on bumpy roads or experiencing significant temperature changes. A quick check every few months can help prevent the mirror from becoming loose in the first place.