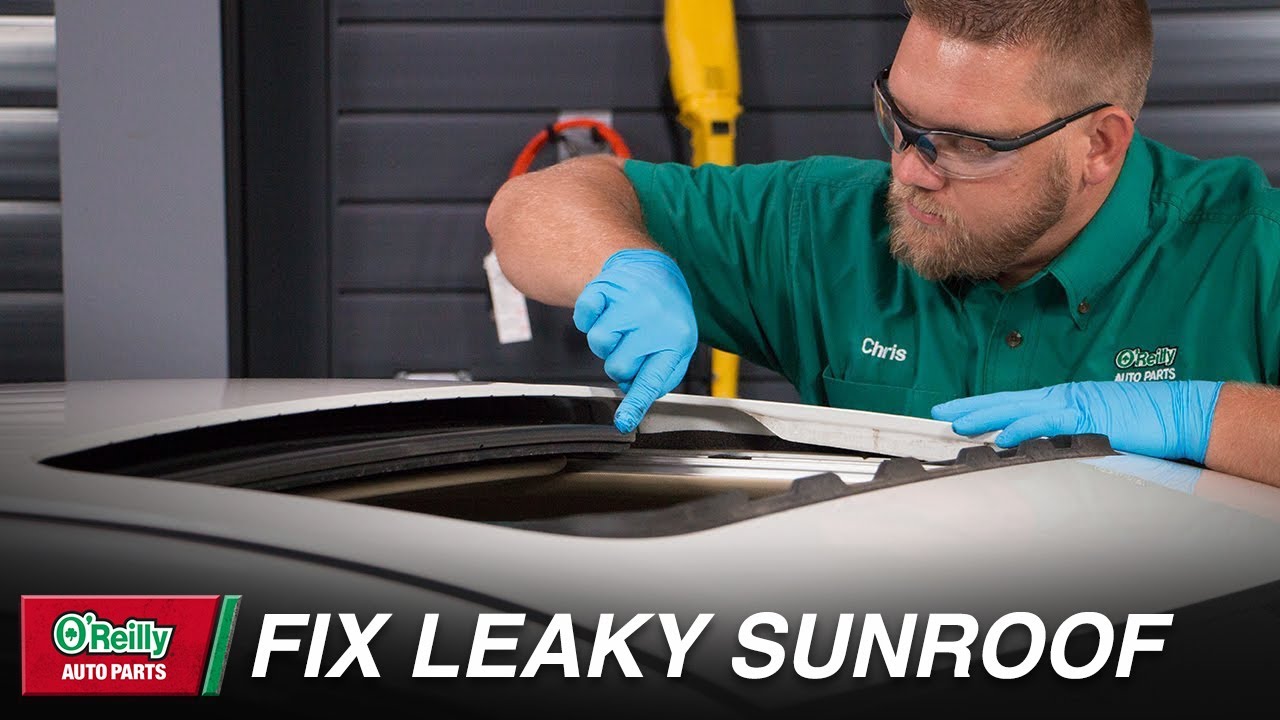
How To Fix A Sunroof Seal
That gentle drip… drip… drip. It’s the unwelcome soundtrack of a rainy day, and it’s coming from your sunroof. A leaky sunroof seal can be more than just an annoyance; it can lead to water damage, mold growth, and electrical issues within your car. But don't despair! Addressing a compromised sunroof seal is often a manageable DIY project, saving you a trip to the mechanic and giving you a deeper understanding of your vehicle.
Understanding the Problem: Why Sunroof Seals Fail
Imagine a dam holding back a reservoir of water. The rubber seal around your sunroof is similar, acting as the primary barrier against the elements. Over time, however, this barrier can degrade. Just like a rubber band left in the sun, the seal can become brittle, cracked, and lose its elasticity. This degradation allows water to seep through, eventually leading to those telltale drips.
Causes of Seal Deterioration
- UV Exposure: The sun's ultraviolet rays are a major culprit. They break down the polymers in the rubber, causing it to harden and crack.
- Temperature Fluctuations: Extreme hot and cold cycles can stress the seal, leading to expansion and contraction that eventually weakens its structure.
- Age: Simply put, time takes its toll. Rubber naturally degrades over time, regardless of environmental factors.
- Neglect: Lack of cleaning and maintenance can accelerate the degradation process. Dirt, debris, and tree sap can accumulate on the seal, trapping moisture and creating abrasive surfaces.
How Sunroof Systems Work: A Mechanical Overview
To effectively fix a sunroof seal, it's helpful to understand how the entire sunroof system operates. While specific designs vary between manufacturers, the core principles remain the same.
Most sunroofs consist of the following key components:
- Glass Panel: The movable panel that opens and closes the sunroof.
- Seal (Weatherstrip): The rubber gasket surrounding the glass panel, preventing water and wind intrusion. This is our primary focus.
- Frame: The structural housing that supports the glass panel and the operating mechanism.
- Tracks and Guides: These channels guide the movement of the glass panel as it opens and closes.
- Motor and Drive Mechanism: The electric motor that powers the opening and closing of the sunroof, typically involving gears, cables, or levers.
- Drainage System: A series of tubes that channel water away from the sunroof area, even if the seal isn't perfect. This is a crucial backup system.
When the sunroof is closed, the seal is compressed against the roof of the car, creating a watertight barrier. However, even with a perfectly intact seal, some water may still find its way past. This is where the drainage system comes into play. Small channels around the perimeter of the sunroof frame collect any water that enters and direct it through tubes that run down the A-pillars (front), C-pillars (rear in some cars), or both, and exit underneath the car.
Diagnosis: Is It *Really* the Seal?
Before you start tearing things apart, it's important to confirm that the seal is indeed the problem. Here's how to diagnose the leak:
- Visual Inspection: Carefully examine the seal for cracks, tears, gaps, or signs of hardening. Pay close attention to corners and areas where the seal bends.
- Water Test: With the sunroof closed, gently pour water around the perimeter of the glass panel. Observe where the water is leaking into the car. If it's coming directly through the seal, then it's likely the culprit.
- Drainage Test: Open the sunroof slightly and locate the drainage holes (usually in the corners of the sunroof frame). Use a thin wire or pipe cleaner to gently clear any debris from the drainage tubes. Then, pour water into the drainage channels and check that it drains properly from the exit points under the car. Clogged drainage tubes can often mimic a leaky seal.
If the water drains properly and you still see water leaking through the seal itself, then replacement or repair is necessary.
Repair Options: From Temporary Fixes to Full Replacements
Once you've confirmed that the seal is the problem, you have several options, ranging from temporary solutions to complete replacements:
Temporary Fixes:
- Sealant: Applying a bead of silicone sealant along the damaged areas of the seal can provide a temporary barrier against water intrusion. This is a quick and inexpensive solution, but it's not a long-term fix. Choose a sealant specifically designed for automotive use and that is UV resistant.
- Lubrication: Sometimes, the seal isn't necessarily damaged, but simply dried out and not making proper contact. Applying a rubber conditioner or silicone lubricant can help restore its pliability and improve the seal. This is especially useful for seals that are showing signs of age but haven't yet cracked.
Permanent Solutions:
- Seal Replacement: This is the most reliable solution. Replacing the entire sunroof seal ensures a proper and lasting barrier against water intrusion. You can purchase replacement seals from automotive parts stores or directly from the manufacturer. The installation process varies depending on the vehicle model, but typically involves removing the old seal, cleaning the surface, and installing the new seal using adhesive (if required).
- Professional Repair: If you're not comfortable tackling the repair yourself, a professional automotive technician can replace the seal for you. This is a more expensive option, but it guarantees a proper installation.
DIY Seal Replacement: A Step-by-Step Guide (General)
While specific instructions will vary depending on your vehicle, here's a general outline of the sunroof seal replacement process:
- Gather Your Tools and Materials: You'll need a new sunroof seal, a flathead screwdriver or plastic trim removal tool, automotive adhesive (if required), a clean rag, rubbing alcohol, and gloves.
- Remove the Old Seal: Carefully pry off the old seal using the trim removal tool. Be gentle to avoid damaging the surrounding paint or trim. In some cases, the seal may be glued in place, requiring you to use a heat gun or adhesive remover to loosen it.
- Clean the Surface: Thoroughly clean the surface where the new seal will be installed using rubbing alcohol and a clean rag. This will remove any dirt, debris, or old adhesive residue, ensuring a good bond for the new seal.
- Install the New Seal: If the new seal requires adhesive, apply it to the back of the seal according to the manufacturer's instructions. Carefully position the seal in place and press it firmly onto the surface, ensuring a tight and even fit.
- Allow the Adhesive to Cure: Allow the adhesive to cure completely before exposing the sunroof to water. Check the adhesive manufacturer's instructions for the recommended curing time.
Pros and Cons of DIY vs. Professional Repair
DIY Repair:
- Pros: Cost-effective, learn about your car, sense of accomplishment.
- Cons: Time-consuming, potential for mistakes, requires some mechanical skill.
Professional Repair:
- Pros: Guaranteed results, convenient, saves time.
- Cons: More expensive.
Manufacturer Examples and Considerations
Different manufacturers employ slightly different sunroof designs and seal types. For example, some Mercedes-Benz models are known for having intricate sunroof mechanisms that require specialized tools and knowledge for repair. Toyota vehicles often feature relatively simple sunroof designs, making DIY seal replacement more straightforward. Honda and Acura vehicles sometimes have seals that are integrated into the glass panel itself, requiring replacement of the entire panel if the seal is damaged (a much more costly repair).
Before attempting any repair, it's crucial to consult your vehicle's repair manual or online resources specific to your make and model. This will provide you with detailed instructions and diagrams, ensuring that you're following the correct procedures.
Real-World Insights and Recommendations
From personal experience and discussions with other car enthusiasts, here are some key takeaways regarding sunroof seal repair:
- Prevention is Key: Regularly cleaning and lubricating your sunroof seal can significantly extend its lifespan. Use a dedicated rubber conditioner or silicone lubricant specifically designed for automotive seals.
- Don't Neglect the Drains: Periodically cleaning the sunroof drainage tubes is just as important as maintaining the seal itself. Clogged drains can lead to water backing up and overflowing into the car, even with a perfectly good seal.
- Use Quality Parts: When replacing the seal, opt for a high-quality replacement from a reputable manufacturer. Cheap aftermarket seals may not fit properly or last as long as OEM or equivalent parts.
- Patience is a Virtue: Take your time and be careful when removing and installing the seal. Rushing the process can lead to mistakes and damage.
- When in Doubt, Seek Professional Help: If you're unsure about any aspect of the repair process, don't hesitate to consult a professional automotive technician. It's better to pay for a proper repair than to risk damaging your car.
Fixing a leaky sunroof seal can seem daunting, but with a little knowledge, patience, and the right tools, it's a manageable DIY project. By understanding how your sunroof system works and following these guidelines, you can keep your car dry and prevent costly water damage.