How To Fix Broken Mirror On Car
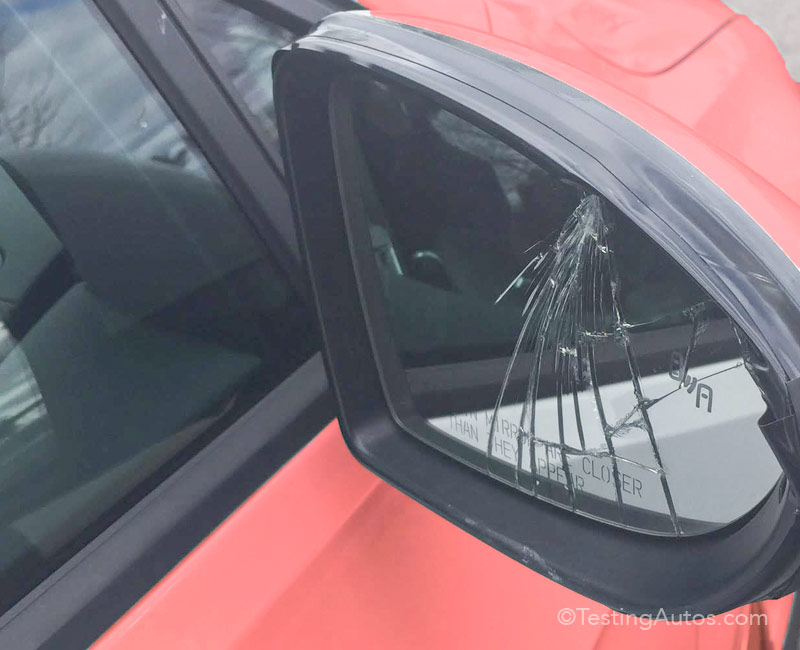
So, you've whacked your side mirror. It happens. Maybe it was a rogue shopping cart, a close encounter with a garage door, or the dreaded blind spot merge. Either way, a broken side mirror can be more than just an eyesore; it's a serious safety hazard. This guide provides a detailed walkthrough on how to diagnose and fix a broken side mirror on your car, assuming you're comfortable tackling a moderate DIY project. We'll break down the components, explain the wiring (if applicable), and get you back on the road safely.
Purpose
Why bother with a repair guide? Well, replacing a side mirror, whether just the glass or the entire assembly, can save you a significant chunk of change compared to taking it to a professional body shop. This guide, coupled with a wiring diagram (which we'll provide access to later), empowers you to:
- Save Money: DIY repairs are almost always cheaper.
- Learn Auto Mechanics: This is a great hands-on learning experience.
- Customize: Allows for upgrades or modifications during the repair process.
- Maintain Vehicle Value: Properly repairing damage prevents further deterioration.
Having a wiring diagram is crucial for understanding the electrical system within the mirror. This is especially true for mirrors with features like heating, turn signals, or blind spot monitoring. The diagram allows you to identify wires, test circuits, and ensure everything is reconnected correctly.
Key Specs and Main Parts
Before diving in, let's understand the anatomy of a side mirror. The complexity varies depending on your vehicle's make, model, and options package, but the basic components remain largely the same:
- Mirror Glass (Reflector): This is the reflective surface that provides the visual image. It can be flat or convex to widen the field of view.
- Mirror Housing (Casing): This is the outer shell that protects the internal components. It's usually made of plastic or composite materials.
- Actuator (Motor): If your mirror is electrically adjustable, actuators use small motors to move the glass up/down and left/right.
- Wiring Harness: A bundle of wires that connect the mirror's electrical components (actuators, heaters, turn signals) to the car's electrical system.
- Turn Signal Indicator (Optional): Some mirrors have integrated turn signal lights.
- Heating Element (Optional): Located behind the mirror glass, it defrosts or demists the mirror surface.
- Blind Spot Monitoring System (Optional): Sensors that detect vehicles in your blind spot.
- Mounting Bracket: Attaches the entire assembly to the car door.
Key Specs to Consider:
- Mirror Glass Type: Flat, Convex, Aspherical (Europe). Impacts the field of view.
- Wiring Configuration: Number of wires, connector type, pinout diagram (absolutely crucial).
- Mounting Style: Different cars use different mounting systems (screws, clips, adhesives).
- Heated vs. Non-Heated: Impacts the wiring and the type of mirror glass needed.
- Power Adjustable vs. Manual: Significant difference in complexity and wiring.
Symbols (Wiring Diagram)
Understanding the symbols on a wiring diagram is essential for troubleshooting and proper reconnection. While diagrams vary, here are some common symbols and their meanings:
- Solid Lines: Represent wires. Thicker lines often indicate higher current capacity.
- Dashed Lines: Can indicate shielding, grounds, or less critical connections.
- Circles: Often represent connectors. May contain numbers indicating pin numbers.
- Resistor Symbol (Zig-Zag Line): Indicates a resistor, which limits current flow.
- Capacitor Symbol (Parallel Lines): Indicates a capacitor, which stores electrical energy.
- Diode Symbol (Triangle Pointing to a Line): Allows current to flow in one direction only.
- Ground Symbol (Downward Facing Triangle Stack): Indicates a connection to ground (chassis).
- Motor Symbol (Circle with an "M" inside): Represents an electric motor, such as those in the actuator.
- Fuse Symbol (S-Shaped Line): A safety device that breaks the circuit if the current exceeds a safe level.
- Colors: Wires are often color-coded (e.g., Red for power, Black for ground). The wiring diagram key will specify the meaning of each color.
Pay close attention to the connector symbols and their corresponding pin numbers. Incorrectly connecting wires can damage components or cause malfunctions.
How It Works
Let's break down the functionality of a modern side mirror. A basic manual mirror is straightforward: the glass is mechanically adjusted by hand. Power mirrors, however, utilize a small electric motor (actuator) connected to the mirror glass. The driver controls the motor through switches in the car. Pressing the "up" switch, for example, sends a signal to the actuator, causing it to move the mirror glass upwards.
Heated mirrors utilize a heating element, a resistive wire embedded in the back of the mirror glass. When voltage is applied, the resistor heats up, warming the glass and melting ice or evaporating condensation. This is typically controlled by the rear defogger switch.
Turn signal indicators are simply LEDs or incandescent bulbs integrated into the mirror housing. They are wired into the car's turn signal circuit.
Blind spot monitoring systems use radar or ultrasonic sensors to detect vehicles in the blind spot. When a vehicle is detected, a warning light illuminates in the mirror to alert the driver.
Real-World Use – Basic Troubleshooting Tips
Before replacing the entire mirror assembly, consider these troubleshooting steps:
- Check the Fuse: A blown fuse is a common cause of non-functional power mirrors, heated mirrors, or turn signals. Locate the fuse box (usually under the dashboard or in the engine compartment) and check the fuse associated with the mirrors.
- Inspect the Wiring: Check for loose connections, frayed wires, or corrosion at the mirror connector and along the wiring harness.
- Test the Switch: Use a multimeter to test the continuity of the mirror adjustment switch. A faulty switch can prevent power from reaching the actuator.
- Test the Actuator (Power Mirrors Only): Disconnect the actuator and apply a small amount of voltage (e.g., 9V battery) directly to the motor terminals. If the motor doesn't move, it's likely faulty.
- Check for Broken Glass Only: If only the glass is broken, you can often replace just the glass without replacing the entire assembly. This is usually a simpler and cheaper repair.
Example Scenario: Your power mirror isn't working. First, check the fuse. If the fuse is good, inspect the wiring for any obvious damage. Next, use a multimeter to check if power is reaching the mirror connector when you press the adjustment switch. If there's no power, the switch or the wiring between the switch and the connector is likely the problem. If there *is* power, the actuator itself is likely faulty.
Safety – Highlight Risky Components
Working on car electrical systems involves inherent risks. Here are some key safety precautions:
- Disconnect the Battery: Always disconnect the negative battery terminal before working on any electrical components. This prevents accidental short circuits and electric shock.
- Use Insulated Tools: Use tools with insulated handles to protect yourself from electric shock.
- Be Careful with Airbags: Some side mirrors are located near side-impact airbags. Be extremely careful when working in this area, as accidental deployment of an airbag can cause serious injury. Consult your vehicle's repair manual for airbag deactivation procedures if necessary (this is generally not required for a simple mirror replacement, but be aware of the proximity).
- Handle Glass Carefully: Broken mirror glass is sharp and can cause cuts. Wear gloves and eye protection when handling broken glass.
- Do Not Work on Live Circuits: Never work on electrical circuits with the ignition on or the engine running unless specifically instructed to do so by a repair manual.
Always prioritize safety. If you are uncomfortable working with electrical systems, consult a qualified mechanic.
Warning: Never tamper with airbag systems unless you are a trained professional. Airbag deployment can cause serious injury or death.
We have a detailed wiring diagram specific to [mention specific car make and model example: 2015 Honda Civic LX] available for download. This diagram will provide you with the exact wiring configuration for your mirror, including wire colors, connector pinouts, and component locations. You can download it by [provide download instructions or link]. Using this diagram will significantly improve the accuracy and safety of your repair.