How To Fix Broken Side Mirror
So, your side mirror's taken a hit, huh? Happens to the best of us. Whether it's a rogue shopping cart, a close encounter with a mailbox, or just good old-fashioned wear and tear, a broken side mirror can be a real pain. Not only does it impede your visibility, making driving more dangerous, but it can also land you in trouble with the law in some jurisdictions. Fortunately, replacing or repairing a side mirror is often a task that a reasonably skilled DIYer can tackle. This guide will walk you through the process, using a detailed diagram (which you can download at the end of this article) to illuminate the key components and procedures involved.
Understanding Your Side Mirror: Purpose and Anatomy
Purpose: The primary function of your side mirror is, of course, to provide rearward visibility, supplementing the rearview mirror and eliminating blind spots. This is crucial for safe lane changes, merging, and overall situational awareness on the road. A fully functional side mirror is an absolute necessity for safe driving.
Before we dive into the repair, let's break down the key specs and parts of a typical side mirror assembly. Our downloadable diagram will provide a visual aid, but understanding the terminology is essential.
Key Specs and Main Parts
- Mirror Glass: This is the most obvious component, and it comes in various forms – flat, convex, or aspherical. Flat mirrors offer a true-to-size reflection, while convex mirrors provide a wider field of view but distort distances. Aspherical mirrors offer a variable curvature, minimizing blind spots. The diagram will specify the type of mirror your vehicle uses.
- Mirror Housing: This is the protective shell that encases the mirror glass and internal mechanisms. It's typically made of plastic but can also be metal or a composite material. The housing provides structural support and aerodynamic efficiency.
- Adjustment Mechanism: This system allows you to adjust the angle of the mirror glass. It can be manual (using levers or knobs) or electric (using motors controlled by switches in the cabin). The diagram will show whether your vehicle has a manual or electric adjustment mechanism.
- Mounting Bracket: This is the interface between the side mirror assembly and the vehicle door. It's typically bolted or screwed into place. The mounting bracket is a critical structural element, ensuring the mirror remains securely attached.
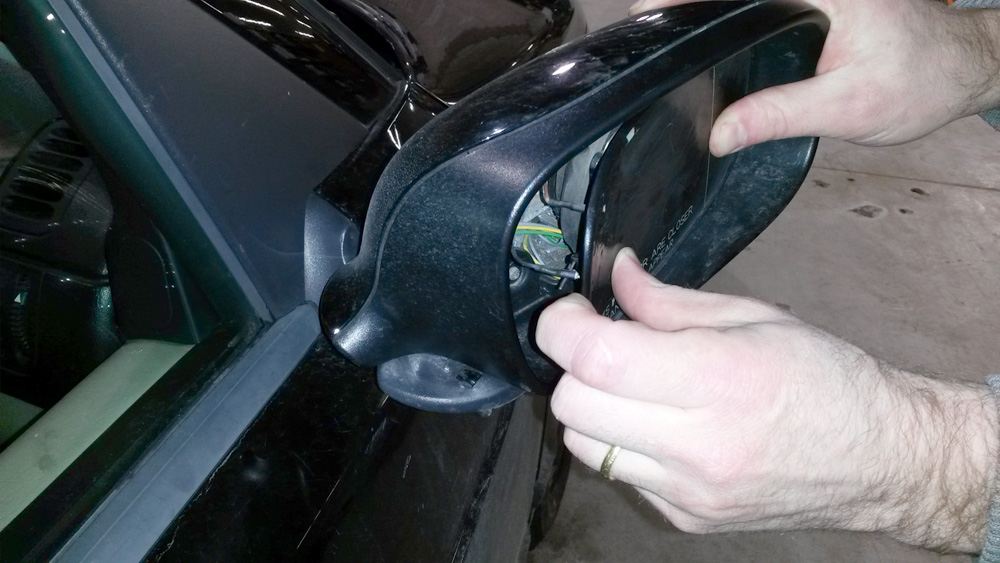
- Wiring Harness (Electric Mirrors Only): This bundle of wires provides power to the adjustment motors, heating elements (if equipped), and turn signal indicators (if integrated into the mirror). The diagram will clearly show the wiring harness and its connections.
- Heating Element (Optional): This element, typically embedded in the back of the mirror glass, warms the mirror to defrost it and remove condensation. This is a common feature in colder climates.
- Turn Signal Indicator (Optional): Some side mirrors integrate a turn signal indicator for added visibility. This often takes the form of an LED strip or an arrow-shaped lens.
- Folding Mechanism (Optional): Some mirrors offer a manual or electric folding function, allowing you to tuck the mirror in to prevent damage in tight spaces.
Symbols in the Diagram
Understanding the symbols used in the diagram is crucial for accurate diagnosis and repair.
- Solid Lines: These typically represent physical connections, such as wires or mechanical linkages.
- Dashed Lines: These often indicate hidden components or alternative pathways.
- Arrows: These show the direction of force or movement. For example, arrows might indicate the direction of adjustment for the mirror glass.
- Color Codes (Wiring Diagrams): Different colored wires represent different circuits. The diagram will include a key explaining the color codes. For example, red might represent power, black might represent ground, and other colors might represent signals for specific functions.
- Component Symbols: Each component will be represented by a standardized symbol, such as a rectangle for a motor, a circle for a potentiometer (used in electric mirror adjustment), or a zigzag line for a heating element.
How It Works: A Functional Overview
Let's take a look at how a typical side mirror operates.
Manual Adjustment: In a manual adjustment system, levers or knobs directly manipulate the mirror glass. These levers are typically connected to a series of gears or linkages that tilt and rotate the mirror glass within the housing. The diagram will illustrate the specific mechanical arrangement of your vehicle's manual adjustment system.
Electric Adjustment: In an electric adjustment system, switches in the cabin send signals to small electric motors within the mirror housing. These motors drive a series of gears or linkages that adjust the angle of the mirror glass. The diagram will show the electrical circuit and the mechanical linkage between the motors and the mirror glass.
Heating Element: The heating element is a simple resistive circuit. When power is applied, the element heats up, warming the mirror glass and removing ice or condensation.
Turn Signal Indicator: When the turn signal is activated, power is sent to the LED or bulb in the side mirror, illuminating the indicator and alerting other drivers of your intention to turn or change lanes.
Real-World Use: Basic Troubleshooting
Here are some common issues and troubleshooting tips:
- Mirror Glass Broken: This is the most common problem. The mirror glass can be replaced independently of the entire assembly in many cases. Our diagram will show how to safely remove the broken glass and install a new one.
- Electric Adjustment Not Working: Check the fuse first. If the fuse is good, use a multimeter to test for power at the mirror motor connectors. If there's no power, the problem could be with the switch or the wiring. The diagram will help you trace the wiring and identify potential points of failure. If there is power, the motor itself may be faulty.
- Mirror Housing Damaged: If the housing is cracked or broken, it may need to be replaced. In some cases, you can purchase a replacement housing separately. The diagram will show how the housing is attached to the mounting bracket and the other components.
- Turn Signal Indicator Not Working: Check the bulb or LED first. If the bulb or LED is good, check the wiring and the turn signal circuit. The diagram will show the wiring for the turn signal indicator and its connection to the vehicle's electrical system.
- Mirror Loose or Vibrating: Check the mounting bolts or screws to ensure they are tight. If the mounting bracket is damaged, it may need to be replaced.
Safety Precautions
Working on your car can be dangerous if you don't take the proper precautions. Here are some safety tips to keep in mind when repairing your side mirror:
- Disconnect the Battery: Before working on any electrical components, disconnect the negative terminal of the battery to prevent accidental shorts or shocks.
- Wear Safety Glasses: Always wear safety glasses to protect your eyes from flying debris.
- Handle Broken Glass Carefully: Broken mirror glass can be very sharp. Wear gloves and use caution when handling it. Dispose of the broken glass properly.
- Be Aware of Airbag Sensors: Some side mirrors contain sensors for the side airbag system. Be very careful when working around these sensors to avoid accidentally triggering the airbag. The diagram will indicate the location of any airbag sensors. Accidental airbag deployment can cause serious injury.
- Use the Right Tools: Use the correct tools for the job. This will help you avoid damaging the components and ensure a safe and effective repair.
Ready to Get Started?
With a little patience and the right tools, you can save yourself a significant amount of money by repairing your side mirror yourself. Remember to consult the detailed diagram (download link below!) for specific instructions and component locations. We've carefully prepared this resource to guide you through each step of the process.
We have the comprehensive diagram ready for you! You can download it here. This diagram contains detailed schematics, exploded views, and wiring diagrams specific to common side mirror types, providing the visual clarity you need to tackle this project with confidence. Good luck, and drive safe!