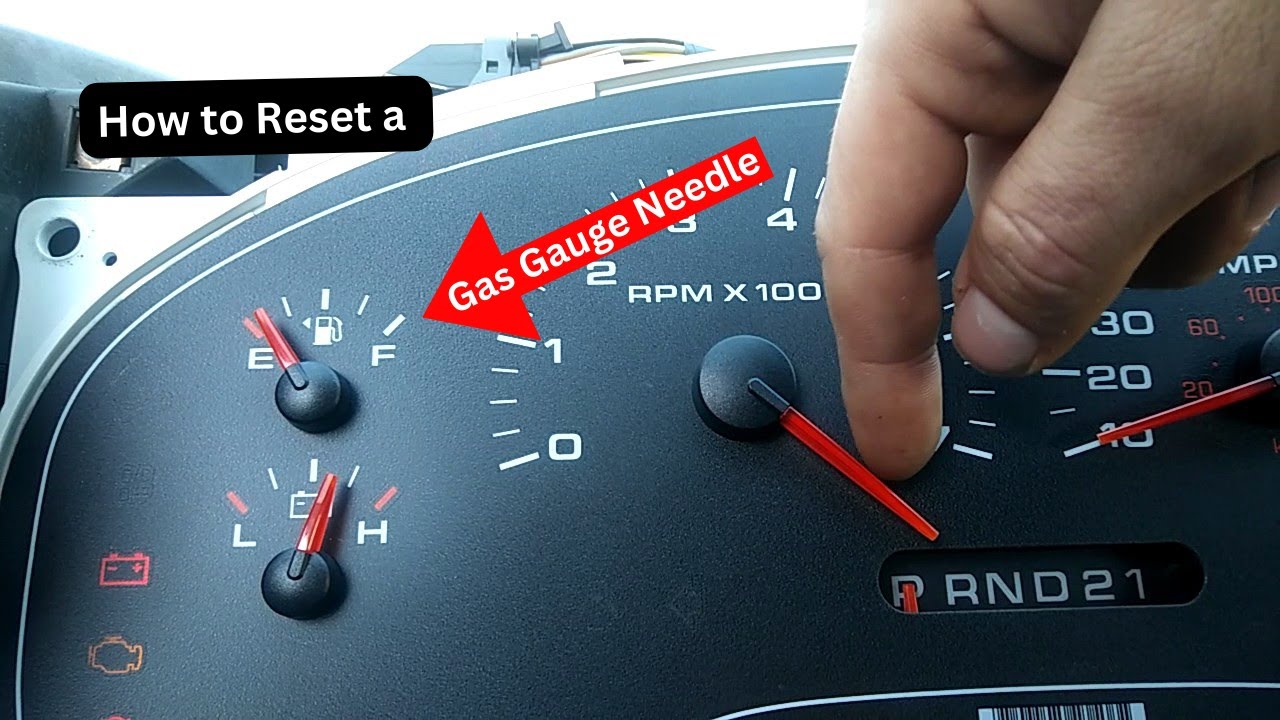
How To Fix Gas Gauge Needle
Is your fuel gauge needle dancing the cha-cha when it should be steadily indicating your fuel level? Or worse, is it stuck stubbornly at 'E' even with a full tank? A malfunctioning fuel gauge can be incredibly frustrating, leaving you guessing about your remaining range and potentially stranded on the side of the road. While a trip to the mechanic is always an option, understanding the system and attempting a DIY fix is often within the realm of a reasonably skilled amateur mechanic. Let's dive deep into the workings of the fuel gauge system and explore potential solutions.
Decoding the Dreaded 'E': Understanding the Problem
Imagine a simple dimmer switch controlling a light bulb. The dimmer switch represents the fuel level sending unit in your tank, the light bulb is the fuel gauge on your dashboard, and the wires connecting them are, well, the wires connecting them. When you turn the dimmer switch up, the light bulb gets brighter; when you turn it down, it dims. A faulty fuel gauge system is like having a dimmer switch that's either stuck, dirty, or has a broken connection, causing the light bulb to flicker, stay off, or shine at an inconsistent brightness.
Before you start tearing apart your dashboard, it's crucial to properly diagnose the issue. Common symptoms include:
- The gauge reads empty even with a full tank: This could indicate a problem with the sending unit, the wiring between the sending unit and the gauge, or the gauge itself.
- The gauge reads full even with an empty tank: Similar to the previous symptom, but potentially a different type of fault in the sending unit or wiring.
- The gauge fluctuates wildly: This is often a sign of a bad sending unit or a loose/corroded connection.
- The gauge is stuck at a random point: This could be a mechanical issue with the gauge itself or a problem with the sending unit not registering changes in fuel level.
- The gauge doesn't move at all: Check for power to the gauge first. A blown fuse is a common culprit.
A Quick Diagnostic Checklist:
- Check the Fuse: Locate the fuse for your fuel gauge (consult your owner's manual). Is it blown? Replace it with a fuse of the correct amperage. If it blows again immediately, you have a short circuit somewhere in the system.
- Visual Inspection: Inspect the wiring to the fuel tank (if accessible) for any obvious damage, corrosion, or loose connections.
- Ground Connection: Ensure the fuel tank and sending unit have a good ground connection to the vehicle's chassis. Corrosion can disrupt the ground, causing inaccurate readings.
The Mechanics of the Fuel Gauge System: A Deep Dive
The fuel gauge system, while seemingly simple, relies on a network of components working in harmony. Here's a breakdown:
- Fuel Tank Sending Unit: This is the heart of the system, typically consisting of a float, a potentiometer (variable resistor), and wiring. The float rises and falls with the fuel level, moving a wiper arm across the potentiometer. As the wiper arm moves, the resistance changes, signaling the fuel gauge. Modern sending units sometimes incorporate more complex sensors, but the principle remains the same: translate fuel level into an electrical signal.
- Wiring: Wires connect the sending unit to the fuel gauge on the dashboard. These wires carry the electrical signal representing the fuel level.
- Fuel Gauge: The fuel gauge, also known as the instrument panel unit, is essentially a meter that displays the fuel level based on the electrical signal it receives from the sending unit. Older gauges often used a bi-metallic strip that would bend proportional to the applied current, moving the needle accordingly. Newer gauges utilize stepper motors for more precise and reliable needle movement.
The fuel gauge and sending unit are calibrated to work together. The resistance range of the sending unit is designed to correspond to specific needle positions on the gauge. For example, a higher resistance might indicate a full tank, while a lower resistance indicates an empty tank.
Let's illustrate how this works with a common scenario: You fill up your gas tank. The float in the sending unit rises, moving the wiper arm across the potentiometer. This reduces the resistance, allowing more current to flow to the fuel gauge. The gauge interprets this higher current as a full tank and moves the needle to the 'F' position.
Common Culprits: Why Fuel Gauges Fail
- Faulty Sending Unit: This is the most common cause of fuel gauge problems. The potentiometer can wear out, the float can become damaged or detached, or the wiring within the sending unit can corrode.
- Wiring Issues: Damaged, corroded, or loose wiring can interrupt the signal between the sending unit and the gauge. Shorts to ground or opens in the circuit can also cause inaccurate readings.
- Faulty Fuel Gauge: Although less common, the gauge itself can fail. This might be due to a broken stepper motor, damaged circuitry, or a faulty needle mechanism.
- Corrosion: Rust or corrosion in the fuel tank or around the sending unit can damage the components and disrupt the electrical connections.
- Grounding Problems: A poor ground connection between the fuel tank and the vehicle's chassis can interfere with the sending unit's ability to provide an accurate signal.
Fixing the Fuel Gauge: A Step-by-Step Approach
Safety First! Before working on the fuel system, disconnect the negative terminal of your car battery to prevent accidental shorts. Work in a well-ventilated area and avoid open flames.
- Accessing the Sending Unit: The fuel tank sending unit is typically located inside the fuel tank. Accessing it usually involves removing the fuel pump assembly, which often includes the sending unit. The location and procedure vary depending on the vehicle make and model. Consult your vehicle's repair manual for specific instructions. Some vehicles have an access panel under the rear seat, while others require you to drop the entire fuel tank.
- Inspecting the Sending Unit: Once you have access to the sending unit, visually inspect it for damage, corrosion, or loose connections. Check the float for leaks or damage. Use a multimeter to test the resistance of the potentiometer as you manually move the float arm. The resistance should change smoothly and consistently. If the resistance is erratic or doesn't change at all, the sending unit is likely faulty.
- Testing the Wiring: Use a multimeter to test the continuity of the wiring between the sending unit and the fuel gauge. Check for shorts to ground. If you find any breaks or shorts, repair or replace the wiring.
- Testing the Fuel Gauge: Testing the fuel gauge directly requires more specialized equipment and knowledge. You can try simulating a signal from the sending unit using a variable resistor to see if the gauge responds correctly. However, if you've ruled out other problems, replacing the gauge is often the easiest solution.
- Replacing the Sending Unit: If the sending unit is faulty, replace it with a new one. Make sure to use a sending unit that is compatible with your vehicle. Follow the manufacturer's instructions for installation.
- Reassembling and Testing: Once you've replaced the sending unit or repaired the wiring, reassemble the fuel system and reconnect the battery. Fill the tank with a small amount of fuel and check the fuel gauge. Add more fuel gradually and verify that the gauge is reading correctly.
Pros and Cons of DIY Fuel Gauge Repair
Pros:
- Cost Savings: You can save money on labor costs by performing the repair yourself.
- Increased Knowledge: You'll gain a better understanding of your vehicle's fuel system.
- Personal Satisfaction: There's a sense of accomplishment that comes with fixing something yourself.
Cons:
- Potential for Mistakes: If you're not careful, you could damage other components or cause a fuel leak.
- Time Commitment: The repair can be time-consuming, especially if you're not familiar with the process.
- Specialized Tools: You may need specialized tools, such as a multimeter, to diagnose and repair the problem.
- Safety Risks: Working with fuel can be dangerous. It's important to take precautions to prevent fires or explosions.
Real-World Examples and Manufacturer Variations
The basic principles of the fuel gauge system are the same across different manufacturers, but the specific implementation can vary. For example, some manufacturers use a two-wire system, while others use a three-wire system. Some vehicles have the fuel pump and sending unit integrated into a single assembly, while others have them separate.
GM vehicles are known for sending unit failures due to corrosion and wear of the potentiometer. Ford vehicles sometimes suffer from wiring harness issues near the fuel tank, especially in older models. Toyota vehicles generally have reliable fuel gauge systems, but sending unit failures can occur due to fuel contamination.
Final Thoughts: Beyond the Gauge
Fixing a fuel gauge can range from a simple fuse replacement to a more involved sending unit replacement. It's essential to approach the task methodically, starting with the easiest and most common solutions. Before diving in, consult your vehicle's repair manual and research the specific issues that are common for your make and model. Remember, safety is paramount when working with fuel systems. If you're not comfortable performing the repair yourself, don't hesitate to take your vehicle to a qualified mechanic.
Even with a properly functioning fuel gauge, it's always a good idea to keep track of your mileage and fuel consumption. This can help you anticipate when you'll need to refuel, even if your gauge is acting up. Plus, it’s a good practice in general because relying solely on a single sensor for something as important as fuel level can lead to unexpected situations. A little knowledge and preventative maintenance can go a long way in keeping you on the road.