How To Fix Hail Damage On A Car
Fixing Hail Damage: A DIY Guide for the Auto Enthusiast
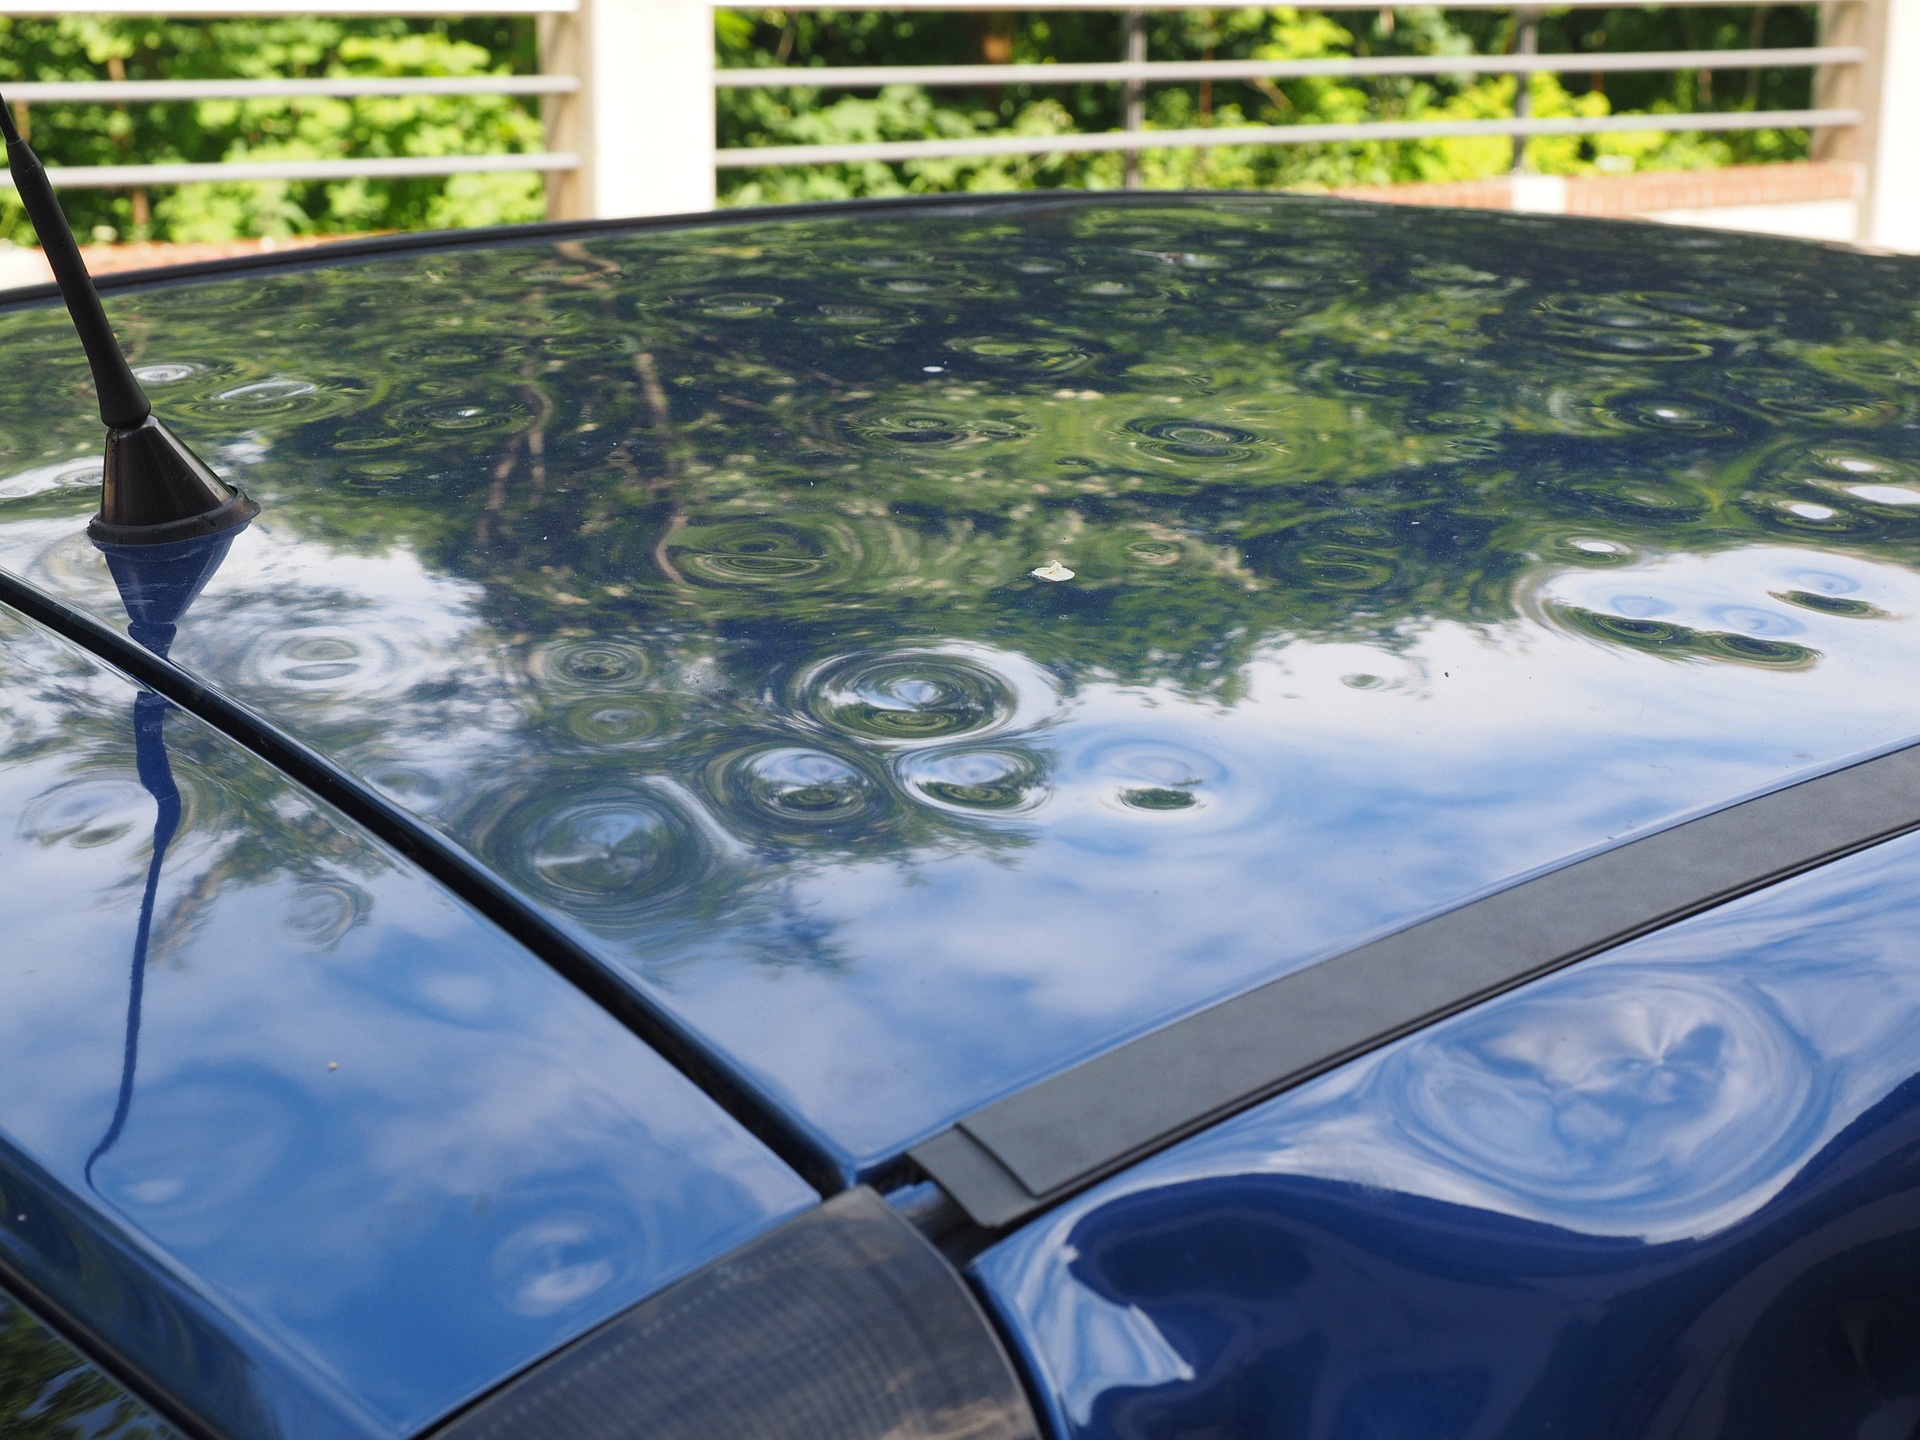
Hail damage can be a frustrating experience for any car owner. From minor dents to significant bodywork, the aftermath of a hailstorm can leave your vehicle looking worse for wear. While professional auto body shops offer excellent repair services, the cost can be substantial. For the experienced DIYer, understanding and attempting to repair hail damage can save money and provide a rewarding challenge. This guide will walk you through the process, from assessing the damage to using specialized tools and techniques.
Understanding the Damage and Repair Options
Before you even think about grabbing a hammer and dolly, it's crucial to understand the extent of the hail damage. This involves a careful inspection and consideration of different repair methods. The severity of the damage dictates the appropriate course of action.
Key Specs and Main Parts Involved:
- Paint Thickness: Measured in mils (thousandths of an inch). Understanding the paint's thickness is critical to avoid cracking or chipping during dent removal. A paint depth gauge is a valuable tool for this.
- Body Panels: These are the exterior metal or composite (aluminum or even carbon fiber) components of the car (hood, roof, doors, fenders, trunk lid) that are most susceptible to hail damage.
- Dent Size and Depth: Crucial for determining the appropriate repair method and tool size.
- Clear Coat: The top layer of paint, providing gloss and protection. Maintaining its integrity is key to a seamless repair.
- E-Coat (Electrocoat): The base coat of paint applied to the bare metal body. Protecting this from corrosion after a repair is also essential.
Repair Options:
- Paintless Dent Repair (PDR): This technique involves using specialized tools to massage the dents from the underside of the panel without damaging the paint. It's the preferred method for minor to moderate hail damage.
- Traditional Bodywork: This involves using fillers (like Bondo), sanding, and repainting the affected area. This is necessary for deeper dents or areas where the paint is damaged.
- Panel Replacement: For severely damaged panels, replacement might be the most cost-effective option.
Paintless Dent Repair (PDR) - A Closer Look
PDR is the most common and often the best solution for hail damage repair. It preserves the original factory finish and avoids the need for repainting.
How It Works:
PDR utilizes specialized tools to gently push or tap the metal back into its original shape. The process relies on the metal's memory and its ability to return to its pre-damaged form. Access to the back of the panel is essential. This is typically achieved by removing interior trim panels, accessing holes in the body structure, or drilling small, strategically placed holes that are later plugged.
Tools Required:
- PDR Rods: Various lengths and shapes to access different areas and apply pressure to the dents.
- Tapping Tools and Hammers: Used to tap down high spots and refine the repair.
- Glue Puller System: A system that uses glue tabs and a slide hammer or pulling device to pull out dents from the exterior. Useful when internal access is limited.
- Lights: Specialized PDR lights are crucial for seeing the dents and the progress of the repair. These lights create shadows that highlight imperfections.
- Heat Gun (Optional): Applying gentle heat can make the metal more pliable, aiding in the repair process. Use with extreme caution, as excessive heat can damage the paint.
Real-World Use - Basic Troubleshooting Tips for PDR:
- Dent Won't Budge: Try applying gentle heat with a heat gun. Make sure to keep the heat moving and avoid overheating the paint.
- Paint Cracking: Stop immediately. The paint may be too brittle or the dent too severe for PDR. Consider traditional bodywork.
- Difficulty Accessing Dent: Explore alternative access points or consider using a glue puller system.
- High Spots Appearing: Use a tapping tool and hammer to gently tap down the high spots.
Traditional Bodywork - When PDR Isn't Enough
When dents are too deep or the paint is damaged, traditional bodywork becomes necessary. This involves filling the dents, sanding, and repainting the affected area.
How It Works:
The process begins with cleaning and preparing the damaged area. Then, body filler (Bondo) is applied to fill the dents and imperfections. Once the filler dries, it's sanded down to match the surrounding contours. Primer is applied to create a smooth surface for the topcoat. Finally, the area is painted to match the original color.
Tools and Materials Required:
- Body Filler (Bondo): A two-part epoxy used to fill dents and imperfections.
- Sandpaper: Various grits for shaping and smoothing the filler.
- Sanding Block: Provides a flat surface for sanding.
- Primer: Creates a smooth, even surface for the paint.
- Paint: Matching the original color code is crucial for a seamless repair.
- Clear Coat: Provides gloss and protection to the paint.
- Spray Gun or Aerosol Cans: For applying primer, paint, and clear coat.
- Masking Tape and Paper: To protect surrounding areas from overspray.
Real-World Use - Basic Troubleshooting Tips for Bodywork:
- Filler Cracking: Insufficient mixing of the filler or applying it too thickly can cause cracking. Ensure proper mixing ratios and apply thin layers.
- Paint Not Matching: Even with the correct color code, slight variations can occur. Blend the paint into the surrounding area to minimize the difference.
- Orange Peel Texture: Caused by incorrect spray technique or paint viscosity. Adjust the spray gun settings or thin the paint as needed.
- Runs or Sags in Paint: Applying too much paint in one coat. Apply multiple thin coats, allowing each to dry before applying the next.
Safety Considerations
Working on car bodies can be hazardous. Always prioritize safety.
- Eye Protection: Wear safety glasses or goggles to protect your eyes from flying debris and chemicals.
- Hand Protection: Wear gloves to protect your hands from sharp edges, chemicals, and heat.
- Respiratory Protection: Wear a respirator when sanding or spraying paint to avoid inhaling harmful particles and fumes.
- Ventilation: Work in a well-ventilated area to avoid inhaling fumes.
- Electrical Safety: If using power tools, ensure they are properly grounded and in good working condition. Be particularly careful around electrical components within the vehicle. Disconnect the battery if necessary.
Electrical Wiring Considerations (Applicable if Removing Interior Trim)
When accessing the back of panels for PDR or removing panels for replacement, you might encounter electrical wiring for lights, sensors, or other components.
- Disconnect the Battery: Always disconnect the negative terminal of the battery before working with electrical wiring. This prevents accidental shorts and potential damage to the vehicle's electrical system.
- Identify Wiring Harnesses: Carefully identify the wiring harnesses connected to the panel you're removing. Take pictures before disconnecting anything to help with reassembly.
- Use Proper Tools: Use appropriate tools for disconnecting connectors and removing wiring clips. Avoid pulling or yanking on wires.
- Check Wiring Diagrams: Consult a wiring diagram for your specific vehicle model to understand the wiring layout and the function of each wire. This is especially important if you need to repair or modify any wiring.
- Reassembly: When reassembling, ensure all connectors are securely connected and wiring harnesses are properly routed and secured.
Conclusion
Repairing hail damage on a car requires patience, skill, and the right tools. While professional services are always an option, experienced DIYers can tackle minor to moderate hail damage using the techniques and information presented here. Remember to prioritize safety and take your time. Good luck!
We have a detailed diagram illustrating the various PDR techniques, bodywork processes, and wiring harness locations (generic example) that can further aid in your repairs. You can request access to download the diagram.