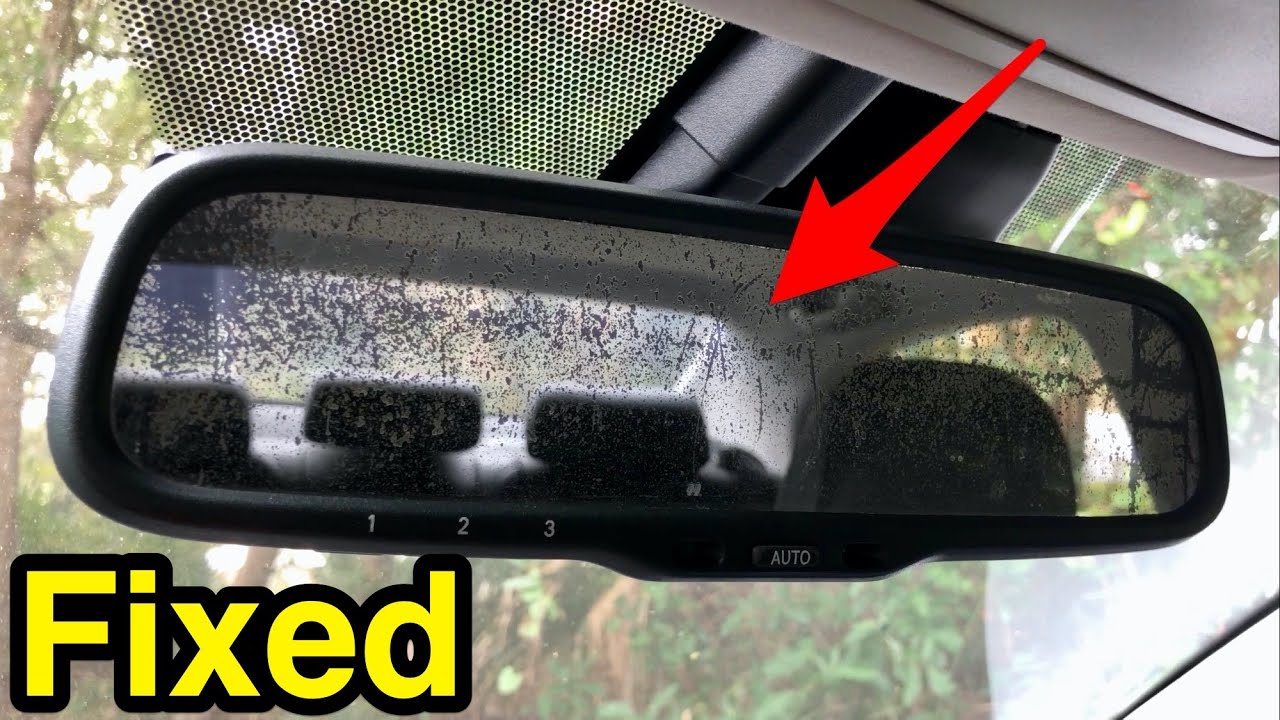
How To Fix Mirror Inside Car
Let's talk about that often-overlooked but absolutely crucial component of your car: the interior rearview mirror. Whether it's wobbling, fallen off completely, or just needs adjusting, a functional rearview mirror is essential for safe driving. This article will guide you through the anatomy of a typical rearview mirror and how to tackle common issues. We’re not going to delve into specific brand or model-specific intricacies (those vary greatly), but we will cover the general principles applicable to most vehicles. This information will be useful for general repairs, understanding your car's systems, or even modifications if you're planning a custom build.
Key Specs and Main Parts
The complexity of a rearview mirror varies depending on features like auto-dimming, compass displays, and integrated cameras. However, the core components remain relatively consistent.
Essential Components:
- Mirror Glass: The reflective surface itself. This is usually a coated glass, designed to provide a clear, undistorted reflection.
- Housing: The plastic or metal casing that encloses and protects the mirror glass and internal mechanisms.
- Mounting Bracket: The point of attachment to the windshield or roof. This can be a simple adhesive pad or a more complex bracket secured with screws.
- Adjustment Mechanism: Allows you to change the mirror's angle for optimal visibility. This can be a ball-and-socket joint, a tilt mechanism, or a combination of both.
- Day/Night Lever (or Switch): In manual mirrors, this lever adjusts the mirror's angle to reduce glare from headlights at night. In auto-dimming mirrors, this is replaced by sensors and electronic circuitry.
- Wiring (Auto-Dimming Mirrors): For mirrors with auto-dimming or other electronic features, there will be wiring connecting the mirror to the car's electrical system.
Key Specs to consider (if replacing):
- Mounting Style: Ensure the replacement mirror uses the same mounting style as your original. Some use an adhesive, others a screw-on mount attached to a base plate already glued to the windshield.
- Mirror Dimensions: A larger mirror offers a wider field of view, but may also obstruct your vision. Consider the original size when selecting a replacement.
- Functionality: If your original mirror had auto-dimming or other features, ensure the replacement offers the same functionality.
- Vehicle Compatibility: Always check if the mirror is specifically designed and compatible with your vehicle's make, model, and year.
How It Works
The basic principle is simple: light reflects off the mirror glass, allowing you to see what's behind you. However, the mechanics behind the day/night feature and auto-dimming function are more complex.
Day/Night Feature (Manual): This feature uses a prism behind the mirror glass. In the "day" position, you see a direct reflection from the front surface of the prism. In the "night" position, the lever tilts the prism, reflecting light from the back surface, which is less reflective, thus reducing glare.
Auto-Dimming Feature (Electronic): These mirrors use electrochromism. They have a layer of electrochromic gel sandwiched between two pieces of glass. Sensors detect ambient light levels and, when excessive glare is detected, a small electrical current is applied to the gel. This current causes the gel to darken, reducing the amount of light reflected to your eyes. The amount of dimming is proportional to the intensity of the glare.
The adjustment mechanism, typically a ball-and-socket joint, allows you to position the mirror to provide the best possible view of the road behind you. These joints can become loose over time, leading to a wobbly mirror.
Real-World Use – Basic Troubleshooting Tips
Here are some common problems and solutions:
- Mirror Falls Off: This is a frequent issue, especially with adhesive-mounted mirrors. Clean both the windshield and the mounting bracket thoroughly with rubbing alcohol. Use a high-quality rearview mirror adhesive (available at auto parts stores). Apply the adhesive according to the manufacturer's instructions and allow it to cure completely before reattaching the mirror. Ensure the mounting surface on the windshield is the original bracket. Avoid re-gluing directly to the glass.
- Mirror is Wobbly: A loose adjustment mechanism is usually the culprit. Try tightening any screws or bolts that secure the joint. If the joint is simply worn out, you may need to replace the entire mirror. A temporary fix might involve using a small piece of rubber or foam to add friction to the joint.
- Auto-Dimming Not Working: Check the wiring connections to the mirror. Make sure they are secure and free of corrosion. Check the fuse for the auto-dimming system (consult your car's owner's manual for the location of the fuse). If the wiring and fuse are good, the sensors or the mirror itself may be faulty, requiring replacement.
- Day/Night Lever Stuck: The mechanism may be jammed with dirt or debris. Try cleaning the lever and the surrounding area with a soft brush. Lubricate the mechanism with a small amount of silicone spray.
Safety – Highlight Risky Components
While repairing a rearview mirror is generally safe, there are a few potential hazards to be aware of:
- Wiring (Auto-Dimming Mirrors): Disconnect the car battery's negative terminal before working on any electrical components. This prevents accidental short circuits and electrical shocks.
- Glass: Handle the mirror glass carefully to avoid cuts. Wear gloves when handling broken glass. Dispose of broken glass properly.
- Adhesives: Some rearview mirror adhesives contain strong chemicals. Use them in a well-ventilated area and avoid contact with skin and eyes. Follow the manufacturer's instructions carefully.
- Windshield Damage: Be careful not to scratch or crack the windshield when removing the old mounting bracket or installing the new one. Use plastic tools to avoid damaging the glass.
Note about Airbags: Some vehicles have sensors integrated into the rearview mirror for airbag deployment. Never tamper with these sensors. Incorrect handling can lead to airbag malfunction and serious injury. If your mirror has integrated airbag sensors, it's best to have it serviced by a qualified technician.
While we can't provide specific wiring diagrams due to the vast differences between vehicle models, general wiring diagrams and repair procedures can often be found in your vehicle's service manual or online databases specific to your car’s make and model. These resources provide valuable information on identifying specific components and their functions. Remember, safety first! If you're unsure about any step, consult a professional mechanic. We have access to a vast library of vehicle diagrams and technical data, including those for rearview mirror systems. Contact us to access and download a diagram specific to your vehicle.