How To Fix Scratches On Bumper
Alright, let's talk about fixing those unsightly scratches on your bumper. Whether it's a minor scrape from a shopping cart or a more significant gouge, a damaged bumper can really detract from your car's appearance. This guide will walk you through the process of assessing the damage, selecting the right materials, and performing the repair like a pro. We're aiming for a professional finish, so attention to detail is key. Consider this article your comprehensive resource for tackling bumper scratch repair.
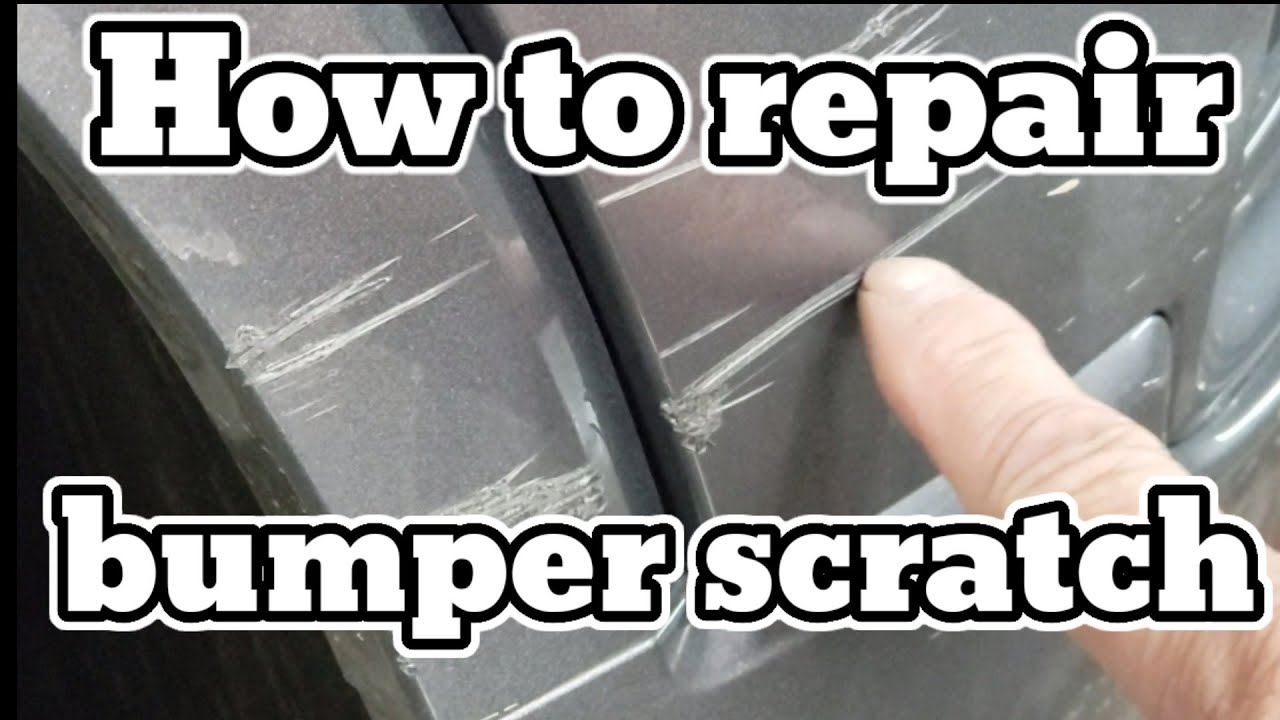
Understanding Bumper Damage and Repair Needs
Before you even think about grabbing sandpaper, you need to understand the extent of the damage. Bumper damage falls into a few broad categories:
- Clear Coat Scratches: These are the shallowest scratches, affecting only the clear protective layer. They often appear as swirls or light hazing.
- Paint Scratches: These penetrate the clear coat and reach the colored paint layer. You'll likely see the color of the underlying paint or primer.
- Deep Scratches/Gouges: These go all the way through the paint and clear coat, and may even reach the plastic bumper itself. You might feel a distinct ridge or groove when you run your finger over them.
- Cracks/Dents: This indicates more significant structural damage to the bumper that may require heat forming, welding, or more extensive repair.
The type of damage dictates the repair method. Minor clear coat scratches can often be buffed out, while deep scratches require filling, sanding, and repainting. Cracks and dents often require professional repair but we will cover some DIY techniques here too.
Key Materials and Equipment
To tackle bumper scratch repair effectively, you'll need the following:
- Cleaning Supplies: Automotive soap, degreaser, microfiber towels. Cleanliness is paramount for proper adhesion and a smooth finish.
- Sandpaper: A variety of grits are crucial:
- Wet/Dry Sandpaper (400-600 grit): For initial sanding to remove rust, heavy imperfections, and to feather the edges of deep scratches.
- Wet/Dry Sandpaper (800-1000 grit): For refining the surface and preparing it for primer.
- Wet/Dry Sandpaper (1500-2000 grit): For final sanding of the primer before applying the topcoat.
- Wet/Dry Sandpaper (2500-3000 grit): For removing orange peel and other imperfections in the clear coat after painting, prior to buffing.
- Body Filler (Bondo): For filling deep scratches and gouges. Look for a two-part filler that hardens chemically.
- Putty Knife/Spreader: For applying body filler smoothly.
- Primer: Automotive primer provides a smooth, uniform surface for the paint to adhere to. Use an etching primer for bare metal or plastic.
- Paint: Matching the exact paint color of your car is critical. You'll need to find your car's paint code (usually located on a sticker in the driver's side door jamb or engine compartment) and have the paint mixed accordingly. Use automotive-grade paint for durability and weather resistance. Aerosol cans are sufficient for small areas, but a paint sprayer offers better control and a more professional finish for larger repairs.
- Clear Coat: Protects the paint and provides a glossy finish. Apply several thin coats for best results.
- Rubbing Compound: Used after clear coat application to level any slight imperfections or orange peel.
- Polishing Compound: Refines the surface after rubbing compound for a high-gloss shine.
- Buffing Pads: Use different pads for rubbing compound and polishing compound. Foam pads are generally recommended.
- Buffing Machine: While optional, a buffing machine (rotary or dual-action) makes the buffing process much faster and easier.
- Masking Tape and Paper/Plastic Sheeting: For protecting surrounding areas from overspray.
- Tack Cloth: Removes dust and debris before painting.
- Safety Glasses, Gloves, and Respirator: Essential for protecting yourself from chemicals and dust.
Step-by-Step Repair Process
Here's a detailed breakdown of the repair process:
- Cleaning: Thoroughly clean the damaged area and surrounding area with automotive soap and degreaser. Rinse well and dry completely.
- Sanding (Initial): If there is rust or deep scratches, use 400-600 grit sandpaper to remove the rust and feather the edges of the scratches. Feathering means gradually blending the damaged area into the surrounding paint.
- Body Filler (If Necessary): If the scratches are deep, apply a thin layer of body filler to the damaged area. Mix the filler according to the manufacturer's instructions. Use a putty knife to spread the filler evenly, slightly overfilling the scratch. Allow the filler to dry completely.
- Sanding (Filler): Once the filler is dry, sand it down with 400-600 grit sandpaper to level it with the surrounding surface. Gradually move to finer grits (800-1000) to refine the surface.
- Masking: Mask off the surrounding area with masking tape and paper/plastic sheeting to protect it from overspray.
- Primer: Apply two to three thin coats of primer to the repaired area, allowing each coat to dry completely before applying the next. Follow the manufacturer's instructions for drying times.
- Sanding (Primer): Once the primer is dry, sand it with 1500-2000 grit sandpaper to create a smooth, even surface for the paint.
- Painting: Apply two to three thin coats of paint to the primed area, allowing each coat to dry completely before applying the next. Use even strokes and avoid applying too much paint at once, which can lead to runs.
- Clear Coat: Apply two to three thin coats of clear coat to the painted area, allowing each coat to dry completely before applying the next.
- Sanding (Clear Coat - If Necessary): If there is orange peel (a textured surface) in the clear coat, sand it lightly with 2500-3000 grit sandpaper.
- Rubbing Compound: Apply rubbing compound to the repaired area using a buffing pad and a buffing machine (or by hand). This will level any slight imperfections in the clear coat.
- Polishing Compound: Apply polishing compound to the repaired area using a clean buffing pad and a buffing machine (or by hand). This will restore the shine and gloss.
- Waxing (Optional): Apply a coat of wax to protect the paint and enhance the shine.
Real-World Use and Troubleshooting
- Paint Matching: Getting an exact paint match is crucial. Take your car to a reputable automotive paint supplier for the best results. They can use a spectrophotometer to analyze your car's paint and create a custom match.
- Runs and Sags: If you get runs or sags in the paint or clear coat, let it dry completely, sand it down with fine-grit sandpaper, and reapply the paint or clear coat.
- Orange Peel: Orange peel is a textured surface that can occur when the paint or clear coat is applied too thickly or dries too quickly. Sand it down with fine-grit sandpaper and buff it out with rubbing compound and polishing compound.
- Bubbling Paint: This can occur when moisture is trapped under the paint. Ensure the surface is completely dry before applying paint or primer.
- Adhesion Issues: If the paint doesn't adhere properly, it may be due to a dirty surface or incompatible primers or paints. Ensure the surface is clean and use compatible products.
Safety Considerations
Working with automotive paints and chemicals can be hazardous. Always take the following safety precautions:
- Ventilation: Work in a well-ventilated area to avoid inhaling fumes.
- Respirator: Wear a respirator to protect your lungs from harmful chemicals.
- Gloves: Wear gloves to protect your skin from chemicals.
- Eye Protection: Wear safety glasses to protect your eyes from debris and chemicals.
- Flammability: Automotive paints and chemicals are highly flammable. Keep them away from heat, sparks, and open flames.
- Disposal: Dispose of used rags, sandpaper, and containers properly according to local regulations.
Repair Diagram and Further Learning
To aid with your repair, a detailed diagram outlining the process and components is invaluable. A diagram will highlight the specific areas requiring attention, demonstrate proper masking techniques, and illustrate the order of application for various materials. You'll find details on the location of common bumper components like parking sensors and trim pieces.
We have a comprehensive repair diagram available for download. It includes:
- Step-by-step visual guides
- Material list
- Diagram of a typical bumper assembly
Remember, preparation is key. The more time you spend prepping the surface, the better the final result will be. Take your time, follow these steps carefully, and you'll be amazed at the results you can achieve. Always wear proper safety gear and work in a well-ventilated area.
You now have the knowledge and the resources to tackle those bumper scratches like a pro. Good luck!