How To Fix Splash Guard Under Car
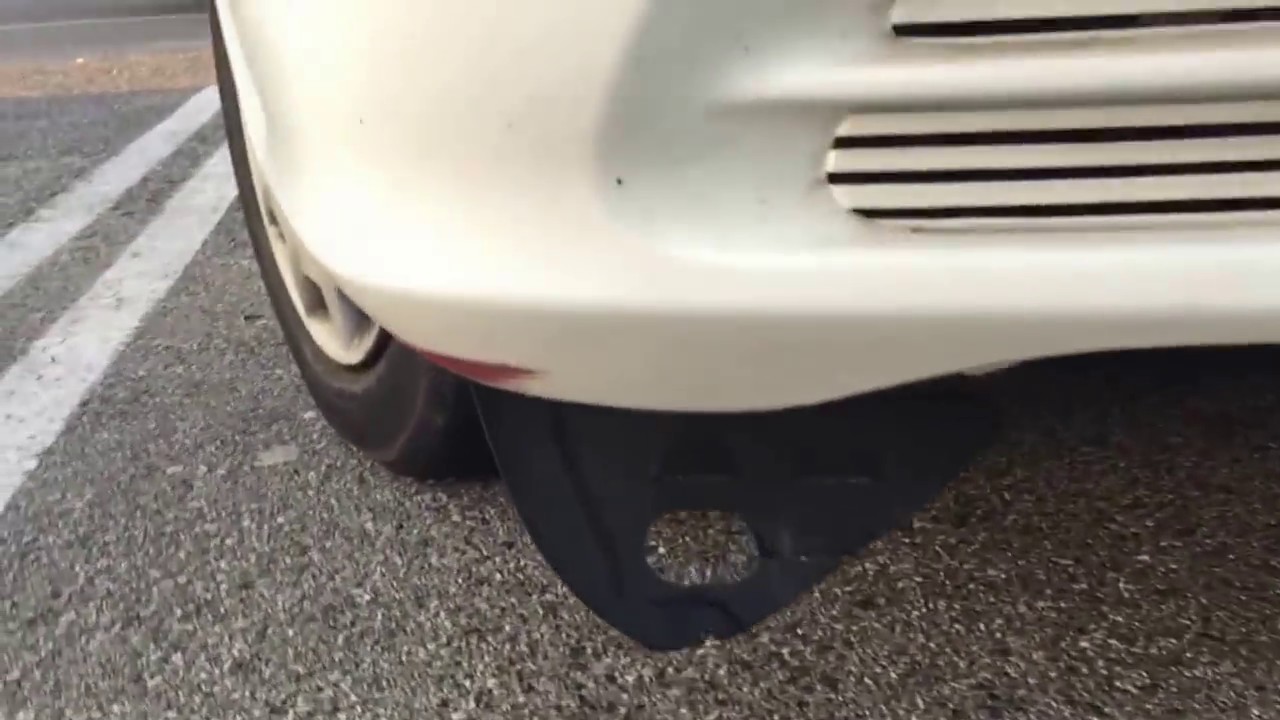
A splash guard, also known as an undercarriage shield or fender liner, is a crucial component of your vehicle. Its primary function is to protect vital engine components and the undercarriage from water, mud, road debris, and other elements. When a splash guard becomes damaged, loose, or detached, it's important to address the issue promptly. This article provides a comprehensive guide on how to fix a splash guard under your car, empowering you to tackle this repair with confidence.
Why Fixing a Loose or Damaged Splash Guard Matters
Ignoring a damaged or missing splash guard can lead to a cascade of problems. Understanding these consequences will highlight the importance of timely repair:
- Increased Risk of Corrosion: Without the protective barrier of the splash guard, the undercarriage is exposed to moisture, salt, and road chemicals, accelerating rust and corrosion. This can significantly shorten the lifespan of your car's components, leading to costly repairs down the road.
- Potential Damage to Engine Components: The engine bay is a sensitive area. Road debris, water, and other contaminants can damage belts, hoses, electrical connections, and even the engine itself. A properly functioning splash guard prevents these intrusions.
- Aerodynamic Issues: While seemingly small, the splash guard contributes to the vehicle's aerodynamics. A missing or damaged one can increase drag, leading to reduced fuel efficiency.
- Noise and Vibration: A loose splash guard can rattle and vibrate against the undercarriage, creating distracting and annoying noises. This can be particularly noticeable at higher speeds.
- Safety Concerns: In severe cases, a severely damaged or completely detached splash guard can become a road hazard, potentially endangering other drivers.
How to Choose the Right Replacement or Repair Method
Before you begin the repair process, it's essential to determine the extent of the damage and choose the appropriate solution. Here's a breakdown of factors to consider:
Assessing the Damage
Carefully inspect the splash guard to identify the problem. Ask yourself these questions:
- Is the splash guard cracked, torn, or punctured?
- Are the mounting points broken or damaged?
- Are the fasteners (screws, clips, bolts) missing or broken?
- Is the splash guard simply loose or detached?
Replacement vs. Repair
The decision to replace or repair depends on the severity of the damage:
- Minor Damage (Small Cracks or Holes): Minor damage can often be repaired using patching techniques or specialized repair kits.
- Significant Damage (Large Cracks, Tears, or Missing Sections): In cases of extensive damage, replacement is usually the most effective and reliable solution.
- Damaged Mounting Points: If the mounting points on the splash guard itself are broken, replacement is often necessary. However, if the mounting points on the vehicle are damaged, you may be able to repair them using specialized fasteners or repair techniques.
Choosing a Replacement Splash Guard
If replacement is required, consider these factors:
- OEM vs. Aftermarket: Original Equipment Manufacturer (OEM) splash guards are made by the vehicle manufacturer and are designed to be a perfect fit. Aftermarket splash guards are produced by third-party manufacturers and can be more affordable, but fit and quality can vary. Research reputable aftermarket brands to ensure a good fit and durable construction.
- Material: Splash guards are typically made of plastic or rubber. Consider the climate in your area. A more flexible material might be better in colder climates to prevent cracking.
- Vehicle Compatibility: Ensure that the replacement splash guard is specifically designed for your vehicle's make, model, and year. Double-check part numbers and specifications before purchasing.
Step-by-Step Guide: Fixing a Splash Guard
This guide provides general instructions. Always consult your vehicle's service manual for specific procedures and torque specifications.
Tools and Materials Needed
- New Splash Guard (if replacing)
- Jack and Jack Stands
- Socket Set
- Screwdriver Set (Phillips and Flathead)
- Pliers
- New Fasteners (Screws, Clips, Bolts) – Consider purchasing a variety pack of automotive fasteners as these often break or are corroded.
- Repair Kit (if repairing – may include patching material, adhesive, and reinforcement mesh)
- Safety Glasses
- Gloves
- Work Light
- Optional: Penetrating Oil
Procedure
- Safety First: Park your vehicle on a level surface, engage the parking brake, and chock the rear wheels. Wear safety glasses and gloves throughout the repair process.
- Raise the Vehicle: Use a jack to lift the vehicle and support it securely with jack stands. Never work under a vehicle supported only by a jack.
- Remove the Old Splash Guard (if applicable): If the splash guard is still attached, carefully remove the fasteners (screws, clips, bolts) that secure it to the vehicle. Use penetrating oil on stubborn fasteners to help loosen them. Note the location of each fastener as you remove it, as different sizes may be used in different areas. Gently detach the splash guard, being careful not to damage any surrounding components.
- Prepare the Mounting Surface: Clean the mounting surface on the vehicle's undercarriage. Remove any dirt, debris, or rust that may interfere with the new splash guard's installation.
- Repair the Existing Splash Guard (if applicable): If you are repairing the existing splash guard, follow the instructions provided with the repair kit. This typically involves cleaning the damaged area, applying adhesive and patching material, and allowing it to cure according to the manufacturer's recommendations.
- Install the New or Repaired Splash Guard: Align the new or repaired splash guard with the mounting points on the vehicle. Insert the fasteners (screws, clips, bolts) into the corresponding holes. Tighten the fasteners securely, but do not overtighten them, as this could damage the splash guard or the mounting points. Ensure proper alignment to avoid rubbing against tires or other components.
- Double-Check the Installation: Ensure that the splash guard is securely attached and that all fasteners are properly tightened. Check for any gaps or loose areas.
- Lower the Vehicle: Carefully lower the vehicle from the jack stands.
Real-World Owner Experiences
Many car owners have successfully tackled splash guard repairs themselves. Here are some common experiences and tips:
- Fastener Frustration: Many owners report that removing old, corroded fasteners can be the most challenging part of the job. Using penetrating oil and the correct tools (e.g., a socket set with various extensions) can significantly ease the process.
- Clip Conundrums: Plastic clips can be brittle and prone to breaking. Consider purchasing a variety pack of replacement clips before starting the repair.
- Aftermarket Fit Issues: Some owners have reported fit issues with aftermarket splash guards. Carefully research the brand and read reviews before purchasing. Pay close attention to the product description and ensure it specifically fits your vehicle model and year.
- DIY Saves Money: Most owners agree that repairing or replacing a splash guard themselves can save a significant amount of money compared to taking the vehicle to a mechanic.
Frequently Asked Questions (FAQs)
Q: How much does it cost to replace a splash guard?
A: The cost can vary depending on the vehicle make and model, whether you use an OEM or aftermarket part, and whether you do it yourself or hire a mechanic. A DIY repair can range from $20 to $100, while professional installation can cost between $100 and $300 or more.
Q: Can I drive without a splash guard?
A: While you can drive without a splash guard, it's not recommended. Driving without a splash guard exposes your engine and undercarriage to potential damage from road debris, water, and salt, which can lead to costly repairs in the long run.
Q: How do I know if my splash guard is damaged?
A: Look for signs such as: a flapping or dragging noise from underneath your car, visible cracks or tears in the splash guard, missing or loose fasteners, or the splash guard hanging down or dragging on the ground. Any of these signs indicate a problem that needs to be addressed.
Q: Can I use duct tape to fix a splash guard?
A: Duct tape is a temporary solution at best. It's not designed to withstand the harsh conditions under a car and will likely fail quickly. A proper repair or replacement is always recommended for a long-lasting solution.
Q: Where can I buy a replacement splash guard?
A: You can purchase replacement splash guards from auto parts stores (e.g., AutoZone, Advance Auto Parts, O'Reilly Auto Parts), online retailers (e.g., Amazon, eBay), or directly from your vehicle's manufacturer's dealership.
By following these steps and taking the necessary precautions, you can effectively fix a splash guard under your car and protect your vehicle from damage. Remember to prioritize safety and consult your vehicle's service manual for specific instructions.