How To Fix Tire With Nail
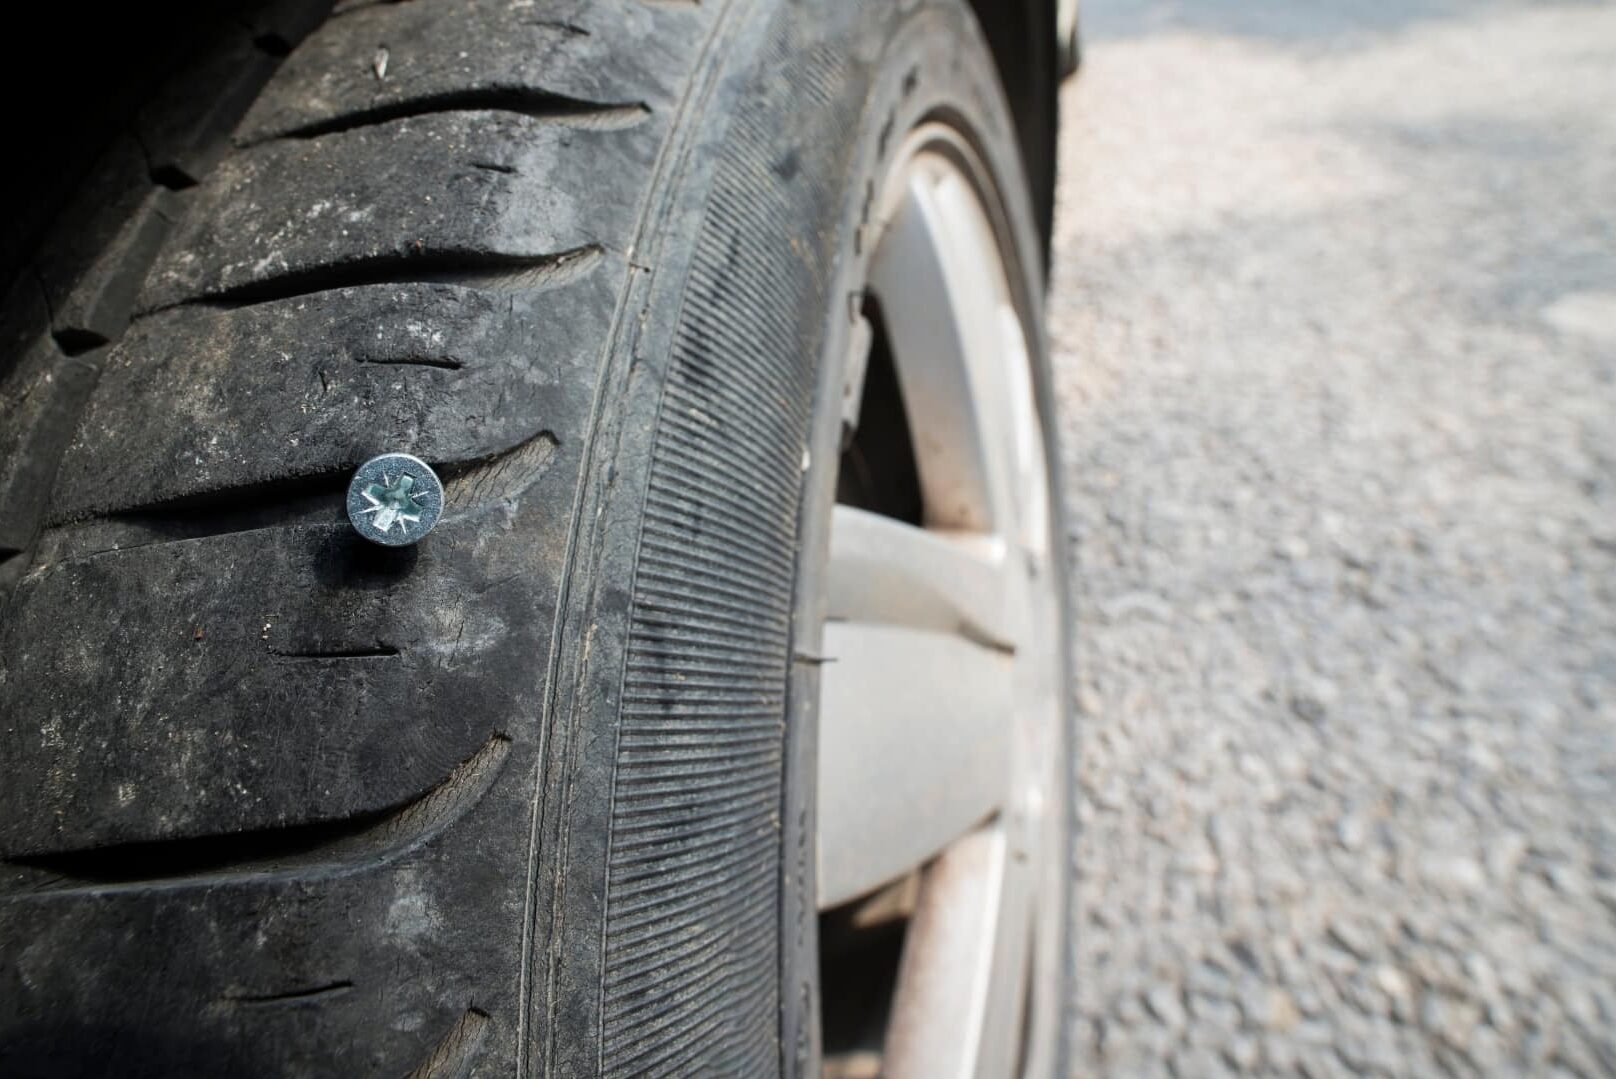
So, you've got a nail in your tire. It happens. Before you resign yourself to calling roadside assistance or shelling out for a brand new tire, let's walk through how to assess the damage and potentially repair it yourself. This article assumes you're comfortable with basic automotive tools and procedures like removing and reinstalling a tire. Safety is paramount, so if you're at all unsure, don't hesitate to consult a professional.
Purpose of Understanding Tire Repair
Understanding tire repair isn't just about saving money (although that's a significant perk!). It's about being a more informed car owner, capable of making intelligent decisions about your vehicle's maintenance. This knowledge empowers you to:
- Assess the damage correctly: Determine if a repair is even possible or if replacement is the only safe option.
- Perform temporary repairs: Get you home safely or to a repair shop if the damage is minor.
- Understand the repair process: Know what to expect when a professional repairs your tire and avoid being overcharged or misled.
- Increase your DIY skills: Expand your automotive knowledge and confidence.
Having a clear understanding of tire repair also enables you to consult and understand repair diagrams that will assist you in your work.
Key Specs and Main Parts of a Tire
Before we dive into the repair process, let's quickly review some essential tire components. Understanding these terms will make the process clearer.
- Tread: The outer rubber layer that contacts the road, providing grip and traction.
- Sidewall: The side of the tire, containing information like tire size, load rating, and speed rating. Damage to the sidewall is generally not repairable.
- Bead: The reinforced edge of the tire that seals against the wheel rim.
- Belts: Layers of reinforcing material (typically steel or polyester) embedded within the tire carcass, providing strength and stability.
- Carcass (Ply): The tire's structural framework, made of layers of fabric cords (usually nylon or polyester) encased in rubber.
- Inner Liner: An airtight layer on the inside of the tire that prevents air from escaping. This is crucial for tubeless tires.
Key specs to consider when dealing with tires include:
- Tire Size: Indicated on the sidewall (e.g., 225/45R17).
- Load Index: A numerical code indicating the maximum weight a tire can carry.
- Speed Rating: An alphabetical code indicating the maximum speed a tire is designed for.
- Tread Depth: The depth of the grooves in the tread. Legally, tires need a minimum tread depth (usually 2/32 of an inch).
Understanding Tire Repair Diagrams: Symbols and Conventions
Tire repair diagrams often use specific symbols to represent different components and repair procedures. Here's a breakdown of some common symbols:
- Solid Lines: Typically represent the tire's outer profile or internal components like belts or the inner liner.
- Dashed Lines: Might indicate the area of damage or the path of a repair tool.
- Arrows: Show the direction of force, movement, or the insertion of a repair plug or patch.
- Cross-hatching: Often used to highlight the area where a repair patch will be applied.
- Colors: While not universally standardized, colors can be used to differentiate layers of the tire. For instance, the inner liner might be colored differently from the carcass.
- Icons (small pictures): May represent tools used in the repair process, such as a reamer, insertion tool, or a roller.
Diagrams will usually include annotations (text labels) to identify specific components or steps. Pay close attention to these labels!
How Tire Repair Works: The Plug and Patch Method
The most common DIY tire repair method involves using a plug and patch combination. Here's how it works:
- Inspection: Carefully examine the tire to determine the size and location of the puncture. Remember, sidewall punctures are generally unrepairable. The puncture should be less than ¼ inch in diameter and located within the tread area.
- Preparation: Mark the location of the puncture. Use pliers to remove the nail or object causing the puncture.
- Reaming: Use a reaming tool (a rough, rasp-like tool) to clean and enlarge the puncture hole. This prepares the hole for the plug and creates a better surface for the patch to adhere to. Follow the instructions that comes with the repair kit.
- Plug Insertion: Thread a rubber plug through the eye of the insertion tool. Apply rubber cement to the plug. Insert the plug into the puncture hole, pushing it all the way in.
- Trimming: Once the plug is inserted, remove the insertion tool. Trim any excess plug material that protrudes from the tire's tread. Leave about ¼ inch.
- Internal Patching: This step is crucial for a proper repair. Deflate the tire completely. Use a tire buffer (a specialized rotary tool with a rough pad) to roughen the inner liner around the puncture area. Clean the area with a rubber solvent.
- Cement Application: Apply a thin, even layer of rubber cement to the prepared area on the inner liner. Allow the cement to dry until it becomes tacky.
- Patch Application: Remove the backing from the patch and carefully apply it to the cemented area, centering it over the puncture. Use a stitch roller (a small, handheld roller) to firmly press the patch onto the inner liner, working from the center outwards to eliminate any air bubbles.
- Inflation: Inflate the tire to the manufacturer's recommended pressure (found on the tire placard on the driver's side doorjamb).
- Leak Test: Apply soapy water to the repaired area (both inside and outside). Look for bubbles, which indicate a leak. If you see bubbles, the repair has failed, and you'll need to either re-do the repair or have the tire professionally repaired or replaced.
Real-World Use: Basic Troubleshooting
Even with the best instructions, things can go wrong. Here are some common issues and troubleshooting tips:
- Plug Won't Insert: Ensure the hole is properly reamed. Try using a larger reaming tool if necessary. Make sure the plug is properly threaded through the insertion tool.
- Patch Won't Stick: Ensure the inner liner is properly buffed and cleaned. Allow the rubber cement to dry to a tacky consistency before applying the patch. Use a stitch roller to firmly press the patch onto the liner.
- Leak After Repair: The repair may not be sealing properly. Double-check the puncture location and ensure the plug is fully inserted. Make sure the patch is completely sealed to the inner liner. If the leak persists, consider having the tire professionally repaired.
- Vibration After Repair: If you feel a vibration after repairing the tire, it could be due to an imbalance. Have the tire rebalanced by a professional.
Pro Tip: Keep a tire repair kit in your car for emergencies. Make sure you know how to use it before you need it.
Safety Considerations
Tire repair involves working with potentially dangerous tools and pressurized components. Here are some critical safety precautions:
- Always wear safety glasses to protect your eyes from debris.
- Use jack stands to support the vehicle securely before removing the tire. Never rely solely on the jack.
- Deflate the tire completely before attempting to patch it internally. This prevents the risk of explosion.
- Be careful when using sharp tools like the reaming tool and insertion tool.
- Never attempt to repair a tire with sidewall damage. Sidewall punctures compromise the tire's structural integrity and are extremely dangerous.
- Avoid repairing tires with large punctures (greater than ¼ inch) or multiple punctures close together.
- If you are unsure about any step, consult a professional. It's always better to be safe than sorry.
The most important thing is to prioritize your safety. If you're ever in doubt, err on the side of caution and have the tire professionally inspected and repaired or replaced.
By understanding the basics of tire construction and repair, you can confidently assess tire damage and perform minor repairs yourself. Remember to prioritize safety and consult a professional when needed.
We have a detailed tire repair diagram available for download that visually reinforces the concepts discussed in this article. This diagram provides step-by-step illustrations of the plug and patch repair process, highlighting key components and procedures. To access this valuable resource, simply [link to download diagram].