How To Get A Dash Cam
So, you're looking to install a dash cam? Excellent choice. In today's world, having a reliable dash cam is less of a luxury and more of an essential piece of safety equipment. This guide provides a comprehensive overview of how to choose, install, and troubleshoot a dash cam system in your vehicle. Think of me as your seasoned mechanic guiding you through the process, explaining the technical aspects in a clear and understandable way.
Purpose of Understanding Dash Cam Technology
Why bother understanding the technical side of a dash cam beyond just sticking it to your windshield? Well, knowing the inner workings gives you a significant advantage. Firstly, you can diagnose problems more effectively. Is your camera not recording correctly? Knowing how it’s supposed to work makes pinpointing the issue much easier. Secondly, you can make informed purchasing decisions. No more getting swayed by marketing jargon! Understanding the key specifications allows you to choose a dash cam that truly meets your needs. Finally, for the DIYers out there, you'll be able to handle custom installations, like hardwiring for parking mode or integrating the camera with other vehicle systems.
Key Specs and Main Parts of a Dash Cam
Let's break down the essential components and specifications that determine a dash cam's performance:
Key Specifications:
- Resolution: Measured in pixels (e.g., 1080p, 1440p, 4K). Higher resolution means clearer, more detailed video, crucial for identifying license plates and other important details. 1080p is generally considered the baseline for acceptable quality.
- Frame Rate (FPS): Frames per second determine how smooth the video appears. 30 FPS is standard, while 60 FPS can be beneficial for capturing fast-moving objects with greater clarity.
- Field of View (FOV): The width of the area the camera can capture, measured in degrees. A wider FOV (e.g., 170°) captures more of the road but can introduce distortion.
- Sensor: The image sensor converts light into an electrical signal. Sony sensors (e.g., Sony STARVIS) are highly regarded for their low-light performance.
- Lens Aperture: Indicated as f/number (e.g., f/1.8, f/2.0). A lower f/number means a wider aperture, allowing more light into the sensor, improving low-light performance.
- Storage: Dash cams typically use microSD cards. Pay attention to the maximum storage capacity supported by the camera. Endurance cards are designed for continuous recording.
- Connectivity: Wi-Fi and Bluetooth allow you to connect the camera to your smartphone for viewing and transferring footage. GPS tracks your vehicle's location and speed.
Main Parts:
- Camera Unit: Houses the lens, sensor, processor, and other internal components.
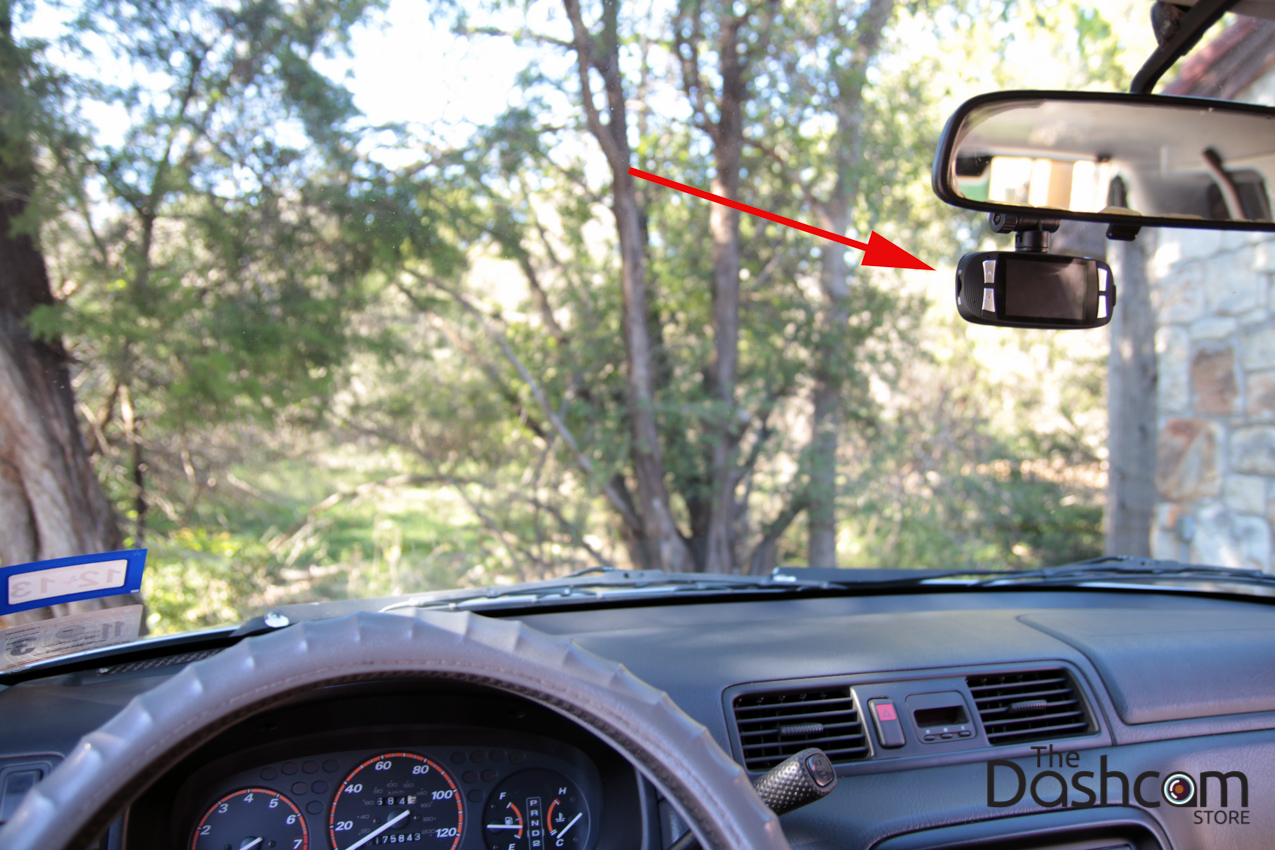
- Mount: Secures the camera to the windshield or dashboard. Suction cup mounts are easy to install, while adhesive mounts offer a more secure hold.
- Power Cable: Connects the camera to a power source, typically the cigarette lighter (12V socket) or a fuse box for hardwiring.
- MicroSD Card: Stores the recorded video footage.
- Screen (Optional): Some dash cams have a built-in screen for viewing footage and adjusting settings.
How a Dash Cam Works
The basic principle is simple: The dash cam continuously records video while your vehicle is in operation (or parked, if equipped with parking mode). The image sensor captures light, which is then processed by the internal processor and saved to the microSD card. Most dash cams use a loop recording system, where the oldest footage is automatically overwritten when the card is full. This ensures continuous recording without the need for manual deletion. G-sensors (accelerometers) detect sudden impacts or jolts, triggering the camera to save the current video clip as an "event" recording, preventing it from being overwritten.
More advanced features include:
- Parking Mode: Records video when the vehicle is parked, either by detecting motion or impact. Requires a constant power source, typically achieved through hardwiring to the fuse box.
- GPS Logging: Records the vehicle's location and speed, which can be displayed on a map alongside the video footage.
- Lane Departure Warning System (LDWS): Alerts the driver if the vehicle veers out of its lane.
- Forward Collision Warning System (FCWS): Warns the driver of an impending collision with a vehicle ahead.
Real-World Use: Basic Troubleshooting
Even with the best equipment, problems can arise. Here are some common issues and how to address them:
- Camera Not Recording:
- Check the power connection. Is the camera receiving power? - Ensure the microSD card is properly inserted and formatted. - The card may be full. If loop recording is enabled, it should overwrite the oldest files automatically. - The microSD card may be corrupted. Try formatting the card or replacing it with a new one. Use an endurance rated card.
- Poor Video Quality:
- Clean the windshield and lens. Smudges and dirt can significantly affect image quality. - Adjust the camera's settings. Ensure the resolution and exposure settings are optimal. - Check the microSD card's write speed. A slow card can cause dropped frames and blurry video.
- GPS Not Working:
- Ensure the camera has a clear view of the sky. - The GPS signal may be weak in certain areas (e.g., tunnels, urban canyons). - Update the camera's firmware. Outdated firmware can sometimes cause GPS issues.
- Camera Overheating:
- Dash cams can overheat in direct sunlight. Park in the shade or use a sunshade. - Ensure the camera has adequate ventilation.
Safety Considerations
Working with your car's electrical system requires caution. Before starting any installation, disconnect the negative terminal of your car battery. This prevents accidental shorts and potential damage to your vehicle's electronics. When hardwiring a dash cam, be sure to use the correct fuse tap and fuse rating. Incorrect wiring can damage your car's electrical system and even start a fire. Always consult your vehicle's owner's manual or a qualified electrician if you're unsure about anything.
Airbags: Never run wires in front of or near any airbags. This can interfere with the deployment of the airbag in an accident, causing serious injury. Route wires carefully along the edges of the windshield or headliner, away from airbag deployment zones.
Wire Stripping: Use a proper wire stripper tool. Cutting wires improperly can cause nicks in the copper, leading to corrosion and eventual failure. Ensure connections are secure and properly insulated.
Fuse Taps: When using fuse taps, choose a circuit that is switched with the ignition if you don't want the dash cam to continuously draw power when the car is off (unless you are intending to use parking mode). Read the fuse diagram (usually in the owner's manual or printed on a fuse box cover) to identify suitable circuits. Use a multimeter to verify the circuit is indeed switched.
Remember, a well-installed dash cam is a valuable asset, but a poorly installed one can be a hazard. Take your time, follow these guidelines, and don't hesitate to seek professional help if needed.
We have a detailed wiring diagram available that visually outlines the typical hardwiring setup for a dash cam. This diagram includes color-coded wiring, fuse tap locations, and grounding points. You can download this diagram [Link Placeholder - Assume link will be added here]. This visual aid will greatly simplify the installation process.