How To Get A Nail Out Of A Tire
So, you've found a nail in your tire. It's a bummer, but don't panic. Whether you're a seasoned DIYer looking to save some cash or just want to understand the process better, this guide will walk you through the steps of safely and effectively removing a nail from your tire and assessing the damage. We’ll cover everything from identifying the problem to deciding whether to patch, plug, or replace. This isn't just about pulling out the nail; it's about understanding the consequences and making informed decisions about your tire's future.
Why This Matters: The Importance of Nail Removal and Tire Inspection
Understanding how to deal with a nail in your tire is crucial for several reasons. First and foremost, it's about safety. Driving on a tire with a foreign object embedded in it can lead to a sudden and catastrophic tire failure, especially at high speeds. This could result in loss of control and a serious accident. Second, addressing the issue promptly can prevent further damage. A small puncture, if left unattended, can quickly deteriorate into a larger tear, rendering the tire unrepairable. Finally, knowing how to assess and repair (or replace) a punctured tire can save you money on unnecessary repairs and replacements. This knowledge empowers you to make informed decisions based on the actual condition of your tire.
Key Specs and Main Parts of a Tire
Before we dive into the nail removal process, let's quickly review the anatomy of a tire. This knowledge will help you understand the potential consequences of a puncture and how to assess the damage effectively.
- Tread: The outer layer of the tire that comes into contact with the road. Its pattern provides traction and channels water away from the contact patch.
- Sidewall: The side of the tire, connecting the tread to the bead. It contains important information like tire size, load rating, and speed rating. The sidewall is more susceptible to damage and usually unrepairable if punctured.
- Bead: The inner edge of the tire that seals against the rim of the wheel.
- Casing (Plies): The internal structure of the tire, made up of layers of fabric (typically polyester, nylon, or steel) encased in rubber. These plies provide strength and stability.
- Belt: Layers of steel or other materials located beneath the tread, providing additional strength and stability and helping to maintain the tire's shape.
Understanding these components is crucial for understanding the potential consequences of a nail puncture. A nail in the tread area is generally repairable, while a nail in the sidewall is not.
Step-by-Step Guide: Removing the Nail
Alright, let's get down to business. Here's how to safely and effectively remove that pesky nail from your tire:
- Gather Your Tools: You'll need the following:
- Pliers or Vice Grips: For gripping and pulling the nail.
- Tire Pressure Gauge: To check the tire pressure before and after removing the nail.
- Soapy Water in a Spray Bottle: To check for leaks after removing the nail.
- Tire Repair Kit (Optional): If you intend to plug the tire yourself (more on that later).
- Jack and Lug Wrench (Optional): If you need to remove the wheel for better access.
- Wheel Chocks (Essential!): For safety, to prevent the car from rolling.
- Gloves: To protect your hands.
- Safety Glasses: To protect your eyes.
- Safety First: Park your car on a level surface, engage the parking brake, and chock the wheels opposite the tire you're working on. If you're using a jack, consult your owner's manual for proper jacking points. Never work under a car supported only by a jack. Use jack stands!
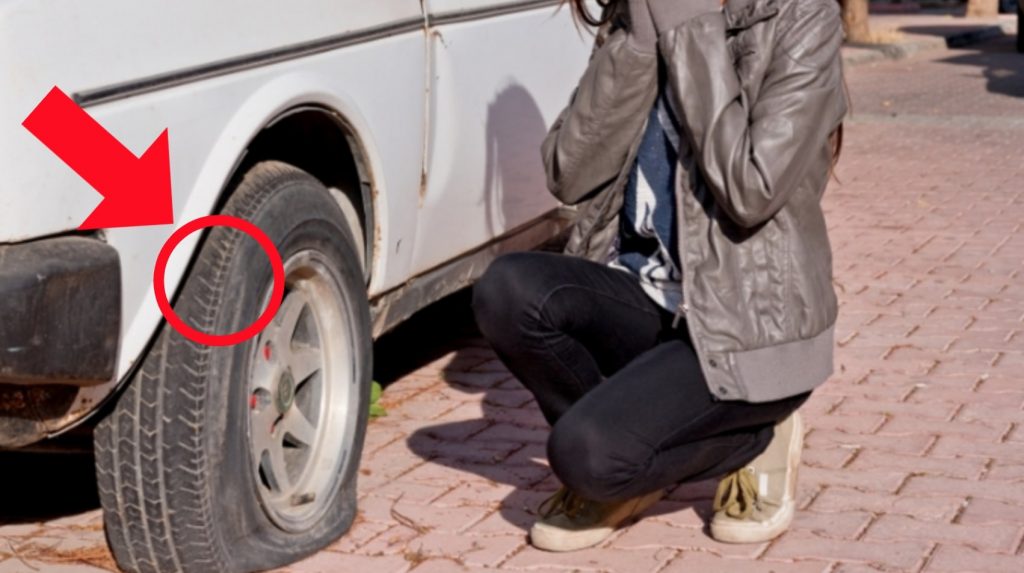
- Locate the Nail: Carefully inspect the tire to pinpoint the location of the nail. Mark the spot with chalk or a marker if necessary.
- Check Tire Pressure: Note the current tire pressure before removing the nail. This will give you a baseline for comparison later.
- Remove the Nail: Using the pliers or vice grips, firmly grip the head of the nail and pull it straight out. Avoid twisting or bending the nail, as this could enlarge the puncture hole.
- Listen and Watch: As you remove the nail, listen for escaping air. If you hear a hissing sound, it confirms that the nail has punctured the tire. Observe the area around the puncture hole for any signs of air leakage.
- Check for Leaks with Soapy Water: Mix some dish soap with water in a spray bottle. Spray the soapy water liberally around the puncture hole. If you see bubbles forming, it indicates an air leak.
- Assess the Damage: If the nail is in the tread area and the tire isn't losing air rapidly, you may be able to repair it with a plug or patch. If the nail is in the sidewall, the tire is unrepairable and must be replaced.
Real-World Use: Troubleshooting
Here are some common scenarios you might encounter and how to handle them:
- Slow Leak: If the tire is losing air slowly after removing the nail, you have some time to decide on a repair option. You can temporarily inflate the tire to the recommended pressure and drive to a tire shop for a professional repair.
- Rapid Air Loss: If the tire is losing air rapidly, you'll need to either change the tire or use a tire inflator with sealant to temporarily seal the puncture. Do not drive on a flat tire!
- Sidewall Puncture: As mentioned earlier, a nail in the sidewall renders the tire unrepairable. You must replace the tire.
- Multiple Punctures: If you find multiple punctures close together, the tire may be unsafe to repair. Consult a tire professional for advice.
Tire Repair Options: Plug vs. Patch
If the puncture is in the tread area and meets certain criteria (size, location), you have two main repair options: plugging and patching. Plugs are generally considered a temporary solution, while patches are a more permanent repair.
- Plugs: Tire plugs are inserted into the puncture hole from the outside of the tire. They are relatively easy to install and can be done by yourself. However, they are not as reliable as patches and may leak over time. Plugs alone are NOT recommended by many tire manufacturers and should be considered a temporary fix only to get you to a repair shop.
- Patches: Tire patches are applied to the inside of the tire after removing it from the wheel. They provide a more secure and durable repair than plugs. Patches require specialized equipment and are typically done by a professional. Ideally, a patch and plug combination is recommended for a stronger, more reliable fix.
Important: Not all punctures are repairable. The puncture must be smaller than 1/4 inch in diameter and located within the tread area. Punctures in the sidewall or shoulder area are not repairable.
Safety: Risky Components and Procedures
Working on tires involves inherent risks. Here are some key safety precautions to keep in mind:
- Tire Pressure: Never inflate a tire beyond the maximum pressure listed on the sidewall. Overinflation can cause the tire to explode.
- Jacking Safety: Never work under a car supported only by a jack. Always use jack stands.
- Wheel Chocks: Always use wheel chocks to prevent the car from rolling.
- Eye Protection: Wear safety glasses to protect your eyes from debris.
- Tire Condition: If the tire is severely damaged, worn, or shows signs of aging (cracking, discoloration), it should be replaced regardless of the puncture repair.
- Professional Advice: When in doubt, consult a qualified tire professional. They can assess the damage and recommend the best course of action.
Remember, your safety is paramount. If you're not comfortable performing any of these steps, seek professional assistance.
We have the tire diagram file, and you can download it here for a more detailed visual representation to use along with the provided information.