How To Get Apple Car Play
So, you're ready to bring your car's infotainment system into the 21st century with Apple CarPlay? Excellent choice! CarPlay offers a seamless and intuitive way to integrate your iPhone with your car, allowing for navigation, music streaming, calls, and messages, all hands-free and voice-activated. This article will walk you through the process, whether you're looking to upgrade your existing system or starting from scratch.
Understanding Apple CarPlay Integration
Before we dive into the nuts and bolts, let's clarify what CarPlay actually is. It's essentially a software interface that mirrors your iPhone's key functions onto your car's infotainment screen. Think of it as an extension of your phone designed specifically for in-car use. This differs from simple Bluetooth connectivity, which mainly handles audio and calls.
Two Primary Paths to CarPlay
There are generally two ways to get CarPlay:
- Factory Integration: This means your car came with CarPlay pre-installed by the manufacturer. In this case, activation is usually straightforward.
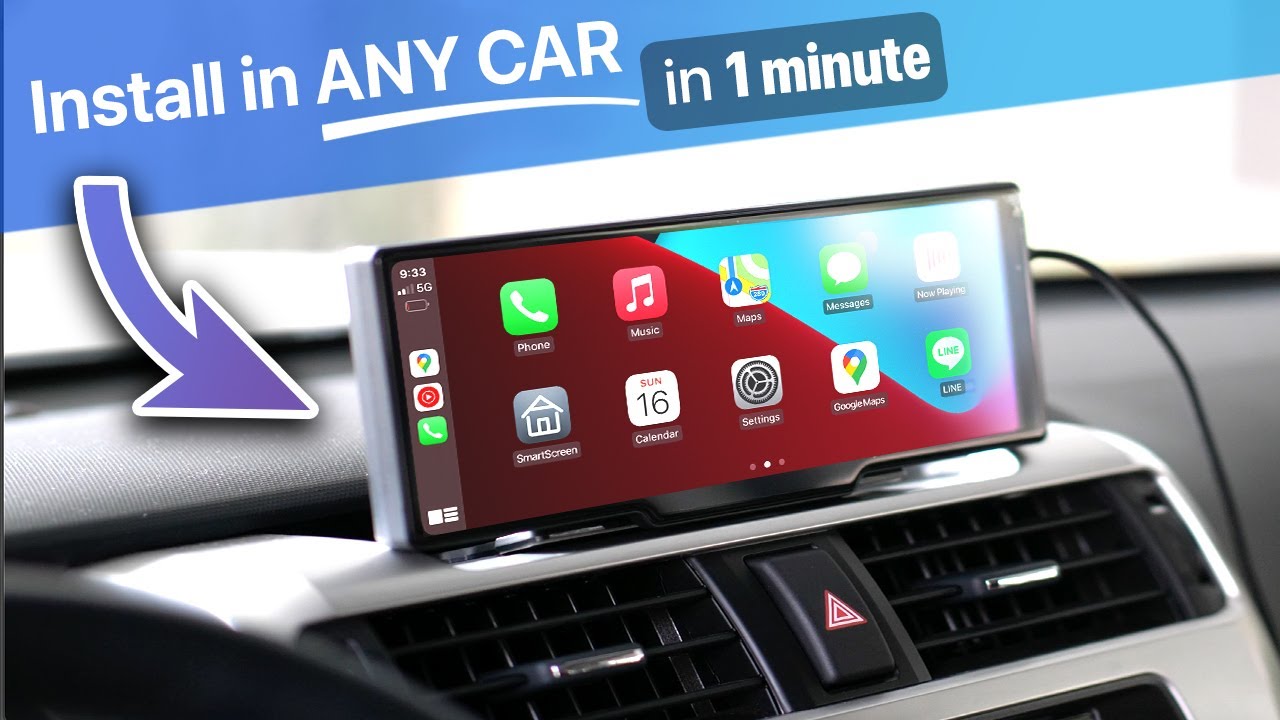
- Aftermarket Installation: This involves replacing your car's existing head unit (the radio and screen console) with one that supports CarPlay. This is where the real DIY work comes in.
This guide focuses primarily on aftermarket installations, as that's where the complexities and opportunities for customization lie.
Key Specs and Main Parts
The heart of your CarPlay system will be the new head unit. Here's what to look for:
- CarPlay Compatibility: This is the most obvious requirement. Ensure the head unit specifically lists CarPlay as a supported feature. Many also support Android Auto.
- Screen Size and Resolution: Choose a size that fits your car's dashboard and provides a clear, easy-to-read display. Resolution (measured in pixels) affects the sharpness of the image.
- Connectivity: Modern head units typically support both wired (USB) and wireless CarPlay. Wireless is more convenient, but wired connections can be more reliable. Make sure it supports the latest Bluetooth standards for pairing your phone.
- Amplifier Power: Consider the head unit's built-in amplifier power output (measured in Watts RMS). If you plan on using aftermarket speakers, you might want to invest in a separate amplifier for better sound quality.
- Pre-amp Outputs: These RCA outputs allow you to connect external amplifiers to power your speakers. Look for units with multiple pre-amp outputs (front, rear, subwoofer) for advanced audio setups.
- Steering Wheel Control Compatibility: Many aftermarket head units can be integrated with your car's existing steering wheel controls (volume, track skip, etc.) using an adapter. Check compatibility beforehand.
- GPS Antenna: For accurate navigation, especially when relying on CarPlay's mapping apps, a GPS antenna is essential. Many head units include one, or you may need to purchase it separately.
Beyond the head unit, you'll likely need:
- Wiring Harness Adapter: This allows you to connect the new head unit to your car's existing wiring without cutting or splicing wires. This is crucial for preserving your car's warranty and simplifying installation.
- Dash Kit: This provides a clean, factory-like fit for the new head unit in your dashboard.
- Antenna Adapter: To connect your car's radio antenna to the new head unit.
- USB Extension Cable: For convenient USB port access to plug in your phone (if using wired CarPlay).
- Steering Wheel Control Adapter (if needed): As mentioned above, this bridges the gap between your steering wheel controls and the new head unit.
Installation Process: A Step-by-Step Guide
Step 1: Preparation is Key
Before you even touch a tool, disconnect the car battery's negative terminal. This is crucial for preventing electrical shorts and damage to your car's electrical system. Safety first!. Gather all your parts, tools (screwdrivers, wire strippers, crimpers, multimeter, etc.), and the wiring diagrams for both your car and the new head unit.
Step 2: Removing the Old Head Unit
This process varies depending on your car model. Consult your car's repair manual or search online for specific instructions. Typically, you'll need to remove some dashboard trim panels to access the mounting screws or clips holding the head unit in place. Be careful not to break any plastic pieces. Use trim removal tools specifically designed for this purpose. Disconnect all the wiring harnesses and antenna cable from the old head unit.
Step 3: Wiring the New Head Unit
This is where the wiring harness adapter comes into play. Match the wires from the adapter to the corresponding wires on the new head unit's harness. Usually, the wires are color-coded. Use crimp connectors or solder and heat shrink tubing to make secure and reliable connections. Double-check all connections against the wiring diagrams before proceeding. Pay close attention to the power (12V constant, 12V switched), ground, and speaker wires. Incorrect wiring can damage the head unit or your car's electrical system.
Step 4: Connecting the Antenna, USB, and Steering Wheel Controls
Connect the antenna adapter to the car's antenna cable and the new head unit. Route the USB extension cable to a convenient location in your dashboard. If you're using a steering wheel control adapter, follow the manufacturer's instructions for connecting it to both the car's wiring and the new head unit. This often involves identifying specific wires in the car's wiring harness and programming the adapter to recognize your steering wheel controls.
Step 5: Installing the New Head Unit
Carefully slide the new head unit into the dashboard opening and secure it with the mounting screws or clips. Install the dash kit to provide a clean, finished look. Reconnect the car battery's negative terminal.
Step 6: Testing and Configuration
Turn on the ignition and test the new head unit. Verify that CarPlay is working correctly, the radio receives a signal, the speakers are playing sound, and the steering wheel controls are functional. Configure the head unit's settings to your preferences (sound settings, display settings, etc.).
Real-World Use – Basic Troubleshooting Tips
- CarPlay not connecting: Ensure your iPhone is unlocked and that CarPlay is enabled in your iPhone's settings (Settings > General > CarPlay). Try a different USB cable or restart both your iPhone and the head unit. Verify that your head unit firmware is up to date.
- No sound: Check the speaker wire connections and make sure the head unit's volume is turned up. Ensure the fader and balance settings are properly adjusted. If you're using an external amplifier, verify that it's powered on and connected correctly.
- Steering wheel controls not working: Double-check the connections to the steering wheel control adapter and ensure it's programmed correctly. Consult the adapter's manual for troubleshooting steps.
- Poor radio reception: Ensure the antenna adapter is properly connected and that the antenna cable is not damaged. Check the radio's settings to make sure it's tuned to the correct frequency band.
Safety – Highlight Risky Components
The most risky part of this installation involves the car's electrical system. Working with live wires can result in electric shock or damage to the car's components. Always disconnect the battery before working on any electrical connections. Be extremely cautious when identifying and connecting the power, ground, and speaker wires. Incorrect polarity can damage the head unit or other electrical components. If you are unsure about any part of the wiring process, consult a qualified professional.
Where to Find Detailed Wiring Diagrams
Accurate wiring diagrams are critical for a successful installation. You can typically find these diagrams in your car's repair manual (available online or from your local auto parts store) or from the manufacturer of the aftermarket head unit. Many online forums and communities dedicated to car audio can also provide helpful resources. It is important to verify the accuracy of any wiring diagram found online before using it.
Additionally, we have a comprehensive wiring diagram specifically designed for [mention specific car make and model, or common wiring scenario, if applicable]. This diagram details the pinouts for the factory harness and provides color-coded guidance for connecting to a standard aftermarket head unit. You can download this valuable resource by [link to download].