How To Get Mold Out Of A Car
Mold in your car isn't just unsightly; it's a serious health hazard and can significantly devalue your vehicle. As an experienced DIYer, you understand the importance of tackling problems head-on. This article will guide you through the process of removing mold from your car effectively, providing the necessary technical insights and practical advice to get the job done right.
Identifying the Problem and Preparing for Mold Removal
Before you dive in, it's crucial to understand the scope of the problem. Mold thrives in damp, dark environments, so start by thoroughly inspecting areas prone to moisture buildup. These include:
- Carpets and Upholstery: Check for discoloration, stains, and a musty odor. Lift carpets to inspect the padding underneath.
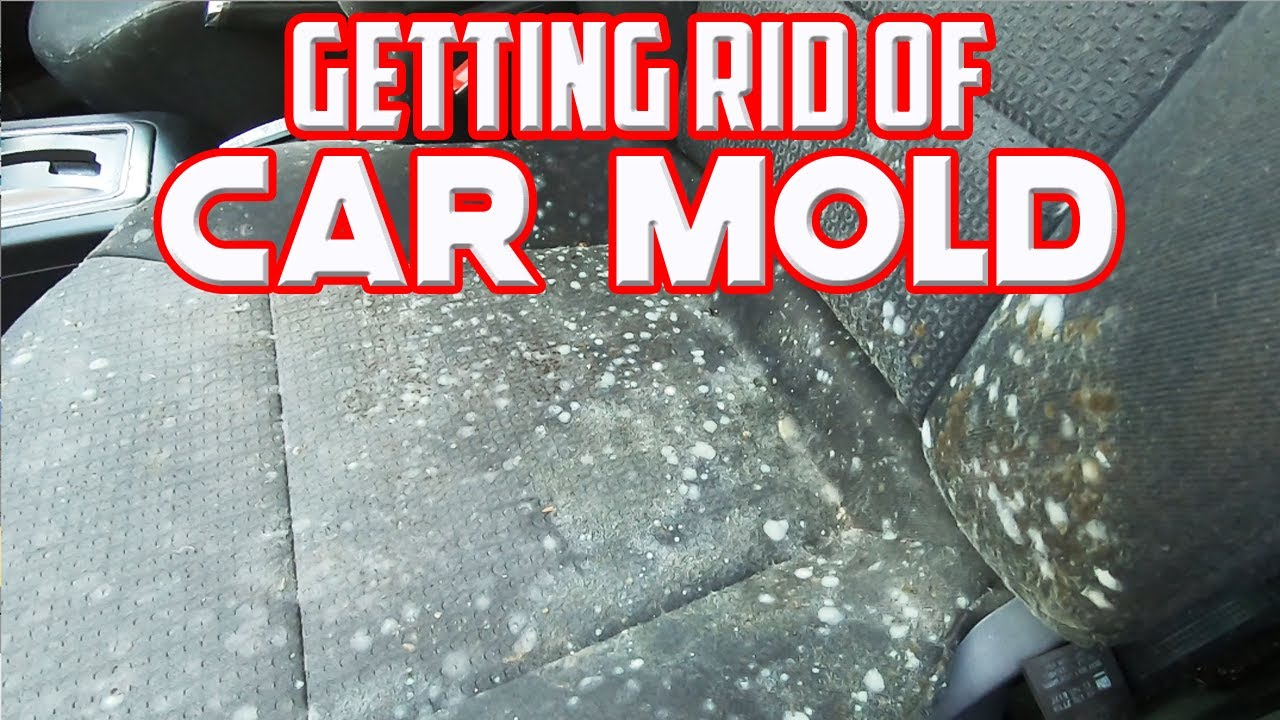
- Under Seats: Food crumbs and spills often accumulate here, creating a breeding ground for mold.
- Trunk: Especially if you've ever had a leaky roof or transported wet items.
- Air Conditioning System: Condensation can lead to mold growth in the evaporator core and vents.
- Door Seals and Weather Stripping: Damaged seals allow water to enter the cabin.
Once you've identified the affected areas, gather your supplies. You'll need:
- Personal Protective Equipment (PPE): A respirator mask (rated N95 or higher), gloves, and eye protection are essential to protect yourself from mold spores.
- Mold Removal Solutions: Options include:
- Commercial Mold Killers: Follow the manufacturer's instructions carefully. Look for products specifically designed for automotive use.
- Vinegar: A natural and effective mold killer. White vinegar is preferred.
- Baking Soda: A natural deodorizer and mild abrasive.
- Borax: A stronger cleaning agent; use with caution on delicate surfaces.
- Cleaning Supplies:
- Vacuum Cleaner with HEPA Filter: A HEPA filter captures mold spores and prevents them from being recirculated.
- Stiff-Bristled Brushes: For scrubbing carpets and upholstery.
- Microfiber Cloths: For wiping surfaces.
- Spray Bottles: For applying cleaning solutions.
- Detailing Tools: Small brushes and swabs for reaching tight spaces.
- Ventilation: A dehumidifier and fans will help dry the car after cleaning.
Safety First: Before starting, disconnect the car battery's negative terminal. This prevents any accidental electrical shorts while you're working inside the vehicle.
Mold Removal Procedure: A Step-by-Step Guide
Step 1: Vacuuming
Thoroughly vacuum all affected areas with the HEPA-filtered vacuum. Pay close attention to carpets, upholstery, and any cracks or crevices where mold might be hiding. Use the vacuum's attachments to reach difficult-to-access areas. Empty the vacuum bag or canister outside, away from your house, to avoid spreading mold spores.
Step 2: Cleaning and Disinfecting
Choose your preferred mold removal solution (vinegar, commercial mold killer, etc.). Apply the solution to the affected areas, following the product's instructions. For carpets and upholstery, use a stiff-bristled brush to work the solution into the fibers. For hard surfaces, wipe with a microfiber cloth. Let the solution sit for the recommended dwell time (usually 10-15 minutes) to kill the mold spores.
Important Note: Test the cleaning solution on an inconspicuous area first to ensure it doesn't damage the material. Leather and delicate fabrics may require specialized cleaning products.
Step 3: Removing Stubborn Mold Stains
For stubborn mold stains, you can try a paste made from baking soda and water. Apply the paste to the stain, let it dry completely, and then vacuum it up. You can also try a solution of borax and water (1 tablespoon of borax per cup of water), but use this sparingly and rinse thoroughly.
Step 4: Cleaning the Air Conditioning System
Mold in the AC system can be a persistent problem. Start by replacing the cabin air filter. Then, use an AC evaporator cleaner (available at most auto parts stores). Follow the product's instructions, which usually involve spraying the cleaner into the AC vents while the system is running on its highest setting. This will help to kill mold and bacteria in the evaporator core. You can also use an ozone generator for a short period to kill mold, but make sure to follow the manufacturer's instruction and *never* stay inside the car when the ozone generator is on.
Step 5: Drying and Ventilation
After cleaning, it's crucial to dry the car thoroughly to prevent mold from returning. Use a dehumidifier and fans to circulate air inside the vehicle. Open the doors and windows whenever possible to promote ventilation. You can also use a wet/dry vacuum to extract excess moisture from carpets and upholstery. Leave the car open and drying for at least 24 hours, or longer if the humidity is high.
Step 6: Reassembling and Final Inspection
Once the car is completely dry, reassemble any parts you removed (e.g., seats, carpets). Do a final inspection to ensure that all traces of mold have been removed. If you still detect a musty odor, repeat the cleaning process or consider using an odor eliminator.
Real-World Use: Troubleshooting Mold Issues
Even with the best efforts, mold can sometimes be a persistent problem. Here are some troubleshooting tips:
- Recurring Mold: If mold keeps coming back, it indicates a persistent moisture source. Check for leaks around door seals, windows, and the sunroof. Address any leaks promptly to prevent further mold growth.
- Persistent Odor: If you can still smell mold after cleaning, the spores may have penetrated deep into the materials. Consider using an ozone generator (with caution and proper ventilation) or hiring a professional detailing service.
- Air Conditioning Issues: If the AC system continues to produce a musty odor, the evaporator core may be heavily contaminated. A professional AC system cleaning may be necessary.
Safety Considerations
Working with mold can be hazardous to your health. Mold spores can cause allergic reactions, respiratory problems, and other health issues. Always wear appropriate PPE (respirator mask, gloves, and eye protection) when cleaning mold. Work in a well-ventilated area to minimize exposure to mold spores. Be particularly careful when handling strong cleaning agents like bleach or borax. Follow the manufacturer's instructions carefully and avoid contact with skin and eyes.
Remember to properly dispose of any contaminated materials, such as cleaning cloths and vacuum bags, in sealed plastic bags to prevent the spread of mold spores.
The Diagram (Available for Download)
To assist you further in understanding the car's ventilation system and identifying potential moisture sources, we've prepared a detailed diagram illustrating the airflow and drainage pathways. This diagram highlights key components like the AC evaporator, heater core, and ventilation ducts. It also shows common areas where water can accumulate and lead to mold growth. Having this diagram will help you pinpoint the root cause of the mold issue and take preventative measures to avoid future problems.
Purpose: This diagram is valuable for troubleshooting mold issues, understanding your car's HVAC system, and performing preventative maintenance to avoid future mold growth.
Key Specs and Main Parts: The diagram illustrates the entire HVAC system, including the blower motor, evaporator core, heater core, ventilation ducts, cabin air filter, and drainage pathways.
Symbols: The diagram uses standard automotive symbols for various components. Lines represent airflow, with arrows indicating the direction of flow. Colors may be used to differentiate between hot and cold air. Icons may represent sensors and other electronic components.
How It Works: The diagram shows how air is drawn into the system, filtered, heated or cooled, and distributed throughout the cabin. It also illustrates how condensation is drained from the evaporator core.
Real-World Use: Use the diagram to identify potential leaks or blockages in the drainage system, which can lead to moisture buildup and mold growth.
You can download the comprehensive diagram of a typical car ventilation system and mold inspection points, with detailed explanations and troubleshooting steps. This resource will prove invaluable in your mold remediation efforts.