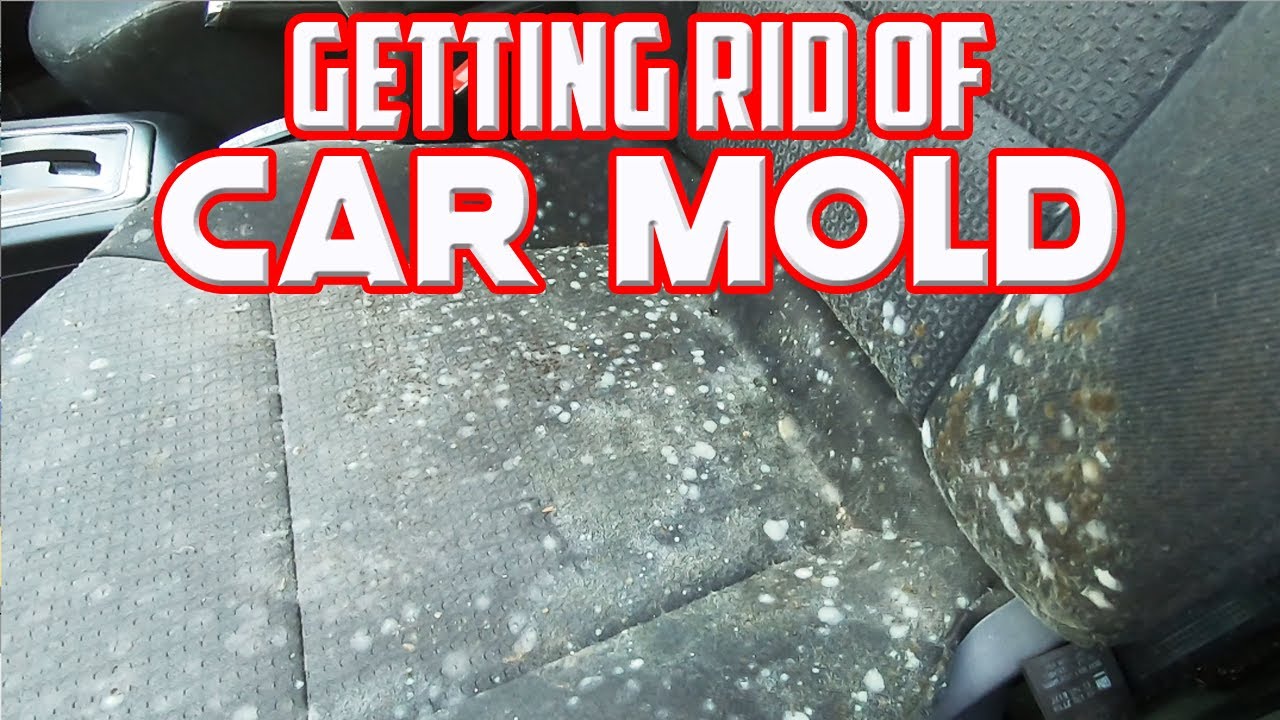
How To Get Mold Out Of Car
Tackling Mold in Your Car: A Comprehensive Guide
Mold in your car isn't just an aesthetic issue; it poses a significant health risk, potentially triggering allergies and respiratory problems. Furthermore, if left unchecked, it can permanently damage your car's interior. This guide provides an in-depth look at how to effectively remove mold from your vehicle, arming you with the knowledge and techniques needed to restore your car's cleanliness and your peace of mind.
Understanding the Enemy: What is Mold?
Before we dive into the removal process, let's define what we're fighting. Mold is a type of fungus that thrives in damp, dark, and poorly ventilated environments. It reproduces via tiny airborne particles called spores. These spores are everywhere, but they only germinate and grow when they find suitable conditions. In a car, these conditions often arise from leaks, spills, or high humidity.
Preparation is Key: Tools and Materials
Successfully removing mold requires the right tools and cleaning agents. Here's a checklist:
- Personal Protective Equipment (PPE): This is non-negotiable. At a minimum, you'll need a respirator mask (N95 or better to filter out mold spores), gloves, and eye protection.
- Vacuum Cleaner: A shop vacuum with a HEPA (High-Efficiency Particulate Air) filter is crucial. A standard vacuum can spread mold spores.
- Cleaning Solutions: Several options exist, each with its pros and cons:
- Vinegar: A natural and effective mold killer. White vinegar is recommended.
- Baking Soda: Absorbs moisture and odors. Can be used as a paste or sprinkled dry.
- Commercial Mold Removers: Available at auto parts stores, formulated specifically for car interiors. Follow product instructions carefully.
- Bleach (with caution): A powerful disinfectant, but can damage certain materials and release harmful fumes. Use only on non-porous surfaces like hard plastics and follow strict safety precautions, including excellent ventilation. A diluted bleach solution (1 part bleach to 10 parts water) is recommended.
- Spray Bottles: For applying cleaning solutions.
- Microfiber Cloths: For wiping down surfaces.
- Stiff-Bristled Brush: For scrubbing stubborn mold growth.
- Interior Detail Brushes: For reaching tight spaces.
- Steam Cleaner (Optional): The high heat can kill mold and help sanitize surfaces.
- Ozone Generator (Optional): For advanced mold and odor removal, but use with extreme caution and strictly follow safety instructions. Ensure the car is completely unoccupied during ozone treatment, and ventilate thoroughly afterwards.
The Mold Removal Process: A Step-by-Step Guide
Now, let's get our hands dirty. Follow these steps to effectively remove mold from your car.
- Initial Assessment: Identify all areas affected by mold. Look for visible growth, musty odors, and damp spots. Document the extent of the problem.
- Ventilation: Open all doors and windows to ensure adequate airflow. If possible, work in a well-ventilated area or use a fan to circulate air.
- Protective Gear: Don your respirator mask, gloves, and eye protection.
- Vacuuming: Thoroughly vacuum all affected areas with the HEPA-filtered shop vacuum. Pay special attention to carpets, upholstery, and headliners. Use a brush attachment to loosen mold and debris. Dispose of the vacuum bag properly (sealed in a plastic bag) to prevent spore dispersal.
- Cleaning: Choose your cleaning solution (vinegar, baking soda, commercial mold remover, or diluted bleach). Test the solution on an inconspicuous area first to ensure it doesn't damage the material. Apply the solution to the affected areas using a spray bottle. Let it sit for a few minutes to allow it to penetrate the mold.
- Scrubbing: Use a stiff-bristled brush or microfiber cloth to scrub away the mold. Be gentle but firm. For stubborn stains, try a paste of baking soda and water.
- Wiping and Drying: Wipe down all cleaned surfaces with a clean, damp microfiber cloth. Thoroughly dry the areas with a dry microfiber cloth or use a wet/dry vacuum to extract excess moisture.
- Deodorizing: Sprinkle baking soda on carpets and upholstery to absorb any lingering odors. Let it sit for several hours, then vacuum it up. You can also use an air freshener or odor eliminator specifically designed for cars.
- Sunlight (If Possible): Park your car in direct sunlight with the windows open for several hours. Sunlight is a natural disinfectant and can help kill any remaining mold spores.
- Inspect and Repeat: After a few days, inspect the cleaned areas for any signs of regrowth. If mold reappears, repeat the cleaning process.
Addressing Common Mold Hotspots
Certain areas in your car are more prone to mold growth. Pay special attention to these:
- Carpets and Floor Mats: These absorb moisture from spills and tracked-in water.
- Upholstery: Fabric seats can trap moisture and provide a breeding ground for mold.
- Headliner: Leaks from the roof or sunroof can cause mold to grow on the headliner.
- Air Conditioning System: Condensation can build up in the A/C system, creating a damp environment. Run your A/C on high for a few minutes after each use to help dry out the system. Consider using an A/C cleaner specifically designed to kill mold and bacteria.
- Trunk: Leaks in the trunk can lead to mold growth on the carpet and lining.
Preventing Future Mold Growth
Prevention is always better than cure. Here are some tips to prevent mold from returning to your car:
- Address Leaks Promptly: Repair any leaks in the roof, windows, or trunk immediately.
- Clean Spills Immediately: Clean up any spills as soon as they occur.
- Use Floor Mats: Floor mats protect your carpets from moisture and dirt.
- Ventilate Regularly: Open your car windows regularly to air out the interior.
- Use a Dehumidifier: In humid climates, consider using a car dehumidifier to absorb excess moisture.
- Regular Cleaning: Regularly clean your car's interior to remove dirt and debris.
Troubleshooting Mold Issues
Here are some common problems you might encounter and how to address them:
- Persistent Odor: If the musty odor persists after cleaning, it may be due to mold spores embedded deep in the upholstery or carpets. Consider professional detailing or using an ozone generator (with caution).
- Mold Regrowth: If mold reappears after cleaning, it indicates that the source of moisture has not been addressed. Identify and fix the leak or source of humidity.
- Staining: Mold can leave behind stubborn stains on upholstery and carpets. Try using a fabric stain remover or consult a professional detailer.
Safety Precautions
Working with mold can be hazardous. Always follow these safety precautions:
- Wear PPE: A respirator mask, gloves, and eye protection are essential to protect yourself from mold spores.
- Ventilate the Area: Work in a well-ventilated area to minimize exposure to mold spores.
- Avoid Contact with Skin: Do not touch mold with your bare skin.
- Dispose of Contaminated Materials Properly: Seal contaminated materials (e.g., vacuum bags, cleaning cloths) in plastic bags before disposal.
- Consult a Professional: If you have a large mold infestation or are sensitive to mold, consult a professional mold remediation service.
- Ozone Generator Warning: Ozone generators can be dangerous if used incorrectly. Never occupy the vehicle during ozone treatment. Thoroughly ventilate the vehicle after treatment before re-entry. Follow the manufacturer's instructions carefully.
- Bleach Warning: Bleach can damage certain materials and release harmful fumes. Use only on non-porous surfaces and follow strict safety precautions, including excellent ventilation.
Final Thoughts
Removing mold from your car can be a challenging but rewarding task. By following these steps and taking the necessary precautions, you can effectively eliminate mold and restore your car's interior. Remember that prevention is key, so address leaks promptly and keep your car clean and dry. If you are uncomfortable performing these tasks yourself, consult a professional detailing service or mold remediation specialist.
And remember, we have a detailed diagram available for download that illustrates common mold locations and best practices for removal. This visual aid can be a valuable resource as you tackle this project.