How To Get Mold Out Of Car Floor
Conquering Car Mold: A DIY Guide for Floor Remediation
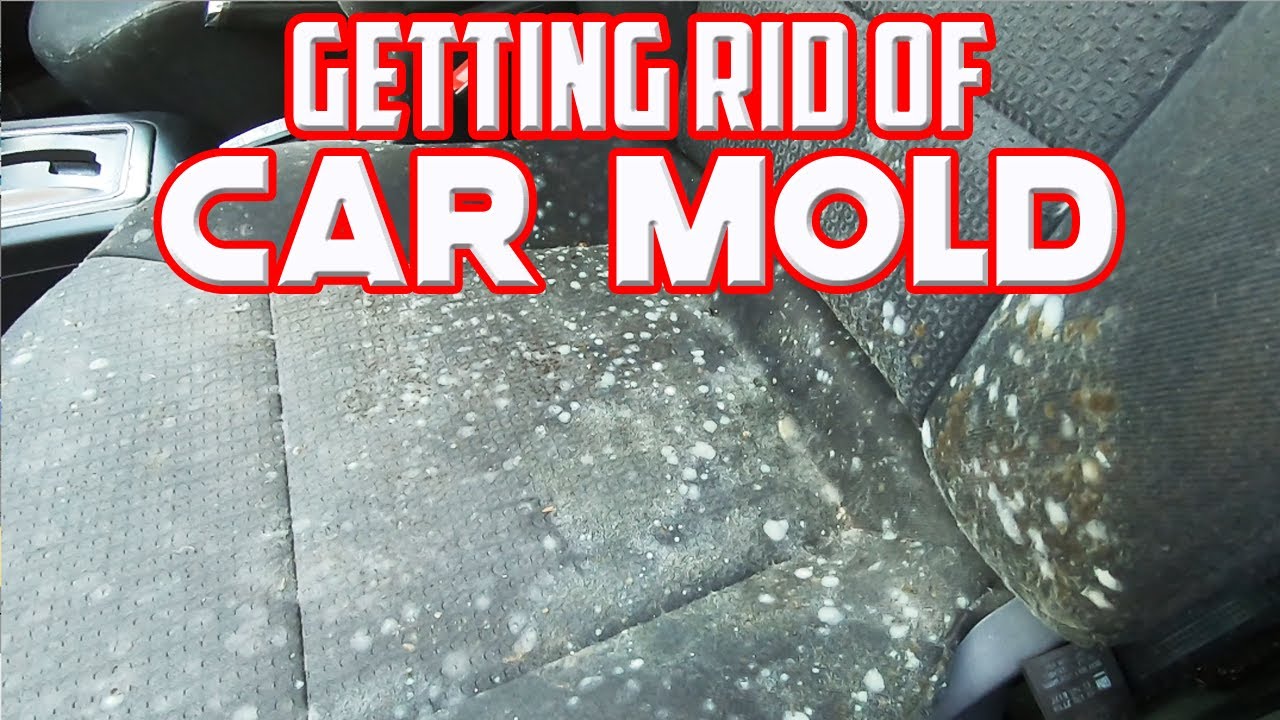
Mold in your car is more than just an aesthetic issue; it's a potential health hazard and a sign of underlying moisture problems. Ignoring it can lead to respiratory issues, allergic reactions, and even structural damage to your vehicle. This guide provides a comprehensive approach to removing mold from your car floor, targeting intermediate DIYers with the skills and tools to tackle this project effectively.
Understanding the Enemy: Mold Biology and Automotive Environments
Before we dive into the remediation process, let's briefly discuss what mold is and why it thrives in cars. Mold is a type of fungus that thrives in damp, dark environments. It reproduces by releasing microscopic spores, which are constantly present in the air. When these spores land on a suitable surface with sufficient moisture and organic matter (like spilled food, dust, or even certain fabrics), they begin to grow.
Cars are particularly susceptible to mold growth for several reasons:
- Enclosed Space: The car's interior provides a confined environment that can trap moisture.
- Temperature Fluctuations: Rapid temperature changes can create condensation, leading to dampness.
- Organic Materials: Carpets, upholstery, and even the adhesive used in construction can provide nutrients for mold.
- Leaks: Leaks from windows, sunroofs, or even the HVAC system are common sources of moisture.
Identifying the species of mold present is helpful but not strictly necessary for remediation. Focus on effective removal and addressing the underlying moisture source.
Essential Tools and Materials
Success in mold removal hinges on having the right tools and materials. Here’s a comprehensive list:
- Personal Protective Equipment (PPE): This is crucial. Include:
- Respirator Mask: N95 or higher rating to protect against spore inhalation.
- Gloves: Nitrile or rubber gloves to prevent skin contact.
- Eye Protection: Goggles or safety glasses to prevent eye irritation.
- Wet/Dry Vacuum: Essential for removing loose mold and debris.
- Stiff-Bristled Brush: For scrubbing mold from surfaces.
- Mold Remediation Solution: Choose from:
- Commercial Mold Killer: Follow the manufacturer's instructions carefully. Look for products specifically designed for automotive use.
- DIY Solution (Bleach Solution): Mix 1 part bleach with 10 parts water. Use with extreme caution, especially on colored fabrics, as it can cause discoloration. Never mix bleach with ammonia!
- DIY Solution (Vinegar): White vinegar is a natural mold killer. It may require multiple applications.
- DIY Solution (Borax): Mix 1 cup of borax with 1 gallon of water.
- Spray Bottle: For applying the remediation solution.
- Clean Microfiber Cloths: For wiping surfaces dry.
- Dehumidifier or Fan: To thoroughly dry the area after cleaning.
- Ozone Generator (Optional): For odor elimination after mold removal. Use with caution and follow manufacturer's instructions meticulously, as ozone can be harmful to breathe. The car must be unoccupied during use.
Step-by-Step Mold Removal Process
Follow these steps carefully to ensure effective mold removal and prevent recurrence.
- Preparation: Park the car in a well-ventilated area (preferably outdoors). Open all windows and doors. Wear your PPE.
- Initial Vacuuming: Thoroughly vacuum the affected area using the wet/dry vacuum. Pay close attention to seams, crevices, and any areas where mold is visibly growing. Dispose of the vacuum bag or empty the canister immediately in a sealed bag.
- Surface Cleaning:
- Spray the affected area with your chosen mold remediation solution. Apply it liberally but avoid oversaturation.
- Allow the solution to sit for the recommended time (refer to the product instructions or allow for 10-15 minutes for DIY solutions).
- Scrub the area vigorously with the stiff-bristled brush. Pay attention to areas with heavy mold growth.
- Wipe away the excess solution and loosened mold with a clean microfiber cloth.
- Thorough Drying: This is critical. Use a dehumidifier or fan to completely dry the area. This may take several hours or even a day, depending on the humidity and temperature. Consider leaving the car windows slightly open to promote airflow.
- Optional Ozone Treatment: If lingering odors persist, use an ozone generator following the manufacturer's safety guidelines. Ensure the car is unoccupied during ozone treatment, and ventilate thoroughly afterward.
- Re-Vacuuming: After the area is completely dry, vacuum it again to remove any remaining mold spores or debris.
Addressing the Root Cause: Moisture Control
Mold removal is only half the battle. Preventing its return requires identifying and addressing the source of moisture. Here are some common culprits and solutions:
- Leaks: Inspect window seals, door seals, sunroof drains, and the firewall for leaks. Repair or replace damaged seals as needed. Pay particular attention to areas where wires and hoses pass through the firewall.
- HVAC System: The air conditioning system can be a breeding ground for mold. Consider using an HVAC disinfectant spray to kill mold and bacteria in the system. Also, ensure the drain hose is clear to prevent water from backing up.
- Spilled Liquids: Clean up spills immediately and thoroughly. Use a wet/dry vacuum to extract as much liquid as possible.
- Wet Items: Avoid leaving wet clothes, towels, or other items in the car.
- Condensation: Use a dehumidifier in the car periodically, especially during humid weather. Consider using moisture absorbers like silica gel packets.
Troubleshooting Tips
- Persistent Mold: If mold persists after initial cleaning, repeat the process. You may need to use a stronger mold remediation solution or consider professional detailing.
- Discoloration: Some mold remediation solutions can cause discoloration. Test the solution in an inconspicuous area before applying it to the entire surface.
- Odor Control: If odors persist despite mold removal, consider using an odor eliminator spray or placing activated charcoal bags in the car.
Safety Precautions
Mold remediation involves potential hazards. Always prioritize safety:
- Ventilation: Work in a well-ventilated area to minimize exposure to mold spores and chemicals.
- PPE: Always wear a respirator mask, gloves, and eye protection.
- Chemicals: Follow the manufacturer's instructions carefully when using commercial mold killers. Never mix bleach with ammonia.
- Ozone Generators: Use with extreme caution and follow the manufacturer's instructions meticulously. The car must be unoccupied during use.
- Electrical Safety: Disconnect the car battery before working with electrical components or using electrical cleaning equipment to prevent shocks.
By following these steps and taking necessary precautions, you can effectively remove mold from your car floor and prevent its recurrence, ensuring a healthier and more comfortable driving environment.
We have prepared a detailed floor diagram for many common car models, it can help you easily locate the source of moisture and remove the carpets. If you're interested in obtaining the file, please reach out!