How To Get Mold Out Of My Car
Mold in your car is not only unpleasant, causing that musty odor, but it's also a health hazard. It can trigger allergies, asthma, and other respiratory problems. Getting rid of it promptly and thoroughly is crucial. This guide provides a step-by-step approach, drawing upon professional detailing techniques and emphasizing safety. Consider this your advanced course in automotive mold remediation – we're not just wiping surfaces; we're targeting the root cause.
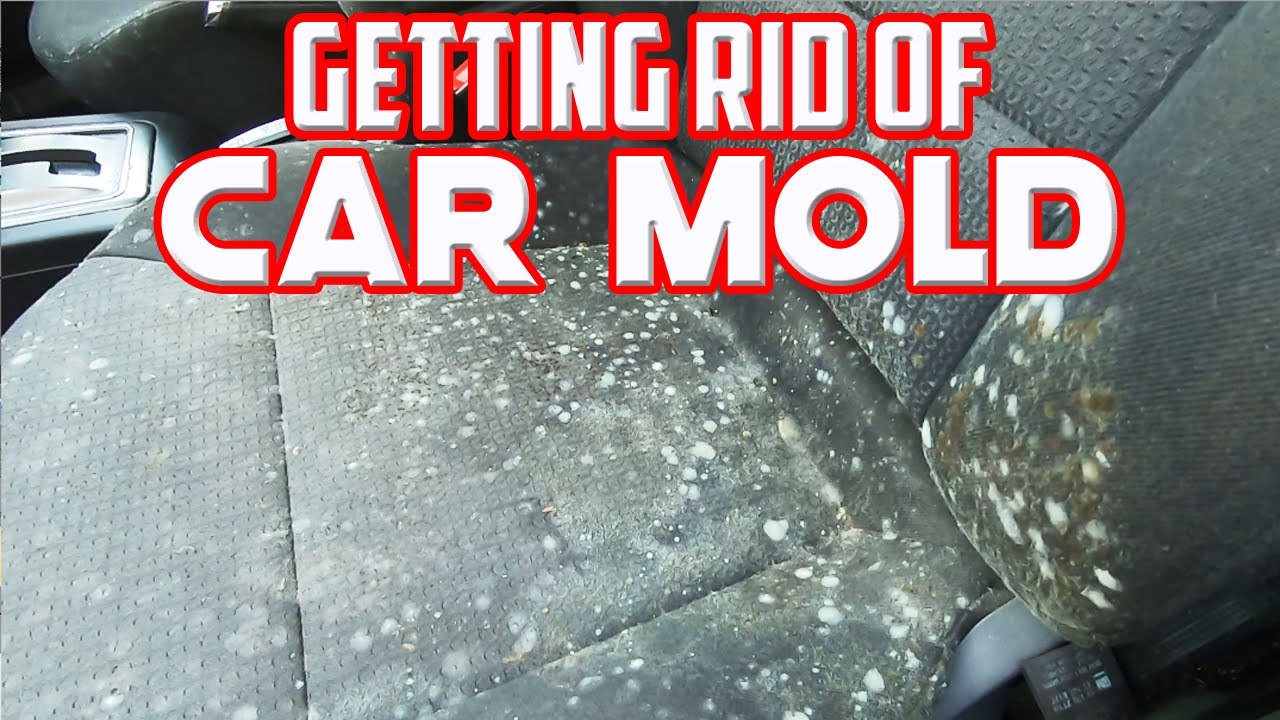
Understanding the Enemy: Mold in the Automotive Environment
Before we dive into the cleaning process, it’s important to understand why mold thrives in vehicles. Mold needs three things to survive: moisture, organic material (like spilled food, dust, or even the materials in your car’s interior), and a suitable temperature range. Cars, especially those parked outdoors or frequently exposed to rain, often provide all three. Identifying the source of the moisture is critical to preventing re-growth.
Key Areas Susceptible to Mold Growth:
- Carpets and Upholstery: These materials are porous and easily trap moisture.
- Headliner: Condensation can accumulate here, especially in colder climates.
- Under the Seats: Spilled drinks and dropped food often end up here, creating a breeding ground.
- Air Conditioning System: The evaporator core is a prime spot for mold growth due to condensation.
- Trunk: Leaks and damp items stored in the trunk can lead to mold.
Preparation: Gear Up for Battle
Proper preparation is key to an effective and safe mold removal process. Gather the following supplies:
- Personal Protective Equipment (PPE):
- Respirator: Crucial to protect your lungs from mold spores. An N95 or P100 respirator is recommended.
- Gloves: Protect your skin from mold and cleaning chemicals. Nitrile gloves are a good choice.
- Eye Protection: Safety glasses or goggles will prevent mold spores from entering your eyes.
- Cleaning Solutions:
- HEPA Vacuum: A vacuum equipped with a High-Efficiency Particulate Air (HEPA) filter is essential for removing mold spores without spreading them. Regular vacuums can actually worsen the problem.
- Mold-Specific Cleaner: Look for a cleaner specifically designed to kill mold and mildew. Bleach is often used, but it can damage some car interiors and is less effective than dedicated mold killers on porous surfaces. Ensure it's safe for your vehicle's materials by testing in an inconspicuous area first.
- Upholstery Cleaner: For cleaning carpets and upholstery after the mold is removed.
- Enzyme Cleaner: Useful for breaking down organic matter that feeds mold.
- Tools:
- Stiff-Bristled Brushes: For scrubbing carpets and upholstery.
- Microfiber Cloths: For wiping surfaces.
- Spray Bottles: For applying cleaning solutions.
- Detailing Brushes: For cleaning hard-to-reach areas.
- Steam Cleaner (Optional): Steam cleaning can help kill mold and remove stains, but use it cautiously to avoid oversaturating surfaces.
- Ozone Generator (Optional, Requires Extreme Caution): Ozone is highly effective at killing mold and removing odors, but it is a powerful oxidizer and can damage materials and is dangerous to breathe. Use only in a well-ventilated area after you have cleaned and removed the mold with other methods, and never while anyone (including pets) is in the vehicle. Let the vehicle air out completely before re-entering. Consider professional ozone treatment if you're uncomfortable using it yourself.
The Mold Removal Process: A Step-by-Step Guide
- Ventilation: Open all doors and windows to provide good ventilation. This helps to dry out the car and remove mold spores from the air.
- Vacuuming: Thoroughly vacuum all affected areas with the HEPA vacuum. Pay special attention to carpets, upholstery, headliner, and under the seats. Use the crevice tool to get into tight spaces. Dispose of the vacuum bag or empty the canister immediately and carefully outdoors.
- Cleaning: Apply the mold-specific cleaner to the affected areas, following the manufacturer's instructions. Use a stiff-bristled brush to scrub carpets and upholstery. Allow the cleaner to dwell for the recommended time, then wipe away with a clean microfiber cloth.
- Steam Cleaning (Optional): If using a steam cleaner, follow the manufacturer's instructions and be careful not to oversaturate the surfaces.
- Enzyme Treatment: Apply an enzyme cleaner to the affected areas to break down any remaining organic matter. This will help to prevent mold from returning.
- Drying: Thoroughly dry all affected areas. Use fans or a dehumidifier to speed up the drying process. Ensure the car is completely dry before closing it up.
- Air Conditioning System Treatment: Mold often hides in the A/C system. Use an A/C cleaner specifically designed to kill mold and bacteria in the evaporator core and ductwork. Follow the product's instructions carefully.
- Ozone Treatment (Optional, Requires Extreme Caution): If you are using an ozone generator, follow the manufacturer's instructions carefully. Place the generator inside the car, close the doors and windows (with a small gap for the power cord), and set the timer. Do not enter the car while the ozone generator is running. After the treatment is complete, open all doors and windows and allow the car to air out completely for several hours before re-entering.
Troubleshooting: Common Mold Problems and Solutions
- Persistent Odor: If the musty odor persists after cleaning, it means the mold is still present somewhere. Re-inspect all areas carefully and repeat the cleaning process. Consider professional detailing if the odor persists.
- Stains: Mold stains can be difficult to remove. Try using a specialized upholstery stain remover. In some cases, you may need to replace the affected material.
- Re-Growth: If mold returns, it indicates a persistent moisture problem. Identify and address the source of the moisture. Check for leaks in the roof, windows, or doors. Ensure the car is properly ventilated.
Safety Considerations: Protecting Yourself and Your Vehicle
Working with mold and cleaning chemicals can be hazardous. Always wear appropriate PPE, including a respirator, gloves, and eye protection. Work in a well-ventilated area. Follow the manufacturer's instructions for all cleaning products. Never mix different cleaning products, as this can create dangerous fumes.
Certain components in your car could be damaged by harsh cleaning chemicals or excessive moisture. Be particularly cautious around:
- Electronic Components: Avoid spraying cleaning solutions directly onto electronic components.
- Leather Upholstery: Use a cleaner specifically designed for leather.
- Headliner: The headliner is delicate and can be easily damaged. Use a gentle cleaner and avoid oversaturating it.
Mold removal can be a challenging task, especially if the infestation is severe. If you're uncomfortable tackling it yourself, consider hiring a professional detailing service that specializes in mold remediation.
Remember, identifying and addressing the source of the moisture is crucial to preventing mold from returning. Regularly inspect your car for leaks and ensure it is properly ventilated. With the right tools, techniques, and precautions, you can successfully remove mold from your car and restore a healthy and pleasant driving environment.
This article provides a detailed guide to removing mold from your car. We also have a comprehensive diagram available for download, illustrating key areas prone to mold growth and highlighting critical cleaning steps. This diagram can be a valuable visual aid during the mold removal process. Contact us to request the file.