How To Get Rid Of Mildew In Car
Tackling Mildew in Your Car: A Comprehensive Guide
Mildew in your car is more than just an unpleasant odor; it indicates a moisture problem and can lead to health issues and long-term damage to your vehicle's interior. This guide provides a detailed, hands-on approach to identifying, eliminating, and preventing mildew growth, geared towards the experienced DIYer.
Purpose
This guide is designed to empower you to diagnose and resolve mildew problems independently. While professional detailing services are available, understanding the root cause of the mildew and implementing preventative measures yourself will save you money and ensure a healthier, more comfortable driving experience. It also provides valuable insight into your vehicle's ventilation and moisture control systems, which can be beneficial for other maintenance tasks.
Identifying the Culprit: Mildew vs. Mold
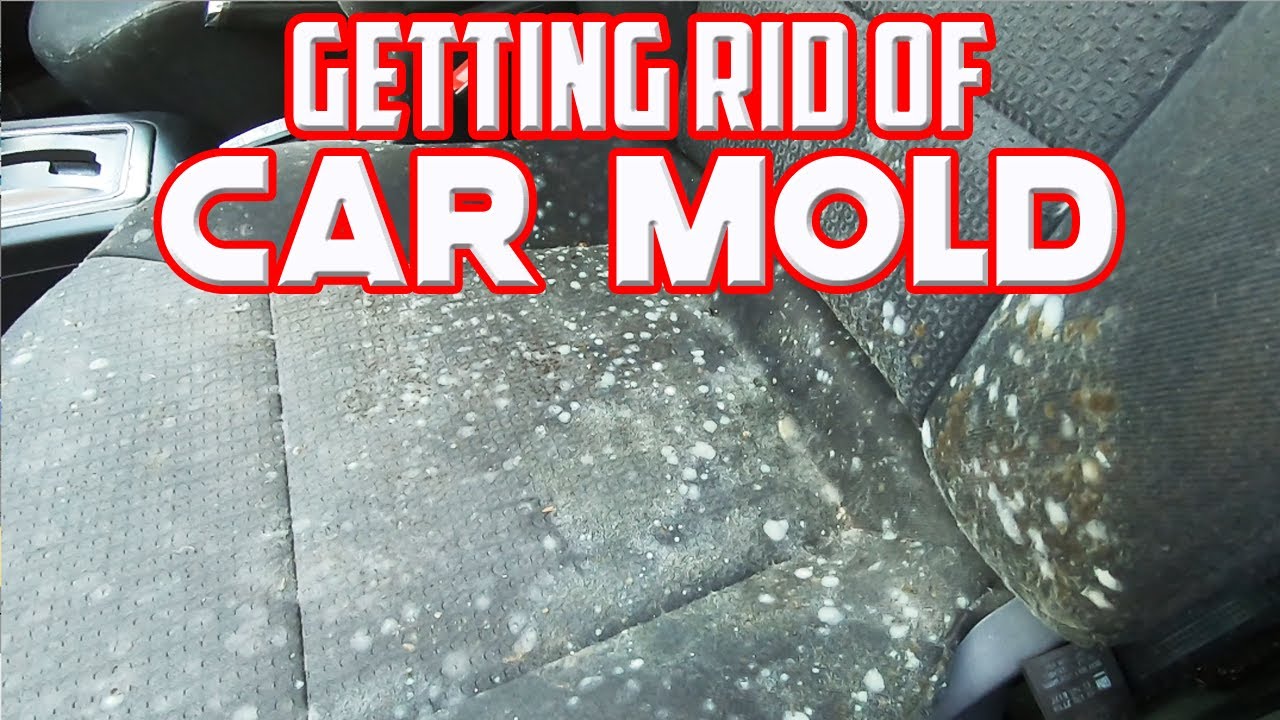
Before you begin, it's crucial to differentiate between mildew and mold. While often used interchangeably, they have distinct characteristics. Mildew typically appears as a white or grayish surface growth, often powdery. Mold, on the other hand, presents in various colors (black, green, brown) and often has a fuzzy or slimy texture. Mildew primarily affects surfaces, while mold can penetrate deeper into materials. For most car interiors, you'll likely be dealing with mildew. However, if you suspect significant mold growth, especially with signs of water damage, consulting a professional is highly recommended.
Key Specs and Main Parts Involved
Success in eradicating mildew requires understanding the components and systems that contribute to moisture buildup. Here are the key areas to focus on:
- HVAC System (Heating, Ventilation, and Air Conditioning): The evaporator core, located within the HVAC system, is a prime breeding ground for mildew. Condensation forms on the cold surface, providing moisture and organic matter (dust, pollen) for mildew to thrive.
- Cabin Air Filter: A clogged or dirty cabin air filter restricts airflow, increasing humidity within the system and promoting mildew growth.
- Drainage System: The evaporator drain tube is designed to remove condensation. A blocked drain can lead to water pooling and overflowing into the passenger compartment.
- Upholstery and Carpeting: Fabric materials, especially those in the floorboards and seats, readily absorb moisture from spills, leaks, or humidity.
- Weather Stripping and Seals: Deteriorated weather stripping around doors, windows, and the sunroof (if equipped) allows water to enter the vehicle.
- Sunroof Drains (if applicable): Similar to the evaporator drain, these drains remove water that collects in the sunroof frame. Clogs can lead to leaks and moisture buildup.
Step-by-Step Removal Process
The following steps outline a comprehensive approach to eliminating mildew from your car:
- Protective Gear: Always wear a respirator mask and gloves when handling mildew, as spores can be harmful to your respiratory system. Eye protection is also recommended.
- Identify the Source: Thoroughly inspect the interior for signs of moisture. Check under floor mats, along the edges of carpets, and under the seats. Pay close attention to areas near windows and the sunroof.
- Vacuum Thoroughly: Use a vacuum with a HEPA filter to remove loose debris and surface mildew from affected areas. A brush attachment can help loosen mildew from fabric.
- Cleaning Solution Preparation: Several cleaning solutions can be effective against mildew. Consider these options:
- Vinegar Solution: Mix equal parts white vinegar and water in a spray bottle. Vinegar is a natural disinfectant and effective mildew killer.
- Baking Soda Paste: Create a paste of baking soda and water. Baking soda absorbs odors and has mild abrasive properties.
- Commercial Mildew Remover: If using a commercial product, follow the manufacturer's instructions carefully. Choose a product specifically designed for automotive interiors.
Always test any cleaning solution in an inconspicuous area first to ensure it doesn't damage the material.
- Application and Scrubbing: Apply your chosen cleaning solution to the affected areas. Use a soft-bristled brush or sponge to gently scrub the mildew. Avoid excessive scrubbing, which can damage the material.
- Extraction and Drying: Use a wet/dry vacuum to extract the cleaning solution and any remaining mildew. Repeat the application and extraction process as needed. Thorough drying is crucial to prevent mildew from returning. Use fans, dehumidifiers, or leave the car doors open (in a secure location) to promote air circulation.
- Addressing the HVAC System:
- Replace the Cabin Air Filter: A clean filter ensures proper airflow and reduces humidity.
- Evaporator Core Cleaning: Use an HVAC cleaner designed for automotive use. Spray the cleaner into the air intake vents while the AC is running on high. This will help disinfect the evaporator core and remove mildew. Follow the manufacturer's instructions.
- Evaporator Drain Tube Check: Locate the evaporator drain tube (usually under the car near the firewall). Use a wire or pipe cleaner to clear any blockages. A clogged drain can cause water to back up into the cabin.
- Final Inspection and Preventative Measures: Once the interior is completely dry, inspect for any remaining mildew. Apply a fabric protector to upholstery and carpets to repel moisture. Consider using moisture absorbers or desiccant packs, especially in humid climates.
Real-World Use – Basic Troubleshooting Tips
- Persistent Odor: If the mildew odor persists after cleaning, it may indicate deeper mildew growth within the upholstery or carpeting. In such cases, professional detailing or upholstery replacement may be necessary.
- Recurring Mildew: If mildew returns quickly, it indicates a persistent moisture source. Carefully inspect for leaks around windows, the sunroof, and under the dashboard. Check the floor pans for signs of rust or corrosion, which can indicate water intrusion.
- AC System Odor: A musty odor only when the AC is running strongly suggests a problem with the evaporator core. Consider using a more aggressive HVAC cleaner or seeking professional AC service.
Safety – Highlight Risky Components
Working with automotive systems involves certain risks. Here are some safety precautions to keep in mind:
- Electrical System: Disconnect the negative battery terminal before working on any electrical components. The HVAC system contains electrical wiring and relays.
- HVAC Refrigerant: Never attempt to open or service the AC system yourself. Refrigerant is a hazardous substance and requires specialized equipment and training. Improper handling can cause serious injury.
- Cleaning Solutions: Wear gloves and eye protection when handling cleaning solutions. Avoid inhaling fumes. Follow the manufacturer's instructions carefully.
- Sharp Objects: Be careful when using tools to clear the evaporator drain tube. Avoid damaging the tube or surrounding components.
- Vehicle Support: If you need to lift the vehicle to access the evaporator drain tube, use jack stands to support the vehicle securely. Never work under a vehicle supported only by a jack.
Diagram Availability
While a single, universal diagram wouldn't encompass every vehicle's HVAC system layout, we have access to a vast library of automotive repair manuals, often containing detailed diagrams of various components, including the HVAC system and drainage routes. For specific information related to your vehicle's make and model, please inquire, and we can attempt to provide a relevant diagram for your reference. This will greatly aid in locating the evaporator drain tube and other relevant components.