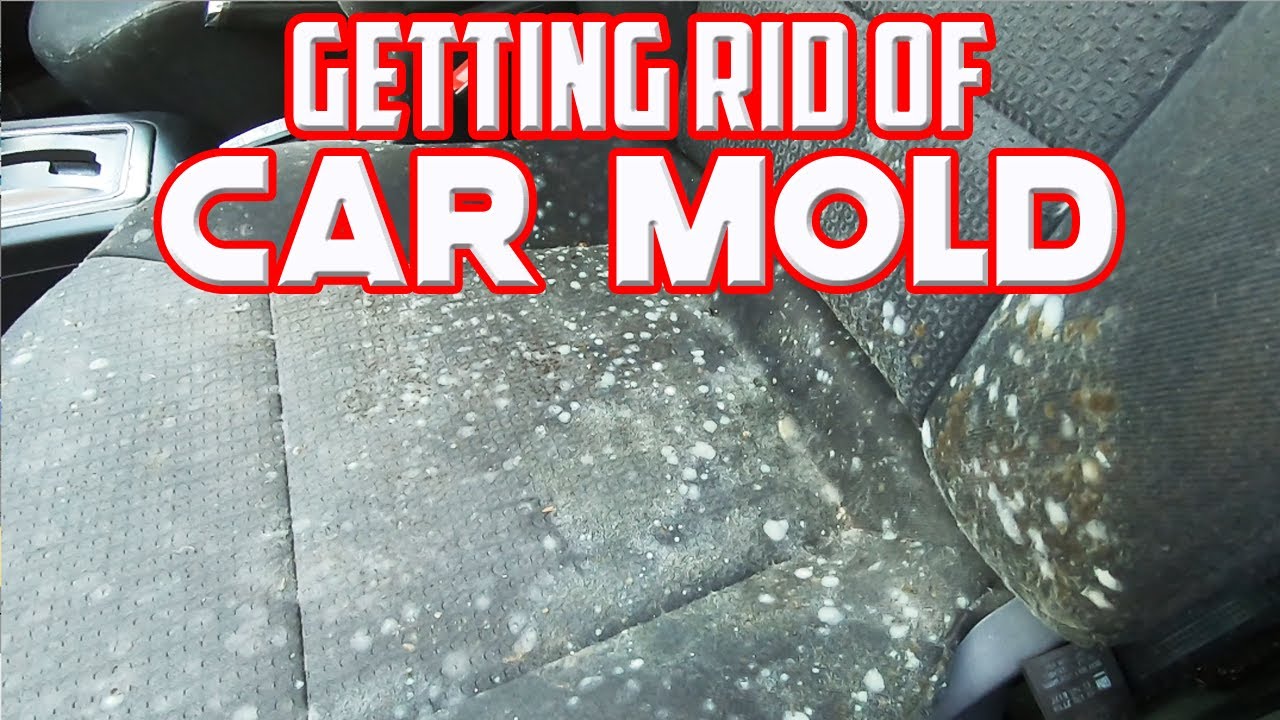
How To Get Rid Of Mold From Car
Mold in your car. Just hearing those words probably makes you cringe. It's not just unsightly and unpleasant; it can also pose health risks, particularly for individuals with allergies or respiratory issues. As a DIY enthusiast, you might be tempted to ignore it or just try a quick spray-and-wipe solution. But mold is tenacious. Removing it effectively requires understanding its nature, identifying its source, and using the right techniques and products. This guide provides a comprehensive approach to tackling mold in your car, going beyond simple cleaning to ensure long-term prevention.
Understanding the Enemy: Mold Biology and Growth
Before diving into the cleanup, let's grasp the basics. Mold is a type of fungus that thrives in moist environments. It reproduces through tiny spores, which are always present in the air. When these spores land on a surface with sufficient moisture and an organic food source (like dust, dirt, or even spilled food), they germinate and begin to grow, forming visible colonies. These colonies release more spores, perpetuating the cycle. The type of mold found in cars is usually Cladosporium, Aspergillus, or Penicillium, all of which can trigger allergic reactions. Identifying the type of mold is not critical for the cleaning process; the removal methods are generally the same. However, be aware that prolonged exposure can cause respiratory problems.
Key Specs and Main Problem Areas
Mold needs the following to thrive:
- Moisture: Leaks, spills, humidity, and condensation all contribute to moisture buildup.
- Organic Material: Dust, dirt, food particles, and even some car interior materials (like fabric) serve as food sources.
- Warmth: Mold grows best in temperatures between 40°F and 100°F.
- Lack of Air Circulation: Stagnant air allows moisture to linger, promoting mold growth.
Common problem areas in cars include:
- Carpeting and Upholstery: Porous materials that trap moisture and organic matter.
- Floor Mats: Especially rubber mats that can trap water underneath.
- Under the Seats: A common spot for spilled food and drinks.
- Trunk: Leaks around the trunk seal can create a damp environment.
- Air Conditioning System: Condensation can build up in the evaporator core, creating a breeding ground for mold.
- Headliner: Leaks from the sunroof or roof racks can cause mold growth.
The Arsenal: Tools and Cleaning Agents
Gather your supplies before you start. Here's a list of what you'll need:
- Personal Protective Equipment (PPE): Gloves, a mask (N95 or higher), and eye protection. This is crucial to prevent inhaling spores and avoid skin contact with cleaning agents.
- Vacuum Cleaner with HEPA Filter: A HEPA (High-Efficiency Particulate Air) filter traps mold spores and prevents them from being recirculated into the air. A standard vacuum cleaner might spread the spores.
- Stiff-Bristled Brush: For scrubbing surfaces.
- Microfiber Cloths: For wiping down surfaces.
- Spray Bottles: For applying cleaning solutions.
- Mold-Killing Cleaning Solutions:
- White Vinegar: A natural and effective mold killer.
- Baking Soda: Deodorizes and absorbs moisture.
- Commercial Mold and Mildew Removers: Follow the manufacturer's instructions carefully. Look for products specifically designed for automotive interiors. Be cautious, as some may damage certain materials. Read labels carefully.
- Tea Tree Oil: A natural antifungal agent. Dilute with water before use.
- Wet/Dry Vacuum (Optional): For extracting excess moisture from carpets and upholstery.
- Ozone Generator (Optional, Use with Extreme Caution): Ozone generators can kill mold, but they are also harmful to humans and pets. Use only in a well-ventilated area after manual cleaning and follow safety instructions strictly. Never occupy the vehicle while the ozone generator is running! After use, the car will need to air out before it is safe to be used again.
The Procedure: A Step-by-Step Guide to Mold Removal
Follow these steps for a thorough mold removal process:
- Preparation: Park the car in a well-ventilated area, ideally in direct sunlight. Open all doors and windows to promote airflow.
- Vacuuming: Use the HEPA vacuum to thoroughly vacuum all surfaces, including carpets, upholstery, floor mats, seats (including crevices), and the trunk. Pay extra attention to areas with visible mold.
- Cleaning with Vinegar: Fill a spray bottle with undiluted white vinegar. Spray the affected areas and let it sit for at least an hour. Vinegar's acidity kills mold spores.
- Scrubbing: Use the stiff-bristled brush to scrub the treated areas, loosening mold and dirt.
- Wiping: Wipe down the scrubbed areas with clean microfiber cloths. Rinse the cloths frequently in clean water.
- Drying: Thoroughly dry the cleaned areas. Use a wet/dry vacuum to extract excess moisture. If possible, leave the car doors and windows open to allow for air drying. Consider using a dehumidifier inside the car to speed up the drying process.
- Baking Soda Treatment: Sprinkle baking soda on carpets and upholstery to absorb any remaining moisture and odors. Let it sit for several hours or overnight, then vacuum it up.
- Cleaning the Air Conditioning System: Use an automotive air conditioning cleaner or disinfectant spray to kill mold and bacteria in the vents. Follow the product instructions carefully. You might also consider replacing the cabin air filter.
- Inspection and Prevention: After cleaning, thoroughly inspect the car for any remaining mold. Address the source of the moisture that caused the mold in the first place. Check for leaks around windows, doors, and the trunk. Consider using moisture absorbers or dehumidifiers in the car, especially during humid seasons. Clean up spills immediately. Regularly vacuum the interior and ensure good ventilation.
Real-World Use: Basic Troubleshooting Tips
- Persistent Odor: If a musty odor persists after cleaning, it could indicate that mold is still present in hard-to-reach areas, such as under the carpet or behind the dashboard. Consider professional detailing.
- Staining: Mold can sometimes leave stains on fabrics. Try using a fabric stain remover specifically designed for the type of material.
- Headliner Mold: Mold on the headliner can be particularly difficult to remove. Gentle cleaning with a mild detergent and a microfiber cloth is recommended. Avoid excessive moisture, as it can damage the headliner adhesive.
- Recurring Mold: If mold keeps coming back, it's crucial to identify and fix the source of moisture. This may involve repairing leaks, improving ventilation, or using a dehumidifier.
Safety: Risky Components and Precautions
When working with cleaning agents, always follow the manufacturer's instructions and wear appropriate PPE. Mixing different cleaning products can create dangerous fumes. Be particularly cautious when using bleach-based cleaners, as they can damage car interiors and release harmful chlorine gas if mixed with ammonia. Avoid prolonged exposure to strong cleaning agents. If you experience any irritation, stop using the product and seek medical attention.
While ozone generators can be effective for killing mold, they are also dangerous. Ozone is a powerful oxidant that can damage your lungs and irritate your eyes. Never use an ozone generator in an occupied vehicle or room. Follow the manufacturer's instructions carefully and ensure adequate ventilation after use.
When cleaning the air conditioning system, disconnect the battery's negative terminal to prevent accidental activation of the system. Be careful not to damage any electrical components or wiring.
Diagram and Further Assistance
A visual aid, such as a diagram illustrating common leak points and mold growth areas within a vehicle, can be invaluable. This diagram helps you pinpoint potential sources of moisture and target your cleaning efforts more effectively.
This diagram can be used for:
- Repair Planning: Identifying leak points to plan repairs.
- Preventative Maintenance: Highlighting areas prone to moisture buildup for regular inspection.
- Understanding Car Construction: Familiarizing yourself with the vehicle's internal structure and potential problem areas.
Because we value your dedication to vehicle maintenance, we have a detailed diagram available for download. This diagram highlights key areas prone to leaks and mold growth, providing you with a visual reference for your cleaning and prevention efforts.
Remember, tackling mold in your car is a multi-faceted process. By understanding the underlying causes, using the right tools and techniques, and taking appropriate safety precautions, you can effectively eliminate mold and maintain a clean, healthy, and enjoyable driving environment.