How To Get Rid Of Mold Inside Car
Eliminating Mold from Your Vehicle: A Comprehensive Guide for the DIY Mechanic
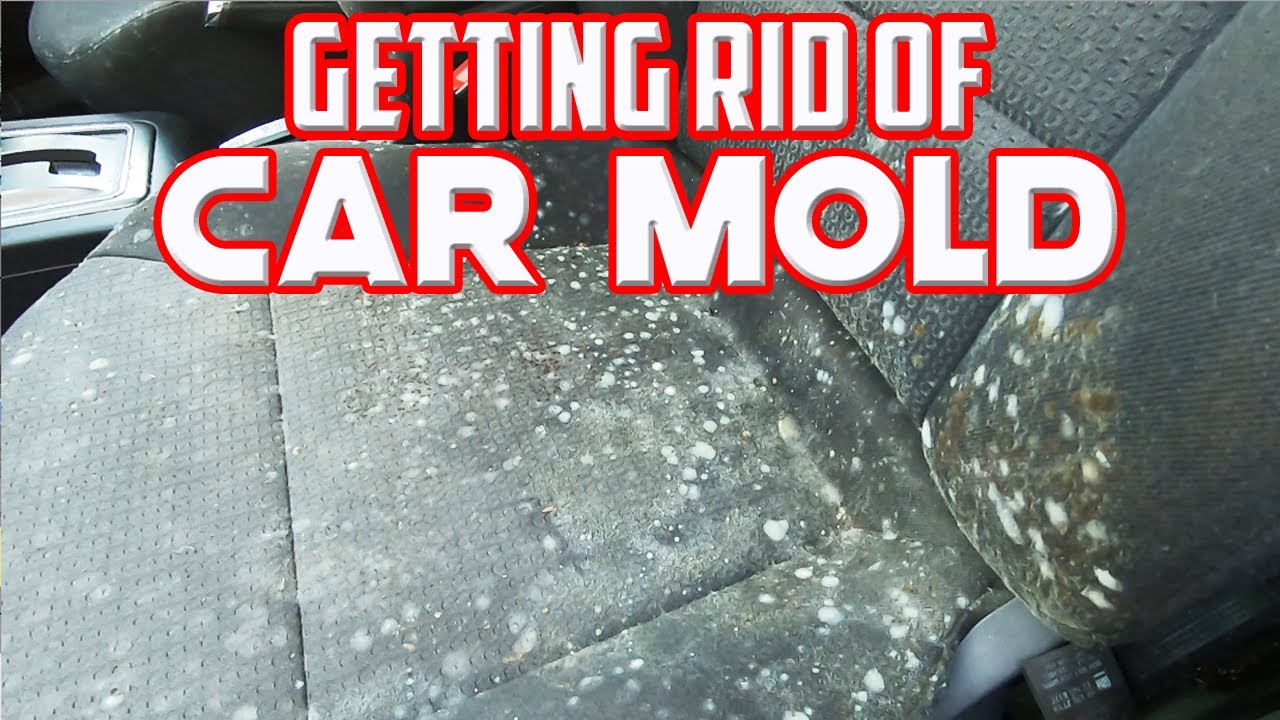
Mold growth inside a car isn't just unsightly; it can be a significant health hazard and diminish your vehicle's value. From unpleasant odors to potential respiratory issues, mold requires prompt and thorough remediation. This article provides a detailed, step-by-step guide for experienced DIYers on how to effectively remove mold from your car, covering everything from identifying the source to implementing preventative measures.
Purpose
Understanding how to effectively remove mold is crucial for several reasons:
- Health and Safety: Mold spores can trigger allergies and respiratory problems. Remediation eliminates this health risk.
- Preserving Vehicle Value: Mold growth can damage interior components and lower resale value.
- Preventing Further Damage: Mold spreads rapidly. Early intervention prevents extensive damage.
- Cost Savings: DIY mold removal saves on professional detailing costs, which can be substantial.
Key Specs and Main Parts
Successful mold removal involves understanding the different areas prone to mold growth and selecting the appropriate tools and cleaning agents. Here are some key areas to consider:
- Floor Mats and Carpets: Porous materials that readily absorb moisture.
- Upholstery (Seats and Headliner): Fabric and leather surfaces that trap moisture and organic matter.
- Air Conditioning System: The evaporator core and ductwork are breeding grounds for mold due to condensation.
- Door Seals and Weather Stripping: Areas where moisture can penetrate the vehicle.
- Trunk/Cargo Area: Often overlooked, but susceptible to moisture accumulation.
Essential tools and materials include:
- Personal Protective Equipment (PPE): Gloves, mask (N95 or higher), and eye protection.
- Wet/Dry Vacuum Cleaner: For removing loose debris and excess moisture.
- Mold-Specific Cleaning Solutions: Commercial mold removers or a solution of diluted bleach (1 part bleach to 10 parts water). Always test cleaning solutions in an inconspicuous area first.
- Microfiber Cloths: For wiping surfaces.
- Stiff-Bristled Brush: For scrubbing carpets and upholstery.
- Detailing Brushes: For reaching tight spots.
- Ozone Generator (Optional): For eliminating lingering odors and mold spores. (Use with extreme caution and never while anyone, including pets, are in the vehicle.)
- Air Compressor (Optional): For blowing out vents and crevices.
How It Works: The Mold Removal Process
The mold removal process is multi-stage, focusing on eliminating the mold, preventing its return, and restoring the vehicle's interior.
- Preparation:
- Park the car in a well-ventilated area, preferably outdoors.
- Don PPE (gloves, mask, and eye protection). Mold spores can become airborne during cleaning.
- Remove all personal belongings from the vehicle.
- Remove floor mats and any other removable items affected by mold.
- Initial Cleaning and Vacuuming:
- Use the wet/dry vacuum to thoroughly vacuum all interior surfaces, including carpets, upholstery, seats, and the headliner. Pay close attention to areas with visible mold growth.
- Vacuum floor mats separately. Consider replacing heavily contaminated floor mats.
- Applying Cleaning Solutions:
- Always test your chosen cleaning solution (whether commercial mold remover or diluted bleach) in a small, inconspicuous area first to ensure it doesn't damage the material.
- Spray the affected areas with the cleaning solution. Avoid oversaturating the materials.
- Allow the solution to dwell for the recommended time (typically 10-15 minutes for commercial products, shorter for bleach solutions).
- Scrubbing and Wiping:
- Use a stiff-bristled brush to scrub carpets and upholstery, agitating the mold and lifting it from the fibers.
- Use microfiber cloths to wipe down smooth surfaces, such as dashboards and door panels.
- For stubborn mold stains, consider using a detailing brush to reach tight spots and crevices.
- Rinsing and Drying:
- If necessary, rinse the cleaned areas with clean water to remove any remaining cleaning solution. Again, avoid oversaturating the materials.
- Use the wet/dry vacuum to extract as much moisture as possible from carpets and upholstery.
- Open all doors and windows to allow the interior to air dry completely. This can take several hours, or even a full day, depending on the humidity and temperature. Using a dehumidifier inside the vehicle can accelerate the drying process.
- If possible, park the car in direct sunlight to further aid drying.
- Air Conditioning System Treatment:
- Mold often thrives in the air conditioning system. Use an air conditioning cleaner designed to kill mold and bacteria in the evaporator core and ductwork. Follow the product's instructions carefully.
- Consider replacing the cabin air filter, as it may be contaminated with mold spores.
- Ozone Treatment (Optional):
- An ozone generator can help eliminate lingering odors and mold spores that may have been missed during the initial cleaning. However, ozone is harmful to human health. Never use an ozone generator while anyone, including pets, are in the vehicle. Follow the manufacturer's instructions carefully and ensure the vehicle is thoroughly ventilated after treatment.
- Prevention:
- Address the source of the moisture. Check for leaks in the roof, windows, or door seals.
- Regularly clean and vacuum the interior of your car.
- Use moisture absorbers in the car, especially during humid months.
- Avoid leaving wet items (e.g., towels, umbrellas) in the car.
Real-World Use – Basic Troubleshooting Tips
- Persistent Odor: If the moldy odor persists after cleaning, it may indicate that the mold has penetrated deeper into the materials. Consider professional detailing or replacing heavily contaminated components.
- Mold Returning Quickly: This suggests that the moisture source hasn't been addressed. Thoroughly inspect the vehicle for leaks and repair them.
- Cleaning Solution Damage: If the cleaning solution damages the material, discontinue use and try a milder solution or consult a professional.
Safety
Working with mold and cleaning chemicals requires caution:
- Mold Spores: Always wear PPE (gloves, mask, and eye protection) to avoid inhaling or coming into contact with mold spores.
- Cleaning Chemicals: Read and follow the manufacturer's instructions for all cleaning solutions. Avoid mixing different chemicals, as this can create dangerous fumes.
- Ventilation: Work in a well-ventilated area to avoid inhaling chemical fumes.
- Electrical Components: Be careful when cleaning around electrical components. Avoid getting them wet. Disconnect the battery if necessary.
- Ozone Generators: Use ozone generators with extreme caution. Ozone is a lung irritant and can be harmful to human health. Never use an ozone generator while anyone, including pets, are in the vehicle.
- Disposing of Contaminated Materials: Properly dispose of any contaminated materials (e.g., floor mats, cleaning cloths) in sealed bags to prevent the spread of mold spores.
By following these steps and taking appropriate safety precautions, you can effectively remove mold from your car and restore its interior. Remember to address the source of the moisture to prevent future mold growth.
We have a detailed diagram illustrating common mold growth locations and effective cleaning techniques. To download the file, please visit [Link to Diagram - Placeholder].