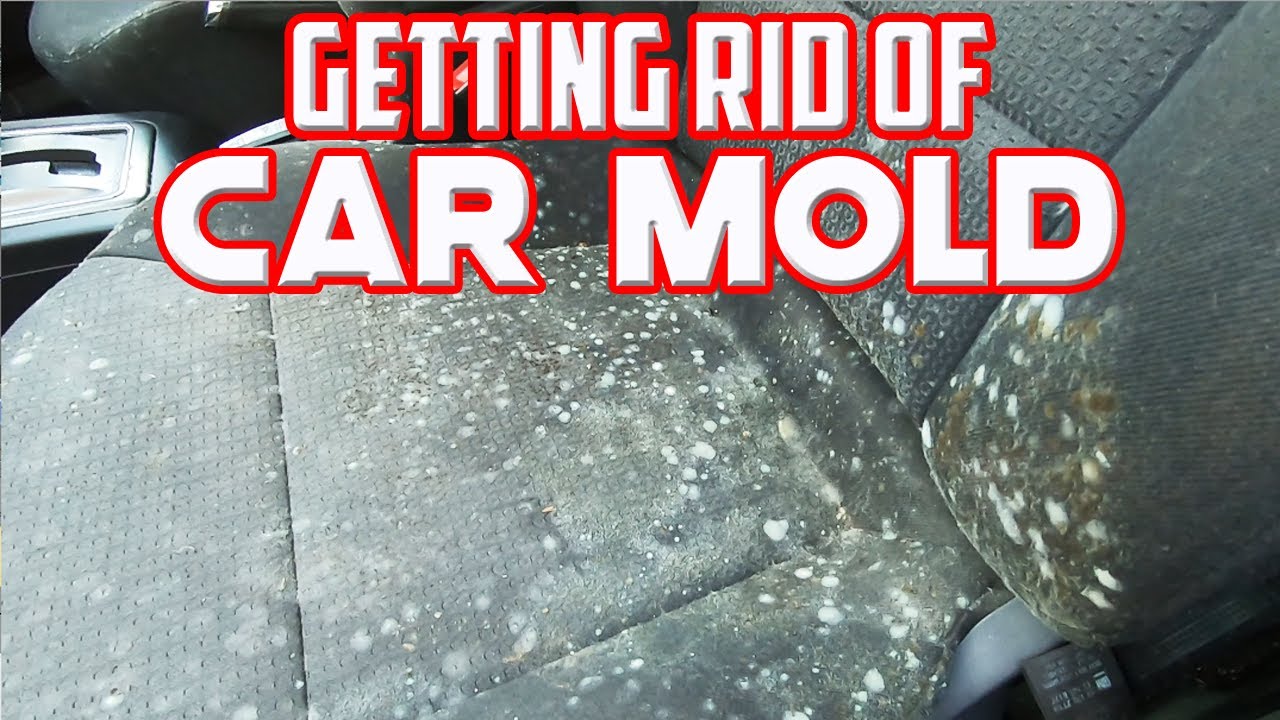
How To Get Rid Of Mould In Car
Conquering Car Mould: A Detailed Guide for the DIY Enthusiast
Mould in your car is more than just an unsightly nuisance; it's a potential health hazard and can damage your vehicle's interior. As experienced DIYers, we understand the importance of tackling problems head-on. This guide will equip you with the knowledge and techniques to effectively eliminate mould from your car, addressing the root cause and preventing its return. We'll cover everything from identifying the type of mould to the best cleaning agents and preventative measures.
Understanding the Problem: Why is Mould Growing in My Car?
Mould thrives in damp, dark environments. Cars, with their enclosed spaces and potential for moisture buildup, are prime breeding grounds. Common causes include:
- Water Leaks: Check seals around windows, doors, and the sunroof (if applicable). Pay attention to the floorboards, especially after rain. Damaged or perished rubber seals are often the culprit.
- Spills: Untreated spills, especially sugary drinks or milk, provide a feast for mould spores.
- Condensation: Fluctuations in temperature can lead to condensation forming on windows and interior surfaces, creating a humid environment.
- Wet Clothing/Items: Leaving wet umbrellas, towels, or gym clothes in your car can significantly increase humidity levels.
- Clogged Drain Plugs: Air conditioning systems often have drain plugs to release condensation. If these are clogged, water can back up into the cabin.
Identifying the Enemy: Types of Car Mould
While identifying the specific type of mould requires professional testing, you can usually identify it by its appearance. Common types include:
- Black Mould (Stachybotrys chartarum): Highly toxic and often appears as black or greenish-black patches. Requires immediate and careful removal.
- Green Mould (Cladosporium): Common and less toxic than black mould, but can still trigger allergies. Appears as green or greenish-brown spots.
- White Mould (Aspergillus/Penicillium): Can appear as white, powdery patches. Some species can be allergenic or produce toxins.
Important Note: If you suspect black mould, especially if you have pre-existing respiratory issues, consider consulting a professional mould remediation service. This guide provides methods for dealing with common mould infestations, but severe cases may require specialized equipment and expertise.
Gear Up: Essential Tools and Cleaning Agents
Before you start, gather the necessary tools and cleaning agents:
- Personal Protective Equipment (PPE): Crucially important! Includes a respirator mask (N95 or higher rating), gloves (nitrile or rubber), and eye protection. Mould spores can irritate the lungs, skin, and eyes.
- Vacuum Cleaner with HEPA Filter: HEPA (High-Efficiency Particulate Air) filters trap microscopic particles, preventing mould spores from being recirculated into the air.
- Stiff-Bristled Brush: For scrubbing affected surfaces.
- Microfiber Cloths: For wiping and drying surfaces.
- Cleaning Solutions: Choose from the following options:
- Vinegar: A natural and effective mould killer. White vinegar is generally preferred.
- Baking Soda: Helps absorb moisture and neutralizes odors.
- Borax: A more potent mould killer. Use with caution and follow safety guidelines.
- Commercial Mould Removers: Follow the manufacturer's instructions carefully and ensure they are safe for use on car interiors. Look for products containing quaternary ammonium compounds or hydrogen peroxide.
- Spray Bottle: For applying cleaning solutions.
- Ozone Generator (Optional): For eliminating lingering odors and further sanitizing the car interior. Use with extreme caution and follow safety guidelines strictly! Ensure the car is unoccupied during ozone treatment and allow sufficient ventilation afterward.
The Mould Removal Process: A Step-by-Step Guide
- Preparation: Park your car in a well-ventilated area, preferably in direct sunlight. Open all doors and windows. Wear your PPE.
- Vacuuming: Thoroughly vacuum the entire car interior, paying close attention to areas with visible mould. Use the crevice tool to reach tight spaces. Empty the vacuum bag or canister immediately afterward and dispose of it properly.
- Cleaning Surfaces: Choose your cleaning solution (e.g., vinegar diluted with water in a 1:1 ratio). Spray the affected area and let it sit for 5-10 minutes. Scrub with a stiff-bristled brush and wipe clean with a microfiber cloth. Repeat as needed. For stubborn stains, try a paste of baking soda and water.
- Fabric Treatment: For mould on seats, carpets, and headliners, consider using a fabric cleaner specifically designed for mould removal. Follow the manufacturer's instructions carefully. You may need to use a steam cleaner for deeper penetration and sanitization (use with caution on delicate fabrics).
- Drying: This is crucial! Thoroughly dry all cleaned surfaces. Use fans or a dehumidifier to speed up the drying process. Leave the car doors and windows open for several hours to allow for maximum ventilation.
- Ozone Treatment (Optional): If using an ozone generator, follow the manufacturer's instructions meticulously. Ensure the car is unoccupied and well-ventilated after treatment.
Real-World Use: Troubleshooting Common Mould Issues
- Mould Under Seats: This often indicates a leak. Check the floorboards for dampness and trace the source of the water.
- Mould in the Air Conditioning System: Run the A/C on high with the windows open for several minutes to flush out any mould spores. Consider using an A/C cleaner specifically designed to eliminate mould and bacteria.
- Lingering Odours: Place bowls of baking soda or activated charcoal in the car to absorb odours. Vinegar can also be effective.
- Mould Reappearing: This indicates that the underlying cause of the moisture problem hasn't been addressed. Investigate further and fix any leaks or sources of humidity.
Safety First: Highlighting Risky Components
Always disconnect the car battery before working on any electrical components, especially if you're dealing with water leaks. Water and electricity are a dangerous combination. When working with cleaning chemicals, wear appropriate PPE and ensure adequate ventilation. Be extremely careful when using an ozone generator, as ozone is a toxic gas. Never breathe in ozone fumes and ensure the car is thoroughly ventilated after treatment.
Pay special attention to the following areas:
- Electrical Wiring: Check for corrosion or damage, especially near water leaks. Damaged wiring can lead to shorts and fires.
- Airbag System: Avoid spraying cleaning solutions directly onto airbag modules. Accidental deployment can cause serious injury.
- Fuel Lines: Be careful when working near fuel lines. Leaks can create a fire hazard.
Prevention is Key: Keeping Mould at Bay
Preventing mould growth is always easier than removing it. Implement these preventative measures:
- Regular Cleaning: Vacuum and clean your car interior regularly.
- Address Leaks Promptly: Fix any water leaks as soon as they are detected.
- Dry Wet Items: Avoid leaving wet clothing, towels, or umbrellas in your car.
- Good Ventilation: Ensure good ventilation by opening windows regularly, especially after rain or when the A/C is used.
- Dehumidifiers: Consider using a small dehumidifier in your car, especially during humid months.
Final Thoughts
By following these steps and taking preventative measures, you can effectively eliminate mould from your car and protect your health and investment. Remember to prioritize safety and address the root cause of the problem to prevent future infestations.
We have a detailed wiring diagram available that shows the location of common leak points in your vehicle, which could be helpful in diagnosing the root cause of your mould problem. You can download it by clicking [Link to Download - Replace with Actual Link].