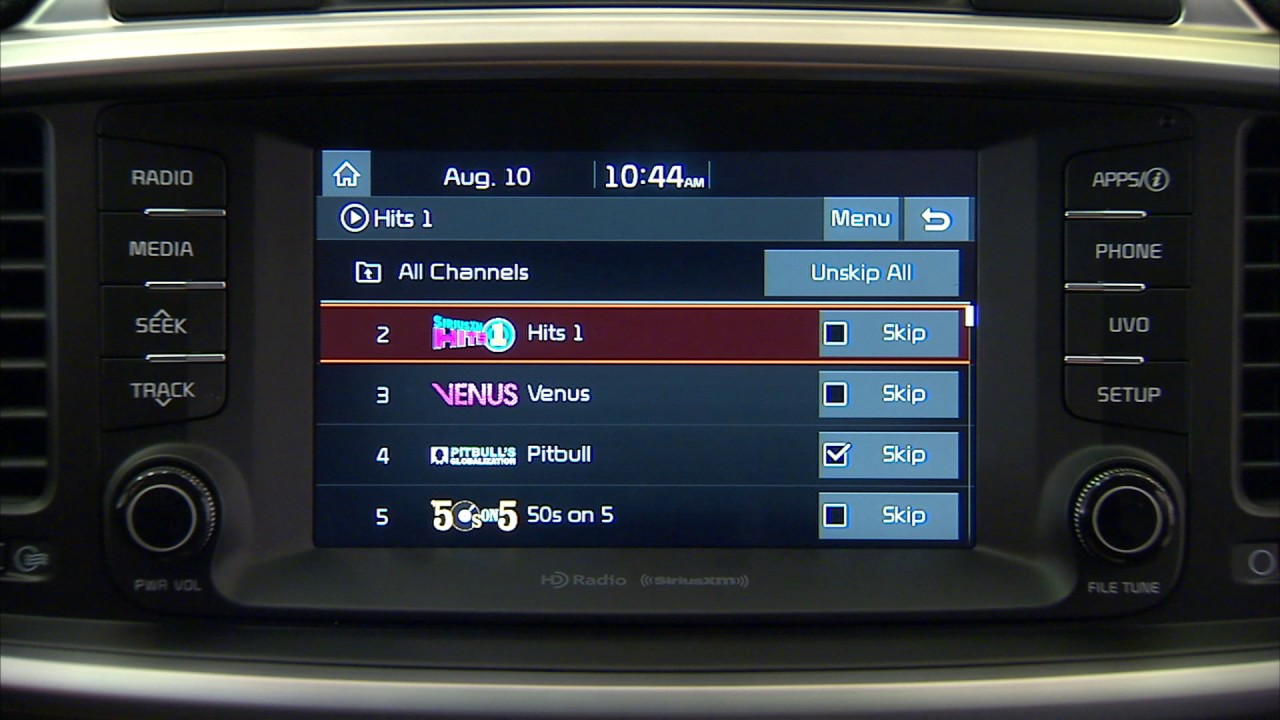
How To Get Xm In My Car
Let's talk about getting XM (satellite radio) working in your car. This guide is designed to help you understand the components and wiring involved, whether you're adding it aftermarket, troubleshooting a pre-existing system, or just expanding your knowledge of your vehicle's electronics. We'll focus on the wiring diagram – the roadmap of your car's XM setup – because understanding it is key to solving almost any problem.
Purpose of the XM Wiring Diagram
Why bother with a wiring diagram? Think of it as the Rosetta Stone for your car's XM system. Without it, you're essentially poking around in the dark, hoping to stumble upon the right connection. A wiring diagram offers several crucial benefits:
- Troubleshooting: Diagnosing issues like loss of signal, no audio, or receiver malfunction becomes significantly easier when you can trace the signal path and identify potential breakpoints.
- Installation: If you're adding an aftermarket XM receiver, the diagram helps you correctly connect the power, antenna, audio output, and any control interfaces.
- Modification: Want to integrate your XM receiver with a custom head unit or audio system? The diagram is your guide to ensuring compatibility and proper wiring.
- Understanding: Simply gaining a deeper understanding of how your car's electronics work is a reward in itself.
Key Specs and Main Parts of an XM System
Before diving into the diagram itself, let's define the core components of a typical XM satellite radio system. Understanding these parts is crucial for interpreting the diagram correctly.
- XM Antenna: This receives the satellite signal. It's usually located on the roof, rear deck, or integrated into the car's antenna system. Look for a coaxial cable running from the antenna to the receiver.
- XM Receiver Module: This is the heart of the system. It decodes the satellite signal and converts it into an audio signal. This module can be a separate unit, or, increasingly, integrated into the head unit.
- Head Unit/Radio: This provides the user interface for controlling the XM receiver (channel selection, volume, etc.) and outputs the audio. It receives the audio signal from the XM receiver.
- Wiring Harnesses & Connectors: These connect all the components together. Understanding the pin-outs of these connectors is essential for any wiring work.
- Power Supply: The XM receiver needs a stable power source, usually 12V DC. The wiring diagram will show where it taps into the car's electrical system.
- Ground Connection: A good ground connection is crucial for proper operation and preventing noise. The diagram will indicate the location of the ground point.
Key Specifications to Look For:
- Voltage: Typically 12V DC for automotive applications.
- Antenna Impedance: Usually 50 Ohms.
- Audio Output Level: Line-level (typically around 1V peak-to-peak) for connection to the head unit.
Decoding XM Wiring Diagram Symbols
Wiring diagrams use a standardized set of symbols to represent different components and connections. Mastering these symbols is crucial for accurate interpretation.
- Lines: Lines represent wires. A solid line indicates a direct connection, while a dashed line might indicate a shielded wire. Different colors may represent different functions (e.g., red for power, black for ground).
- Colors: Wire colors are often abbreviated (e.g., RD for Red, BK for Black, GN for Green, BL for Blue). A color code chart is usually included with the diagram.
- Ground Symbol: Typically a series of horizontal lines connected to a point, indicating the connection to the vehicle's chassis ground.
- Connectors: Represented by circles or rectangles with pin numbers indicated. Pay attention to the connector's mating direction and locking mechanism.
- Components: Each component (antenna, receiver, head unit) is represented by a simplified symbol, often labelled with its function.
- Fuses/Circuit Breakers: Represented by a zigzag line enclosed in a rectangle. These are critical for protecting the system from overcurrent.
- Resistors, Capacitors, and other electronic components These can appear, especially if you have a discrete receiver module.
A typical wiring diagram will show the connections between all these components, including wire colors, connector pin numbers, and grounding points. It might also include voltage readings at various points to help with troubleshooting.
How the XM System Works: A Simplified Explanation
The XM system works by receiving a digital radio signal from satellites orbiting the Earth. Here's the signal flow:
- The XM antenna receives the satellite signal.
- The antenna sends the signal through a coaxial cable to the XM receiver module.
- The receiver module decodes the digital signal, extracts the audio information, and converts it into an analog audio signal (usually line-level).
- The analog audio signal is sent to the head unit (or amplifier) via audio cables.
- The head unit amplifies the audio signal and sends it to the speakers.
- The head unit also sends control signals to the XM receiver, allowing the user to select channels and control volume.
Modern systems may integrate the XM receiver directly into the head unit, simplifying the wiring. Some systems use a digital audio connection (like MOST bus) between the receiver and the head unit.
Real-World Use: Basic Troubleshooting Tips
Here are some common XM system problems and how a wiring diagram can help you diagnose them:
- No Signal:
Check the antenna connection first. Use the wiring diagram to trace the coaxial cable from the antenna to the receiver. Ensure the connection is secure and the cable isn't damaged. Verify the antenna has power (if it's an amplified antenna). Use a multi-meter to verify the voltage at the antenna connector.
- No Audio:
Use the diagram to trace the audio output wires from the receiver to the head unit. Check the connections and look for any breaks or shorts in the wiring. Verify the head unit is set to the correct input source (e.g., XM, SAT).
- Intermittent Signal Loss:
This could be caused by a loose connection, a damaged antenna cable, or a faulty receiver. The wiring diagram can help you identify potential weak points in the system. Check for any signs of corrosion or water damage in the connectors.
- Ground Loop Noise:
A ground loop can cause a buzzing or humming sound in the audio. Use the diagram to verify that the XM receiver and head unit share a common ground point. You may need to add a ground loop isolator.
- XM Receiver Not Powering On:
Use the diagram to trace the power wires from the car's electrical system to the receiver. Check the fuse protecting the circuit and replace it if blown. Use a multimeter to verify that the receiver is receiving the correct voltage.
Safety Considerations
Working with car electrical systems can be dangerous. Here are some key safety precautions:
- Disconnect the Battery: Always disconnect the negative battery terminal before working on any electrical components. This prevents accidental shorts and potential damage to the vehicle's electronics.
- Identify Power Wires: Use the wiring diagram to identify the power wires. Avoid cutting or splicing into these wires without knowing their function.
- Use Proper Tools: Use insulated tools to prevent electrical shocks.
- Protect Yourself: Wear safety glasses and gloves.
- Be Aware of Airbags: Some airbag modules are located near the radio or other electrical components. Be extremely careful not to damage these modules. Never probe or test airbag circuits unless you are specifically trained to do so. Accidental deployment can cause serious injury.
Remember, certain components like the airbag system are extremely sensitive and can be dangerous if handled incorrectly. If you are not comfortable working with these components, consult a qualified technician.
By understanding the components, wiring, and troubleshooting techniques outlined in this guide, you'll be well-equipped to tackle most XM system issues in your car. Remember to always consult the specific wiring diagram for your vehicle model for accurate information.
We have a collection of wiring diagrams. Feel free to ask us for your specific car model, we have the file ready for you to download.