How To Get Your Oil Changed
So, you're ready to tackle an oil change yourself? Excellent! It's a routine maintenance task that can save you money and give you a deeper understanding of your vehicle's inner workings. This guide assumes you have some basic mechanical knowledge and have performed similar tasks before. We'll cover the process in detail, focusing on the technical aspects and providing tips to ensure a smooth and safe experience. Remember safety is paramount.
Purpose: Why Bother with DIY Oil Changes?
Performing your own oil change goes beyond just saving money. It gives you the opportunity to inspect your vehicle closely for any potential issues, like leaks, worn belts, or damaged hoses. This preventative maintenance can catch problems early, saving you from more costly repairs down the road. Furthermore, it allows you to use the exact type and brand of oil you prefer, ensuring optimal lubrication and performance. Learning this skill will also improve your comprehension of internal combustion engines.
Key Specs and Main Parts
Before diving in, let's cover the key components and specifications:
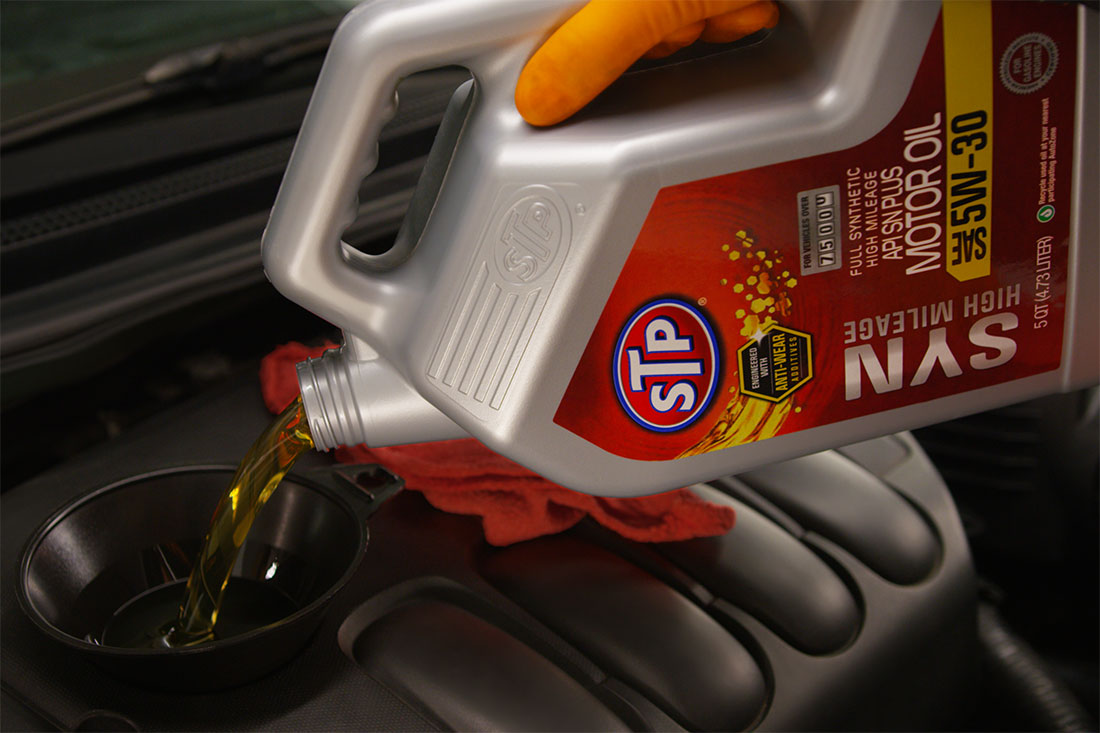
- Engine Oil: The lifeblood of your engine, lubricating moving parts, reducing friction, and dissipating heat. Specifications include viscosity (e.g., 5W-30, 10W-40), API rating (e.g., SN, SP), and synthetic/conventional designation. Consult your owner's manual for the recommended oil type and viscosity for your vehicle.
- Oil Filter: Removes contaminants from the oil, preventing them from circulating through the engine. Different filter types exist (spin-on, cartridge), and each has a specific part number and thread size. Again, refer to your owner's manual or a reputable parts supplier for the correct filter.
- Oil Drain Plug: Located on the oil pan, it's removed to drain the old oil. Typically a hex or square head bolt, often requiring a specific torque specification upon reinstallation. Damaging the threads on the oil pan during tightening is a common mistake, so always use a torque wrench.
- Oil Filter Wrench: A specialized wrench used to loosen and tighten the oil filter. Different types exist, including cap-type, strap-type, and claw-type, depending on the filter design and accessibility.
- Drain Pan: A container to collect the used oil. Choose one with sufficient capacity to hold all the oil in your engine.
- Funnel: Used to pour the new oil into the engine without spilling.
- Wrenches/Sockets: For removing the drain plug and potentially the oil filter (if a cap-type wrench is used).
- Torque Wrench: Essential for tightening the drain plug to the correct specification. Overtightening can damage the oil pan, while undertightening can lead to leaks.
- Jack and Jack Stands: Used to safely lift the vehicle, providing access to the oil drain plug and filter. Never work under a vehicle supported only by a jack.
How It Works: The Step-by-Step Process
- Preparation: Warm up the engine slightly (a few minutes is sufficient) to make the oil flow more easily. Position the vehicle on a level surface.
- Lifting the Vehicle: Use a jack to lift the vehicle at the designated jacking points (consult your owner's manual). Immediately place jack stands under the frame rails or other suitable support points. Safety first!
- Locating the Oil Drain Plug: Identify the oil pan, usually located at the bottom of the engine. The oil drain plug will be the lowest point on the pan.
- Draining the Oil: Position the drain pan under the drain plug. Using the correct wrench, carefully loosen and remove the drain plug. Be prepared for the hot oil to flow out quickly. Let the oil drain completely, which may take 15-30 minutes.
- Removing the Oil Filter: While the oil is draining, locate the oil filter. Position the drain pan to catch any oil spillage. Use the oil filter wrench to loosen and remove the old filter. Important: Before installing the new filter, lightly lubricate the rubber gasket with fresh oil. This helps create a good seal and prevents the gasket from sticking to the engine.
- Installing the New Oil Filter: Screw the new oil filter onto the engine by hand until the gasket makes contact, then tighten it an additional ¾ to 1 full turn, as per the filter manufacturer's instructions. Do not overtighten.
- Reinstalling the Drain Plug: Clean the drain plug and install a new crush washer (if applicable). Hand-tighten the drain plug, then use a torque wrench to tighten it to the specified torque. This is critical! Consult your vehicle's service manual or a reliable online resource for the correct torque specification.
- Adding New Oil: Locate the oil fill cap on the engine. Remove the cap and insert a funnel. Pour in the correct amount of new oil, as specified in your owner's manual. Do not overfill.
- Checking the Oil Level: Replace the oil fill cap. Start the engine and let it run for a few minutes. Check for any leaks around the drain plug and oil filter. Turn off the engine and wait a few minutes for the oil to settle. Remove the dipstick, wipe it clean, reinsert it fully, and then remove it again to check the oil level. Add more oil if necessary to reach the "full" mark.
- Lowering the Vehicle: Remove the jack stands and carefully lower the vehicle.
- Disposing of Used Oil: Properly dispose of the used oil at a recycling center or auto parts store. Never pour used oil down the drain or onto the ground.
Real-World Use: Basic Troubleshooting Tips
- Drain Plug Stuck: If the drain plug is difficult to remove, try using a penetrating oil and let it soak for a few minutes. Avoid using excessive force, as you could strip the threads.
- Oil Filter Stuck: If the oil filter is stuck, try a different type of oil filter wrench or use a screwdriver to puncture the filter and provide leverage. Be careful not to damage the engine.
- Oil Leak After Change: If you notice an oil leak after the oil change, double-check the drain plug and oil filter to ensure they are properly tightened. A loose drain plug or oil filter gasket is the most common cause.
- Incorrect Oil Level: Always double-check the oil level after the oil change. Overfilling or underfilling can damage the engine.
Safety: Highlighting Risky Components
Safety should be your top priority when performing any automotive maintenance. Here are some key safety considerations:
- Hot Oil: The oil will be hot after the engine has been running. Be careful not to burn yourself. Wear gloves and eye protection.
- Jacking and Jack Stands: Never work under a vehicle supported only by a jack. Always use jack stands. Ensure the jack stands are properly positioned on a solid, level surface.
- Flammable Materials: Oil is flammable. Keep any open flames or sparks away from the work area.
- Proper Tools: Use the correct tools for the job. Using the wrong tools can damage your vehicle or cause injury.
- Disposal of Used Oil: Used oil is a hazardous material. Dispose of it properly at a recycling center or auto parts store.
We have prepared a detailed oil change diagram that visually represents the process and key components. This diagram can be a valuable resource for understanding the steps involved and identifying the location of various parts. You can download the diagram to have a handy reference guide during your oil change.
By following these instructions and prioritizing safety, you can confidently perform your own oil changes and keep your vehicle running smoothly.