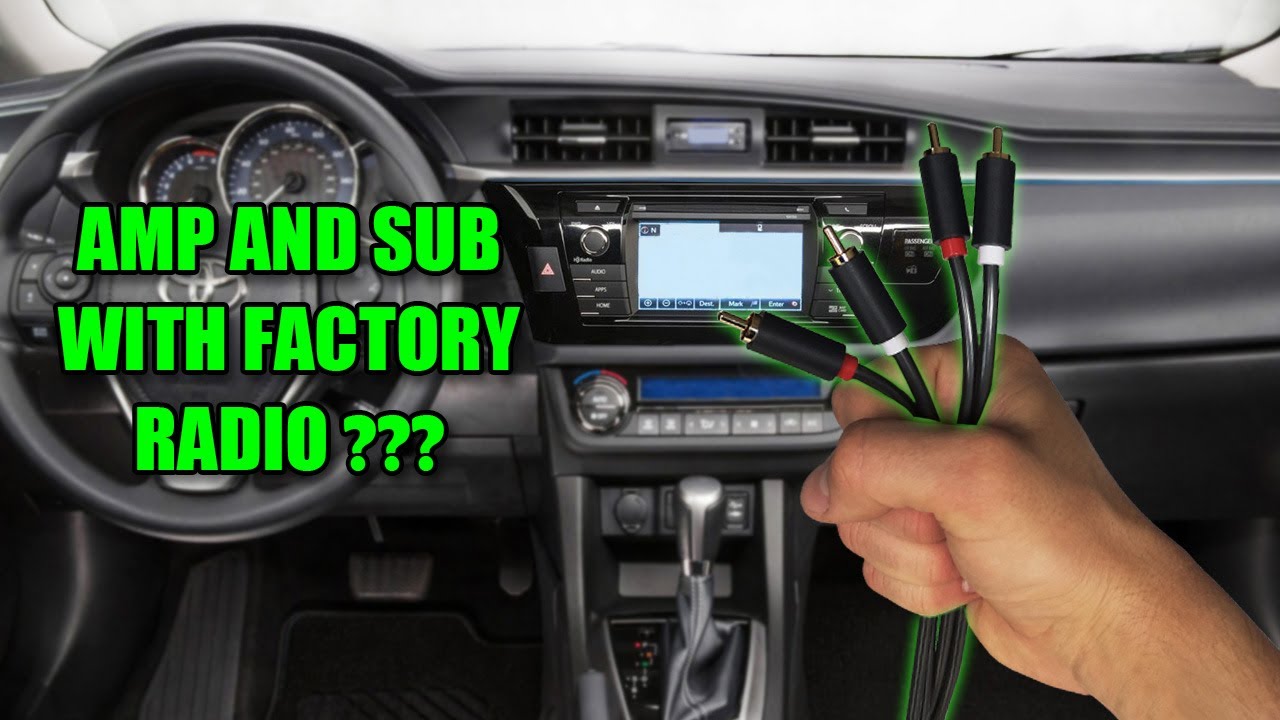
How To Hook Up Factory Radio To Amp
Connecting a factory radio to an aftermarket amplifier can significantly enhance your car audio experience. While factory radios are often designed for basic sound quality, adding an amplifier allows you to achieve louder volumes, cleaner audio, and a richer, more immersive listening environment. This article will guide you through the process, explaining why this upgrade matters, how to choose the right components, and what to expect during the installation.
Why Connect a Factory Radio to an Amp?
There are several compelling reasons to consider this upgrade:
- Improved Sound Quality: Factory radios often lack the power to drive larger or higher-quality speakers effectively. An amplifier provides the necessary power to unlock the full potential of your speakers, resulting in clearer highs, deeper bass, and a more balanced sound.
- Increased Volume: If you find that your factory radio's maximum volume isn't loud enough, an amplifier can significantly boost the sound output without distortion. This is especially useful if you enjoy listening to music at higher volumes or if you have a noisy vehicle.
- Bass Enhancement: Many factory radios struggle to reproduce low-frequency sounds accurately. An amplifier, particularly when paired with a subwoofer, can dramatically improve bass response, adding depth and impact to your music.
- Retain Factory Aesthetics and Functionality: Upgrading your entire head unit can be costly and may alter the look and feel of your dashboard. Connecting an amplifier to your factory radio allows you to maintain the original appearance and features of your car while improving the sound.
- Cost-Effective Upgrade: Adding an amplifier can be a more budget-friendly option compared to replacing the entire head unit, especially if you are satisfied with the factory radio's features and functionality.
Choosing the Right Components
Selecting the right components is crucial for a successful installation. Here's what to consider:
1. Amplifier
The amplifier is the heart of your upgraded audio system. Consider these factors when choosing an amplifier:
- Power Output: Match the amplifier's power output (measured in watts RMS) to the power handling capabilities of your speakers. Overpowering your speakers can damage them, while underpowering them can result in distorted sound. RMS (Root Mean Square) is the continuous power an amplifier can deliver, and is the key specification to consider.
- Number of Channels: Choose an amplifier with the appropriate number of channels for your setup. A 4-channel amplifier can power four speakers, while a 5-channel amplifier can power four speakers and a subwoofer. A mono amplifier is designed specifically for subwoofers.
- Class of Amplifier: Amplifiers are categorized into different classes (e.g., A/B, D). Class D amplifiers are generally more efficient and produce less heat, making them a popular choice for car audio applications.
- Input Sensitivity: This specification indicates the voltage required at the amplifier's input to produce its full rated power. You'll need to match this to the output voltage of your factory radio.
2. Line Output Converter (LOC)
A Line Output Converter (LOC) is essential if your factory radio doesn't have RCA outputs. The LOC converts the high-level speaker outputs from the radio into low-level RCA signals that can be connected to an amplifier. When selecting an LOC:
- Number of Channels: Choose an LOC with the same number of channels as your amplifier.
- Adjustable Gain: Opt for an LOC with adjustable gain controls, which allow you to fine-tune the signal level and prevent distortion.
- Signal Sensing: Some LOCs have signal-sensing capabilities, which automatically turn on the amplifier when they detect an audio signal from the radio. This eliminates the need for a remote turn-on wire.
- Quality and Brand: Invest in a reputable brand to ensure reliability and optimal signal conversion.
3. Wiring
Proper wiring is crucial for safety and performance. Use high-quality wiring specifically designed for car audio applications:
- Power Wire: Use a thick gauge power wire (e.g., 4-gauge or 8-gauge) to connect the amplifier to the car's battery. The gauge of the wire depends on the amplifier's power requirements and the length of the wire run.
- Ground Wire: Use a wire of the same gauge as the power wire to ground the amplifier to the car's chassis. Ensure a clean and secure ground connection.
- Speaker Wire: Use 16-gauge or 14-gauge speaker wire to connect the amplifier to the speakers.
- RCA Cables: Use shielded RCA cables to connect the LOC to the amplifier.
- Remote Turn-On Wire: If your LOC doesn't have signal sensing, you'll need to run a remote turn-on wire from the radio (or another switched 12V source) to the amplifier.
4. Fuse
A fuse is essential to protect your electrical system. Place a fuse as close as possible to the battery on the power wire. The fuse rating should be slightly higher than the amplifier's maximum current draw.
Installation Steps
While the specific steps may vary depending on your car and equipment, here's a general overview of the installation process:
- Disconnect the Battery: Always disconnect the negative terminal of the car battery before starting any electrical work.
- Locate the Factory Radio Wiring: Identify the speaker wires coming from the factory radio. You may need a wiring diagram for your specific vehicle.
- Connect the LOC: Connect the speaker wires from the radio to the input terminals of the LOC.
- Run Power and Ground Wires: Run the power wire from the battery to the amplifier, and connect the ground wire from the amplifier to a clean, unpainted metal surface on the car's chassis.
- Connect RCA Cables: Connect the RCA cables from the LOC to the amplifier's input jacks.
- Connect the Remote Turn-On Wire (if needed): Connect the remote turn-on wire from the radio (or another switched 12V source) to the amplifier's remote turn-on terminal.
- Connect Speaker Wires: Connect the speaker wires from the amplifier to the speakers.
- Adjust Gain Controls: Carefully adjust the gain controls on the LOC and amplifier to optimize the sound quality and prevent distortion. Start with the gain controls at their minimum settings and gradually increase them until you reach the desired volume level.
- Reconnect the Battery: Reconnect the negative terminal of the car battery.
- Test the System: Turn on the radio and test the sound system. Verify that all speakers are working correctly and that the sound quality is satisfactory.
Real-World Owner Experiences
Many car owners have successfully upgraded their factory radio systems with amplifiers. Here are some common experiences:
- Improved Bass Response: "I was amazed at how much better my bass sounded after adding an amplifier and a subwoofer. It really brought my music to life!" - John, Honda Civic Owner
- Clearer Sound at Higher Volumes: "My factory radio would distort at high volumes, but with the amplifier, I can crank up the music without any distortion." - Sarah, Toyota Camry Owner
- Easy Installation: "The installation was surprisingly straightforward, especially with a good LOC and clear instructions. It took me about an afternoon to complete the project." - Michael, Ford F-150 Owner
- Maintained Factory Look: "I didn't want to replace my factory radio because I liked the way it looked in my dashboard. Adding an amplifier was the perfect solution to improve the sound without changing the appearance." - Emily, Mazda 3 Owner
FAQs
Here are some frequently asked questions about connecting a factory radio to an amplifier:
- Can I connect any amplifier to any factory radio? Not all factory radios are compatible with all amplifiers. You need to ensure that the amplifier's input requirements are compatible with the factory radio's output. An LOC is often required.
- Do I need to run new speaker wires? In some cases, you may be able to use the existing speaker wires. However, it's generally recommended to run new, higher-quality speaker wires for optimal performance.
- Where should I mount the amplifier? Common mounting locations include under the seats, in the trunk, or in the glove compartment. Ensure that the amplifier has adequate ventilation.
- Can I do this myself, or should I hire a professional? If you have experience with car audio installation and electrical wiring, you may be able to do it yourself. However, if you are not comfortable with these tasks, it's best to hire a professional installer.
- What if I'm getting a lot of static or engine noise? This could be due to a poor ground connection, interference from other electrical components, or faulty wiring. Ensure that the ground connection is clean and secure, and try running the RCA cables away from power wires.
- How do I know what wattage amplifier I need? Match the RMS wattage of your amplifier to the RMS wattage of your speakers. It's generally safe to slightly over-power your speakers (e.g. 10-20%) but avoid significantly underpowering them.
- What is a "high-level input" on an amplifier? Some amplifiers have high-level inputs that accept the speaker wire outputs directly from a factory radio, eliminating the need for a LOC. Check your amplifier's documentation to see if it supports this feature.
By following these guidelines, you can successfully connect a factory radio to an amplifier and enjoy a significantly improved car audio experience. Remember to prioritize safety, choose the right components, and follow the installation instructions carefully.