How To Install A 02 Sensor
So, you're thinking about replacing your O2 sensor. Good choice! It's a crucial component in your car's emissions system, and a failing one can lead to poor fuel economy, a rough idle, and even damage to your catalytic converter. While it might seem intimidating, replacing an O2 sensor is a task that many experienced DIYers can tackle with the right tools and information. This article will walk you through the process, giving you the technical understanding and practical steps you need to get the job done right.
Understanding Your Engine's Air-Fuel Ratio and the Role of the O2 Sensor
Before we dive into the installation process, let's cover some background information. Modern internal combustion engines rely on a precise air-fuel ratio to operate efficiently and cleanly. This ratio is the mass of air compared to the mass of fuel entering the engine's cylinders. The ideal stoichiometric air-fuel ratio is around 14.7:1 for gasoline engines – meaning 14.7 parts of air to one part of fuel. Achieving this ratio ensures complete combustion, minimizing harmful emissions.
Now, where does the O2 sensor fit in? The Oxygen sensor (O2 sensor), also known as a Lambda sensor, measures the amount of oxygen in the exhaust gases after combustion. It essentially tells the Engine Control Unit (ECU) whether the engine is running rich (too much fuel) or lean (too little fuel). This information is crucial for the ECU to make real-time adjustments to the fuel injectors, ensuring the air-fuel ratio stays as close to that ideal 14.7:1 as possible.
How the O2 Sensor Works: A Technical Breakdown
Most modern vehicles use zirconium dioxide (ZrO2) O2 sensors. These sensors generate a voltage signal that varies depending on the oxygen concentration in the exhaust. Here's a simplified explanation:
- The sensor has a thimble-shaped zirconia element coated with platinum electrodes.
- One side of the element is exposed to the exhaust gases, while the other side is exposed to atmospheric air (a reference).
- At high temperatures (typically above 600°F or 315°C), the zirconia element becomes conductive to oxygen ions.
- If the exhaust gas is lean (high oxygen content), there's a small difference in oxygen concentration between the two sides of the element, resulting in a low voltage signal (typically around 0.2 volts).
- If the exhaust gas is rich (low oxygen content), there's a large difference in oxygen concentration, resulting in a high voltage signal (typically around 0.8 volts).
- The ECU interprets these voltage signals to adjust the fuel injectors accordingly.
There are also titania (TiO2) O2 sensors, which operate on a different principle. Instead of generating a voltage, they change their electrical resistance based on the oxygen concentration in the exhaust. However, zirconium dioxide sensors are far more common.
Another important distinction is between upstream and downstream O2 sensors. Upstream sensors are located *before* the catalytic converter and are responsible for providing feedback to the ECU for fuel trimming. Downstream sensors are located *after* the catalytic converter and monitor the converter's efficiency. If the downstream sensor detects a similar oxygen level to the upstream sensor, it indicates that the catalytic converter is not working correctly. Many modern vehicles have both upstream and downstream sensors, or even multiple sensors on each side of the engine (for V-type engines).
Common O2 Sensor Issues and Maintenance Concerns
O2 sensors operate in a harsh environment, exposed to high temperatures, vibrations, and corrosive exhaust gases. Over time, they can become contaminated or damaged, leading to inaccurate readings or complete failure. Here are some common issues:
- Contamination: Oil, coolant, silicone, and other contaminants can coat the sensor element, preventing it from accurately measuring oxygen levels.
- Carbon buildup: Excessive carbon deposits can also insulate the sensor, reducing its sensitivity.
- Damaged heating element: Many O2 sensors have a built-in heating element to quickly reach operating temperature. If this element fails, the sensor may take longer to warm up and provide accurate readings, triggering a check engine light.
- Physical damage: Impacts or improper handling can damage the sensor element or wiring.
- Wiring issues: Corroded or damaged wiring can also disrupt the signal transmission to the ECU.
Symptoms of a failing O2 sensor can include:
- Poor fuel economy
- Rough idle
- Hesitation during acceleration
- Check engine light (with codes related to O2 sensors or air-fuel ratio)
- Failed emissions test
While there's no specific maintenance schedule for O2 sensors, it's generally recommended to replace them every 60,000 to 100,000 miles, or as indicated by your vehicle's manufacturer. Replacing them preventatively can improve fuel economy and prevent more serious engine problems down the road.
Installing a New O2 Sensor: Step-by-Step Guide
Now, let's get to the actual installation process. Always consult your vehicle's repair manual for specific instructions and torque specifications. This guide provides general steps, but variations may exist depending on your vehicle's make and model.
Tools you'll need:
- New O2 sensor (ensure it's the correct type for your vehicle)
- O2 sensor socket (a special socket with a slot for the sensor's wiring)
- Wrench set
- Penetrating oil
- Torque wrench
- Gloves
- Safety glasses
- Jack and jack stands (if needed to access the sensor)
- Optional: Anti-seize compound (specifically designed for O2 sensors)
Steps:
- Safety First: Disconnect the negative battery terminal to prevent electrical shock. Allow the exhaust system to cool down completely before starting.
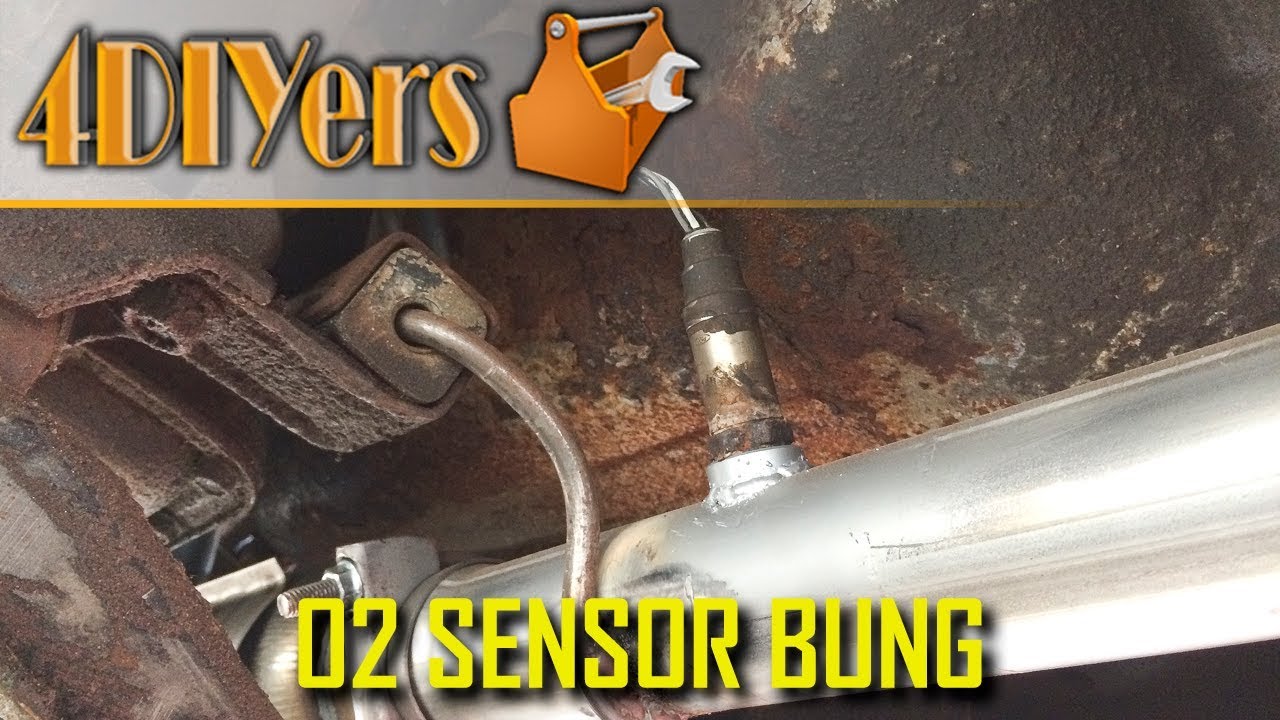
- Locate the Sensor: Identify the O2 sensor you need to replace. Refer to your repair manual for its exact location.
- Apply Penetrating Oil: Spray penetrating oil onto the sensor's threads where it screws into the exhaust pipe. Let it soak for at least 15-20 minutes to help loosen the sensor.
- Disconnect the Electrical Connector: Carefully disconnect the electrical connector from the old O2 sensor. Some connectors may have locking tabs that need to be released.
- Remove the Old Sensor: Use the O2 sensor socket to loosen and remove the old sensor. If the sensor is stubborn, try gently rocking it back and forth while applying pressure. Avoid forcing it, as you could damage the exhaust pipe threads.
- Clean the Threads: Inspect the threads in the exhaust pipe. If they are corroded or damaged, use a thread chaser to clean them up.
- Apply Anti-Seize Compound (Optional): Some O2 sensors come with anti-seize compound pre-applied to the threads. If not, apply a small amount of O2 sensor-specific anti-seize compound to the threads of the new sensor. Do not use regular anti-seize compound, as it can damage the sensor.
- Install the New Sensor: Carefully thread the new O2 sensor into the exhaust pipe by hand. Make sure it's aligned properly to avoid cross-threading.
- Torque to Specification: Use a torque wrench to tighten the sensor to the manufacturer's specified torque. Over-tightening can damage the sensor or the exhaust pipe. This is a crucial step.
- Reconnect the Electrical Connector: Reconnect the electrical connector to the new O2 sensor, ensuring it clicks into place securely.
- Reconnect the Battery: Reconnect the negative battery terminal.
- Start the Engine: Start the engine and let it idle for a few minutes. Check for any exhaust leaks around the sensor.
- Check for Error Codes: Use an OBD-II scanner to check for any new error codes. Clear any existing codes related to the O2 sensor.
Do's and Don'ts / Best Practices
Here are some key do's and don'ts to keep in mind when replacing your O2 sensor:
Do's:
- Do use the correct O2 sensor for your vehicle's make and model.
- Do use an O2 sensor socket to avoid damaging the sensor.
- Do apply penetrating oil to loosen the old sensor.
- Do use a torque wrench to tighten the new sensor to the correct specification.
- Do apply O2 sensor-specific anti-seize compound (if needed).
- Do disconnect the battery before starting the work.
- Do let the exhaust system cool completely.
Don'ts:
- Don't force the old sensor if it's stuck.
- Don't use regular anti-seize compound on the sensor threads.
- Don't overtighten the new sensor.
- Don't touch the sensor element with your bare hands.
- Don't reuse an old O2 sensor.
Conclusion
Replacing an O2 sensor is a straightforward task that can significantly improve your vehicle's performance and fuel economy. By following these steps and adhering to the best practices outlined above, you can confidently tackle this repair yourself. However, if you're not comfortable working on your car's exhaust system or dealing with electrical components, it's always best to consult a qualified mechanic. With the right knowledge and preparation, you can keep your engine running smoothly and efficiently for years to come.