How To Install A Slave Cylinder
Few things are more frustrating than a vehicle that won't shift. Often, the culprit isn't the gearbox itself, but a vital component in the hydraulic clutch system: the slave cylinder. This unassuming part translates the force from your clutch pedal into the movement needed to disengage the engine from the transmission. When it fails, you're left stranded, often with a soft or nonexistent clutch pedal.
The Case of the Sticking Gears
Imagine you're cruising down the highway in your trusty (but aging) pickup truck. You go to downshift to pass, press the clutch, but the shifter refuses to budge. You pump the pedal furiously – nothing. After wrestling with the lever, you finally manage to force it into gear, accompanied by a grinding noise that sends shivers down your spine. This, my friend, is a classic symptom of a failing slave cylinder. The lack of proper clutch disengagement makes shifting difficult, if not impossible, and can lead to significant wear and tear on your synchronizers and other transmission components.
Understanding the Hydraulic Clutch System
To truly grasp the role of the slave cylinder, it's essential to understand how a hydraulic clutch system operates. Think of it like a miniature hydraulic braking system, but instead of stopping wheels, it's separating the engine from the transmission. The system consists of three main components:
- Master Cylinder: Located near the clutch pedal, this cylinder is actuated when you press the pedal. It contains a piston that forces hydraulic fluid through the system.
- Hydraulic Line: This connects the master cylinder to the slave cylinder, carrying the pressurized hydraulic fluid.
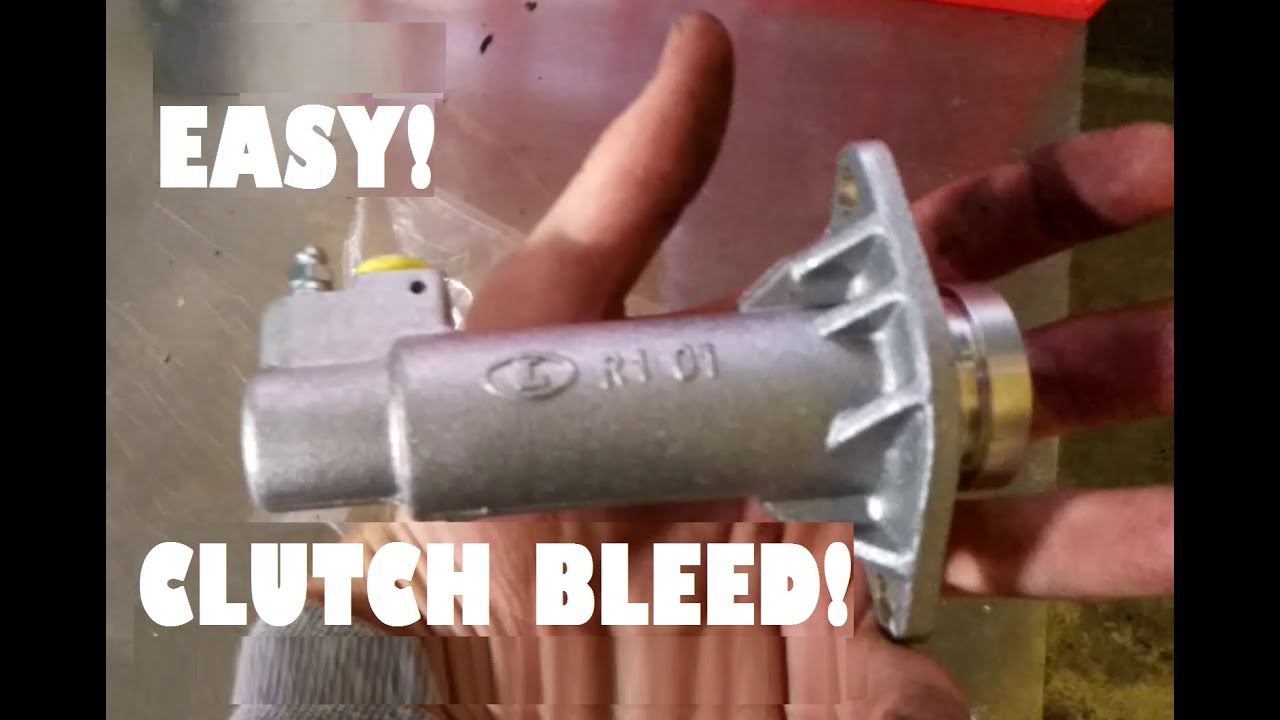
- Slave Cylinder: Mounted on the transmission, the slave cylinder receives the hydraulic pressure and converts it into mechanical force to disengage the clutch.
When you depress the clutch pedal, the master cylinder pushes fluid through the hydraulic line to the slave cylinder. The pressure forces the slave cylinder's internal piston to extend, pushing on the clutch fork (or directly on the clutch pressure plate in some designs). The clutch fork, in turn, moves the throw-out bearing (also known as the release bearing), which presses against the pressure plate fingers, releasing the clamping force on the clutch disc and disengaging the engine from the transmission. Releasing the pedal reverses the process, allowing the clutch to re-engage.
The slave cylinder is usually either external or internal to the transmission bellhousing. External slave cylinders are easier to access and replace. Internal slave cylinders, also known as concentric slave cylinders (CSC), are located inside the bellhousing, around the input shaft of the transmission. While they offer a more compact design, they require transmission removal for replacement, significantly increasing the labor involved.
Replacing the Slave Cylinder: A Step-by-Step Guide
Now, let's get into the nitty-gritty of replacing that troublesome slave cylinder. Safety first! Always disconnect the negative battery terminal before working on any hydraulic system. Hydraulic fluid can be corrosive, so wear eye protection and gloves. Also, be sure to consult your vehicle's repair manual for specific instructions and torque specifications.
Tools You'll Need:
- New slave cylinder (matching your vehicle's make, model, and year)
- Wrench set (metric or SAE, depending on your vehicle)
- Flare nut wrench (specifically for brake lines – crucial for avoiding damage)
- Brake fluid (DOT 3 or DOT 4, as specified by your vehicle manufacturer)
- Bleeder wrench or tubing and a container for catching fluid
- Jack and jack stands
- Wheel chocks
- Penetrating oil (if fasteners are rusted)
- Shop towels or rags
The Procedure:
- Prepare the Vehicle: Chock the rear wheels, loosen the lug nuts on the front wheels, raise the vehicle with a jack, and securely support it with jack stands. Never work under a vehicle supported only by a jack.
- Locate the Slave Cylinder: It's typically mounted on the transmission bellhousing. An external cylinder will be readily visible, while an internal one will require transmission removal. For this guide, we'll focus on the external type.
- Disconnect the Hydraulic Line: This is where the flare nut wrench comes in. Spray penetrating oil on the fitting to loosen it. Carefully loosen the fitting connecting the hydraulic line to the slave cylinder. Have a container ready to catch any leaking brake fluid. Important: Wrap a rag around the fitting to minimize spillage and prevent fluid from contaminating other components.
- Remove the Slave Cylinder: Unbolt the slave cylinder from the transmission bellhousing. The number of bolts typically ranges from one to three.
- Install the New Slave Cylinder: Install the new slave cylinder in the reverse order of removal. Torque the mounting bolts to the manufacturer's specifications.
- Connect the Hydraulic Line: Carefully tighten the hydraulic line fitting to the new slave cylinder. Avoid overtightening, as this can damage the fitting.
- Bleed the Clutch System: This is crucial to remove air from the hydraulic lines and ensure proper clutch function. The bleeding process is similar to bleeding brakes. Locate the bleeder screw on the slave cylinder. Attach a piece of tubing to the bleeder screw and submerge the other end in a container filled with brake fluid. Have a helper slowly depress and release the clutch pedal several times. While your helper holds the pedal down, open the bleeder screw to release air and fluid. Close the bleeder screw before your helper releases the pedal. Repeat this process until no more air bubbles are visible in the fluid flowing through the tubing.
- Check Fluid Level: After bleeding, check and top off the brake fluid level in the master cylinder reservoir.
- Test the Clutch: Start the engine and test the clutch pedal feel. It should be firm and consistent. Shift through the gears to ensure smooth operation.
- Lower the Vehicle: Once you're satisfied with the clutch performance, lower the vehicle and tighten the lug nuts to the proper torque.
Pros and Cons of DIY Slave Cylinder Replacement
Pros:
- Cost Savings: Replacing the slave cylinder yourself can save you a significant amount of money on labor costs.
- Learning Opportunity: It's a great way to gain a deeper understanding of your vehicle's mechanics.
- Satisfaction: There's a certain satisfaction in knowing you fixed something yourself.
Cons:
- Requires Mechanical Skill: It's not a job for complete novices. Some mechanical aptitude and experience are needed.
- Time Commitment: It can take several hours, depending on your experience level and the complexity of the job.
- Potential for Complications: Stripped bolts, damaged fittings, and improper bleeding can lead to further problems. Internal slave cylinder replacement is far more complex and generally best left to professionals.
Manufacturer Examples and Common Issues
Different manufacturers use slightly different designs for their slave cylinders. For example, Toyota often uses a simple, robust external slave cylinder on their trucks, while Honda might incorporate a more complex design with integrated reservoirs in some models. Ford, in some applications, uses a problematic plastic slave cylinder that is prone to failure. Pay close attention to the design for your specific make and model.
Common issues with slave cylinders include:
- Leaks: Hydraulic fluid leaks are a telltale sign of a failing slave cylinder.
- Internal Bypass: The internal seals can fail, allowing fluid to bypass the piston, resulting in a soft or spongy clutch pedal.
- Contamination: Debris in the hydraulic fluid can damage the seals and cylinder walls. Regular brake fluid flushes can help prevent this.
- Rust and Corrosion: Especially in older vehicles, rust and corrosion can seize the piston and prevent proper operation.
Real-World Insights and Recommendations
Based on experience, I highly recommend purchasing a quality replacement slave cylinder from a reputable brand. Cheap aftermarket parts may save you a few dollars upfront, but they often fail prematurely, leading to more headaches down the road. Consider replacing the master cylinder and hydraulic line at the same time as the slave cylinder. These components are often subject to similar wear and tear, and replacing them as a set can ensure a longer-lasting and more reliable repair. Furthermore, always use the correct type of brake fluid specified by your vehicle manufacturer. Using the wrong fluid can damage the seals and lead to system failure.
Bleeding the clutch system thoroughly is critical. Air trapped in the lines will prevent the clutch from fully disengaging. If you're struggling to get a good bleed, consider using a pressure bleeder or vacuum bleeder. These tools can help to remove stubborn air pockets from the system.
Finally, if you're not comfortable working on hydraulic systems, don't hesitate to take your vehicle to a qualified mechanic. A faulty clutch system can be dangerous, and it's better to err on the side of caution. However, with careful preparation, the right tools, and a little patience, replacing a slave cylinder can be a rewarding and cost-effective DIY project.