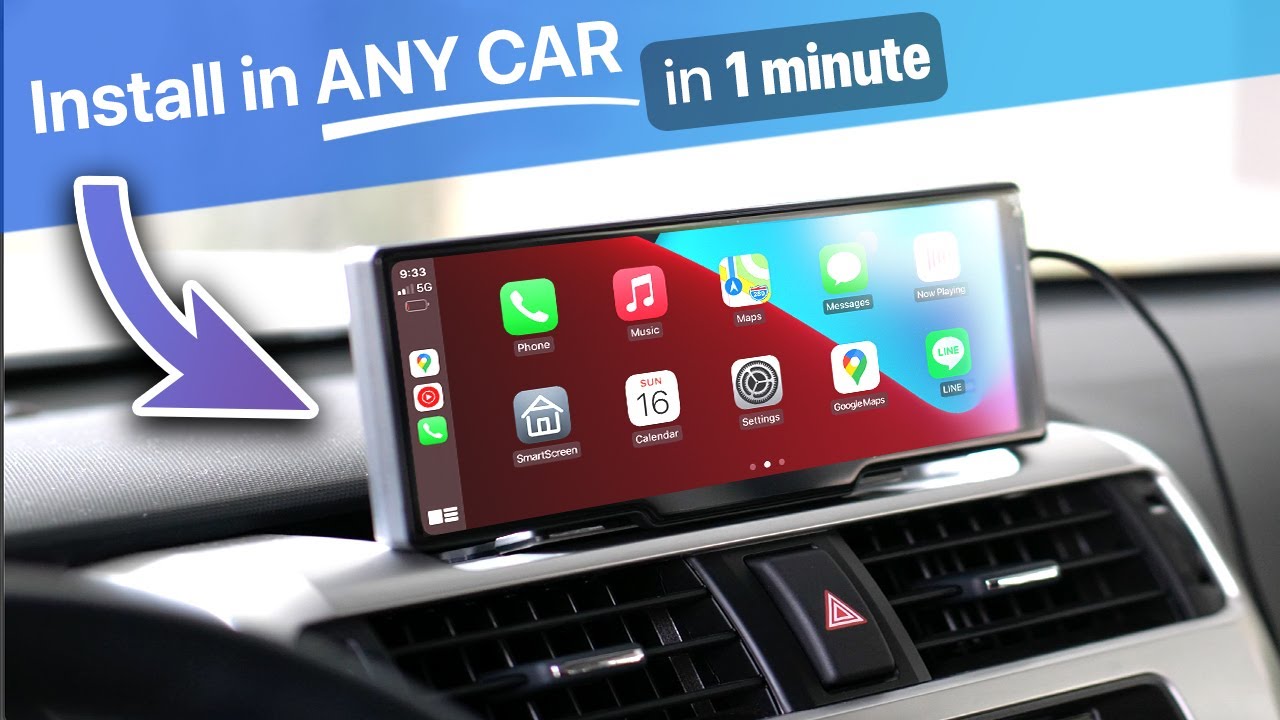
How To Install Apple Car Play
So, you're looking to upgrade your in-car entertainment and navigation system with Apple CarPlay? Excellent choice! CarPlay offers a seamless integration of your iPhone with your car's infotainment system, providing access to navigation, music, calls, and messages, all controlled through your car's display. This article will guide you through the installation process, assuming you're comfortable with basic automotive wiring and have some experience working with vehicle electronics. We'll cover everything from the necessary components to troubleshooting common issues.
Why This Matters: Understanding the CarPlay Upgrade
Before we dive in, let's understand why documenting this process matters. Whether you're performing routine maintenance, upgrading your existing system, or troubleshooting a malfunction, having a solid understanding of the wiring and connections involved in a CarPlay installation is crucial. This guide provides a foundation for:
- Repairs: Identifying and fixing broken or damaged wires.
- Upgrades: Replacing or adding components to enhance your system.
- Troubleshooting: Diagnosing and resolving issues that may arise after installation.
- Learning: Gaining a deeper understanding of automotive electronics.
Key Specs and Main Parts
The specifics of your installation will depend heavily on your car's make and model, as well as the aftermarket CarPlay head unit you choose. However, here are the core components you'll likely encounter:
- Head Unit (Receiver): This is the central control unit that replaces your factory radio. Look for units specifically advertised as "CarPlay Compatible." Key specs include screen size, resolution, power output (measured in Watts), and the presence of pre-amp outputs (for connecting external amplifiers).
- Wiring Harness Adapter: This is a crucial component! It connects the aftermarket head unit to your car's existing wiring harness without requiring you to cut or splice wires directly. This simplifies the installation and makes it reversible. Pay close attention to compatibility with your specific car model and year.
- Antenna Adapter: Adapts your car's existing antenna connector to the connector on the new head unit.
- USB Port Adapter (Optional): If your car has a factory USB port, this adapter may allow you to retain its functionality with the new head unit.
- Backup Camera Adapter (Optional): If your car has a backup camera, this adapter will allow it to function with the new head unit.
- Steering Wheel Control Adapter (Optional): Allows you to retain the use of your steering wheel controls (volume, track selection, etc.) with the new head unit. Requires programming for specific car models.
- Microphone: Some head units come with an external microphone for improved call quality.
Understanding Wiring Diagrams: Symbols, Lines, and Colors
Wiring diagrams use standardized symbols and conventions. Here's a basic rundown:
- Solid Lines: Represent wires. The thickness of the line might indicate the wire gauge (thicker lines = heavier gauge).
- Dashed Lines: Often indicate shielded wires or connections that are not always present.
- Circles: Represent connections or splices.
- Squares/Rectangles: Represent components like fuses, relays, or modules.
- Ground Symbols: Indicate a connection to the vehicle's chassis ground. Look for symbols resembling an inverted triangle or multiple horizontal lines stacked on top of each other.
Wire Colors: Automotive wiring uses standardized color codes. While these can vary slightly between manufacturers, certain colors are generally associated with specific functions:
- Red: Usually indicates a constant 12V+ power source.
- Yellow: Usually indicates a switched 12V+ power source (power only when the ignition is on).
- Black: Ground.
- Blue: Often used for remote turn-on wires (for amplifiers).
- White: Often used for speaker wires. Check diagrams for polarity.
- Other colors: Various signals and connections. Always refer to your car's specific wiring diagram.
Understanding these symbols and color codes will enable you to trace circuits, identify connection points, and troubleshoot problems effectively.
How CarPlay Installation Works: A Step-by-Step Overview
- Preparation: Disconnect the negative terminal of your car battery. This is a critical safety step! Gather your tools (screwdrivers, wire strippers, crimpers, multimeter, etc.) and lay out your components.
- Removing the Factory Radio: Consult your car's repair manual or online resources for instructions on removing the factory radio. This usually involves removing trim panels and unscrewing mounting brackets.
- Connecting the Wiring Harness: Connect the wiring harness adapter to your car's factory wiring harness. Ensure a secure and proper connection. Refer to the wiring diagrams for both the adapter and your car to match the wires correctly. Common connections include power, ground, accessory power, speaker wires, and antenna adapter.
- Connecting the Head Unit: Connect the wiring harness adapter to the back of the new head unit. Connect the antenna adapter and any other necessary cables (USB, backup camera, steering wheel controls).
- Testing: Before fully reinstalling the head unit, reconnect the negative terminal of the battery. Turn on the ignition and test all functions of the head unit: power, sound, display, CarPlay connectivity, etc. If your steering wheel controls have an adapter, make sure the adapter is programmed correctly.
- Installation: Once you've confirmed everything is working correctly, carefully reinstall the head unit into the dashboard, securing it with screws and brackets. Route and secure all wires to prevent them from getting pinched or damaged. Reinstall any trim panels.
- Final Testing: Perform a final test of all functions to ensure everything is working as expected.
Real-World Use: Basic Troubleshooting Tips
Even with careful planning, problems can arise. Here are some common issues and potential solutions:
- No Power: Check the fuse for the head unit (both on the head unit itself and in your car's fuse box). Verify the ground connection is secure. Use a multimeter to check for voltage at the power and accessory wires.
- No Sound: Double-check the speaker wire connections. Ensure the head unit's amplifier is turned on (if applicable). Verify the speaker polarity is correct (positive to positive, negative to negative).
- CarPlay Not Connecting: Ensure your iPhone is unlocked and has the latest version of iOS. Try a different USB cable. Check the head unit's settings to ensure CarPlay is enabled.
- Steering Wheel Controls Not Working: Verify the steering wheel control adapter is properly connected and programmed for your car model.
- Backup Camera Not Working: Verify the backup camera adapter is properly connected. Check the head unit's settings to ensure the backup camera function is enabled.
Safety First: Highlighting Risky Components
Working with automotive electrical systems involves inherent risks. The most dangerous component is the car battery. Always disconnect the negative terminal before working on any electrical components. Improper wiring can cause short circuits, which can damage your car's electrical system or even start a fire. Always double-check your connections and refer to wiring diagrams. If you are not comfortable working with electrical systems, it is best to consult a professional installer.
We've Got the File!
While this guide provides a general overview, the specific wiring diagram for your car and aftermarket head unit is essential for a successful installation. We have a comprehensive collection of wiring diagrams for various makes and models. Contact us, and we can help you find the diagram specific to your needs. With the right diagram and a little patience, you'll be enjoying Apple CarPlay in no time!