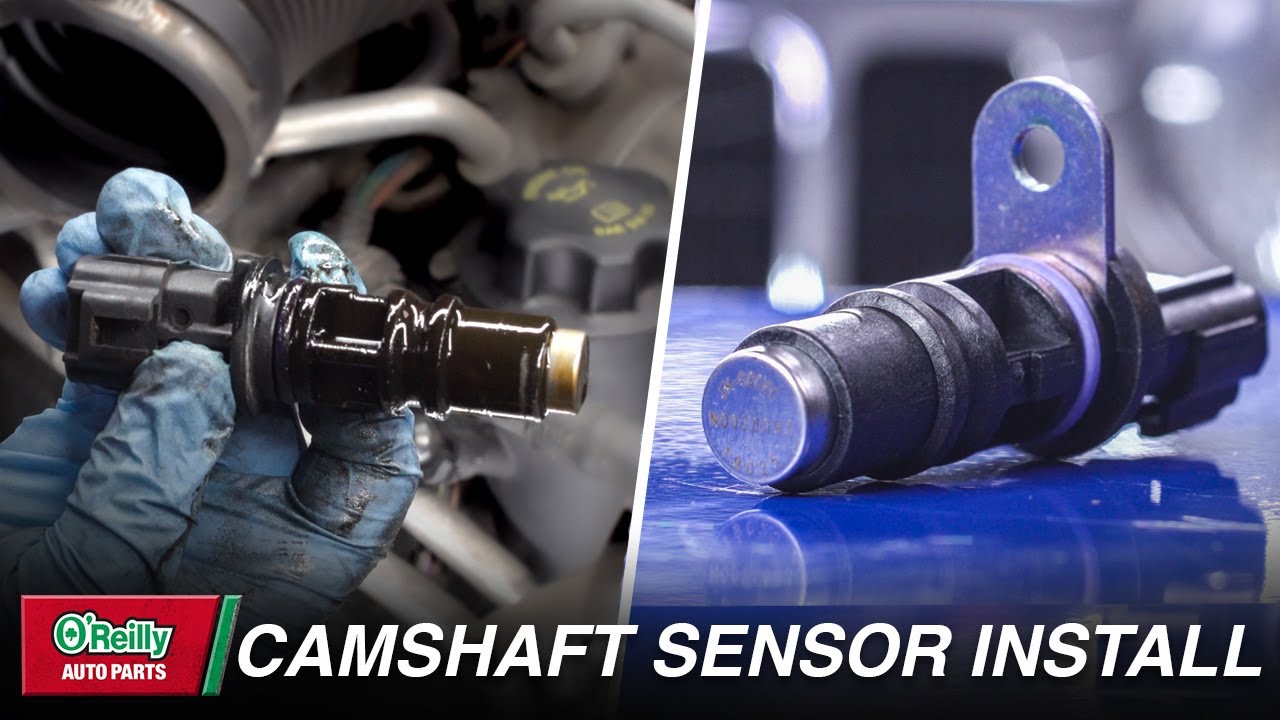
How To Install Camshaft Position Sensor
The dreaded check engine light flickers to life. You scan the codes, and there it is: P0340, P0341, or perhaps something similar. The culprit? Likely a malfunctioning Camshaft Position (CMP) Sensor. Before rushing off to the mechanic, consider tackling this repair yourself. While it's not a job for a complete novice, understanding the process and having the right tools can empower you to save money and gain valuable insight into your engine's inner workings.
Imagine your engine as a meticulously choreographed dance. The crankshaft dictates the overall rhythm, while the camshaft controls the graceful opening and closing of the valves that allow air and fuel in and exhaust out. The CMP sensor is like a vigilant choreographer, constantly monitoring the camshaft's position to ensure the dance unfolds perfectly. If the sensor falters, the timing goes awry, leading to performance issues, poor fuel economy, and eventually, a stalled engine.
Understanding the Camshaft Position Sensor System
The CMP sensor is a crucial component of your engine's Engine Control Unit (ECU). It works in conjunction with the Crankshaft Position (CKP) sensor to provide the ECU with precise information about the position and speed of both the crankshaft and the camshaft. This information is vital for:
- Fuel Injection Timing: Knowing the camshaft position allows the ECU to precisely time the fuel injection for each cylinder.
- Ignition Timing: Similarly, the ECU uses the camshaft position to optimize the ignition timing, ensuring the spark plugs fire at the optimal moment.
- Variable Valve Timing (VVT) Control: In engines equipped with VVT, the CMP sensor provides feedback to the ECU, allowing it to adjust the valve timing for optimal performance and efficiency across different engine speeds and loads.
- Fault Detection: The ECU constantly monitors the signals from both the CMP and CKP sensors. Discrepancies between these signals can indicate timing issues, such as a stretched timing chain or a malfunctioning sensor.
How it Works: A Deeper Dive
Most CMP sensors are based on one of two technologies: Hall Effect or Magnetic Reluctance. Let's break down each:
Hall Effect Sensors: These sensors utilize the Hall effect, a phenomenon where a voltage difference is produced across an electrical conductor when a magnetic field is applied perpendicular to the current flow. In a CMP sensor, a rotating toothed wheel (reluctor ring) is attached to the camshaft. As the teeth pass by the sensor, they interrupt a magnetic field, creating a voltage pulse. The ECU interprets these pulses to determine the camshaft's position.
Magnetic Reluctance Sensors: These sensors, also known as Variable Reluctance Sensors (VRS), operate on the principle of electromagnetic induction. A coil of wire is wrapped around a magnetic core. As the teeth of the reluctor ring pass by, they change the magnetic reluctance of the core, inducing a voltage in the coil. The frequency and amplitude of the voltage signal are proportional to the camshaft's speed and position.
Both types of sensors generate a pulsed signal that the ECU interprets. The ECU looks for specific patterns in the signal to determine the exact position of the camshaft. This allows it to accurately time the fuel injection and ignition events.
Installing a New Camshaft Position Sensor: A Step-by-Step Guide
- Gather Your Tools: You'll need a socket set (including the correct size socket for the sensor's mounting bolt), a wrench (if applicable), a multimeter, a new CMP sensor, penetrating oil (if the old sensor is stuck), and safety glasses. A scan tool is helpful for clearing the fault code after installation.
- Locate the CMP Sensor: The location varies depending on the vehicle make and model. Common locations include the front of the engine, near the valve cover, or on the side of the engine block. Consult your vehicle's repair manual for the exact location.
- Disconnect the Battery: This is a crucial safety step. Disconnecting the negative terminal prevents accidental electrical shorts during the installation process.
- Disconnect the Electrical Connector: Carefully disconnect the electrical connector from the sensor. Be gentle; the plastic clips can become brittle with age.
- Remove the Old Sensor: Use the appropriate socket or wrench to remove the mounting bolt or screws holding the sensor in place. If the sensor is stuck, apply penetrating oil and allow it to soak in for a few minutes before attempting to remove it.
- Install the New Sensor: Install the new sensor, ensuring it is properly seated. Tighten the mounting bolt or screws to the specified torque (refer to your repair manual).
- Reconnect the Electrical Connector: Reconnect the electrical connector to the new sensor. Ensure it clicks into place securely.
- Reconnect the Battery: Reconnect the negative battery terminal.
- Clear the Fault Code: Use a scan tool to clear the diagnostic trouble code (DTC) related to the CMP sensor.
- Start the Engine: Start the engine and verify that it runs smoothly. If the problem persists, further diagnosis may be required.
Pros and Cons of DIY CMP Sensor Replacement
Pros:
- Cost Savings: You can save a significant amount of money by performing the repair yourself, avoiding labor costs from a mechanic.
- Educational Opportunity: Replacing the CMP sensor provides a hands-on learning experience, deepening your understanding of your engine's operation.
- Convenience: You can perform the repair at your own pace and on your own schedule.
Cons:
- Risk of Incorrect Installation: Improper installation can damage the new sensor or other engine components.
- Time Commitment: The repair can take several hours, depending on your experience level and the accessibility of the sensor.
- Potential for Further Problems: If the CMP sensor failure is caused by an underlying issue, such as a timing chain problem, simply replacing the sensor will not solve the root cause.
Use Cases and Manufacturer Examples
The CMP sensor is a ubiquitous component in modern vehicles. Here are some examples of how it is used in different makes and models:
- Ford: Ford vehicles often use Hall effect CMP sensors mounted on the front of the engine, near the valve cover.
- GM: GM vehicles may use either Hall effect or magnetic reluctance sensors, depending on the engine design.
- Toyota: Toyota vehicles typically use magnetic reluctance sensors located on the side of the engine block.
- BMW: BMW often integrates the CMP sensor with the Vanos (variable valve timing) system.
These are just a few examples, and the specific design and location of the CMP sensor can vary significantly depending on the vehicle and engine type. Always consult your vehicle's repair manual for the correct procedure and specifications.
Real-World Insights and Recommendations
Based on real-world experience, here are some key insights and recommendations for CMP sensor replacement:
- Use Quality Parts: Don't skimp on the replacement sensor. Opt for a reputable brand known for its quality and reliability. A cheap sensor may fail prematurely, leading to repeat repairs.
- Inspect the Connector: Before installing the new sensor, carefully inspect the electrical connector for corrosion or damage. Clean the connector with electrical contact cleaner if necessary.
- Check the Wiring: Inspect the wiring harness leading to the sensor for any signs of damage, such as frayed wires or cracked insulation. Repair any damaged wiring before installing the new sensor.
- Consider Timing Chain Wear: If you are experiencing repeated CMP sensor failures, it's possible that your timing chain is worn or stretched. This can cause the camshaft position to drift out of sync with the crankshaft position, leading to sensor errors. Consider having the timing chain inspected and replaced if necessary.
- Don't Forget to Clear the Code: Even after replacing the sensor, the check engine light may remain on until the diagnostic trouble code is cleared using a scan tool.
Replacing a CMP sensor is a manageable DIY project for mechanically inclined individuals. By understanding the system's operation, following the correct procedures, and using quality parts, you can successfully complete the repair and get your engine running smoothly again. However, if you are unsure about any aspect of the repair, it's always best to consult a qualified mechanic.