How To Install Car Seats Properly
Installing a car seat correctly is arguably one of the most important tasks you'll undertake as a vehicle owner, especially if you're a parent or caregiver. It's not just about following the instructions that come with the seat; it's about understanding the underlying principles and ensuring a secure, safe environment for your precious cargo. This guide will walk you through the process, breaking down the key components, explaining the techniques, and highlighting potential pitfalls to avoid. Consider this your advanced class in car seat installation.
Purpose of Proper Car Seat Installation
The primary purpose of installing a car seat correctly is to minimize the risk of injury to a child in the event of a crash. A properly installed car seat acts as a crucial element of the vehicle's overall safety system. If a car seat isn't installed according to specifications, its effectiveness is drastically reduced. It could become a projectile in a collision, or it might not adequately restrain the child. Understanding the importance of proper installation is not just academic – it can be life-saving.
Beyond immediate safety, proper installation also:
- Ensures the car seat functions as intended by the manufacturer.
- Reduces the likelihood of the child outgrowing the seat's protective capacity prematurely.
- Provides peace of mind knowing you've done everything possible to protect your child.
Key Specs and Main Parts
Let's delve into the essential components and specifications that dictate a secure car seat installation. These specifications can vary slightly depending on the car seat model and the vehicle, so always consult both the car seat's manual and your vehicle's owner's manual.
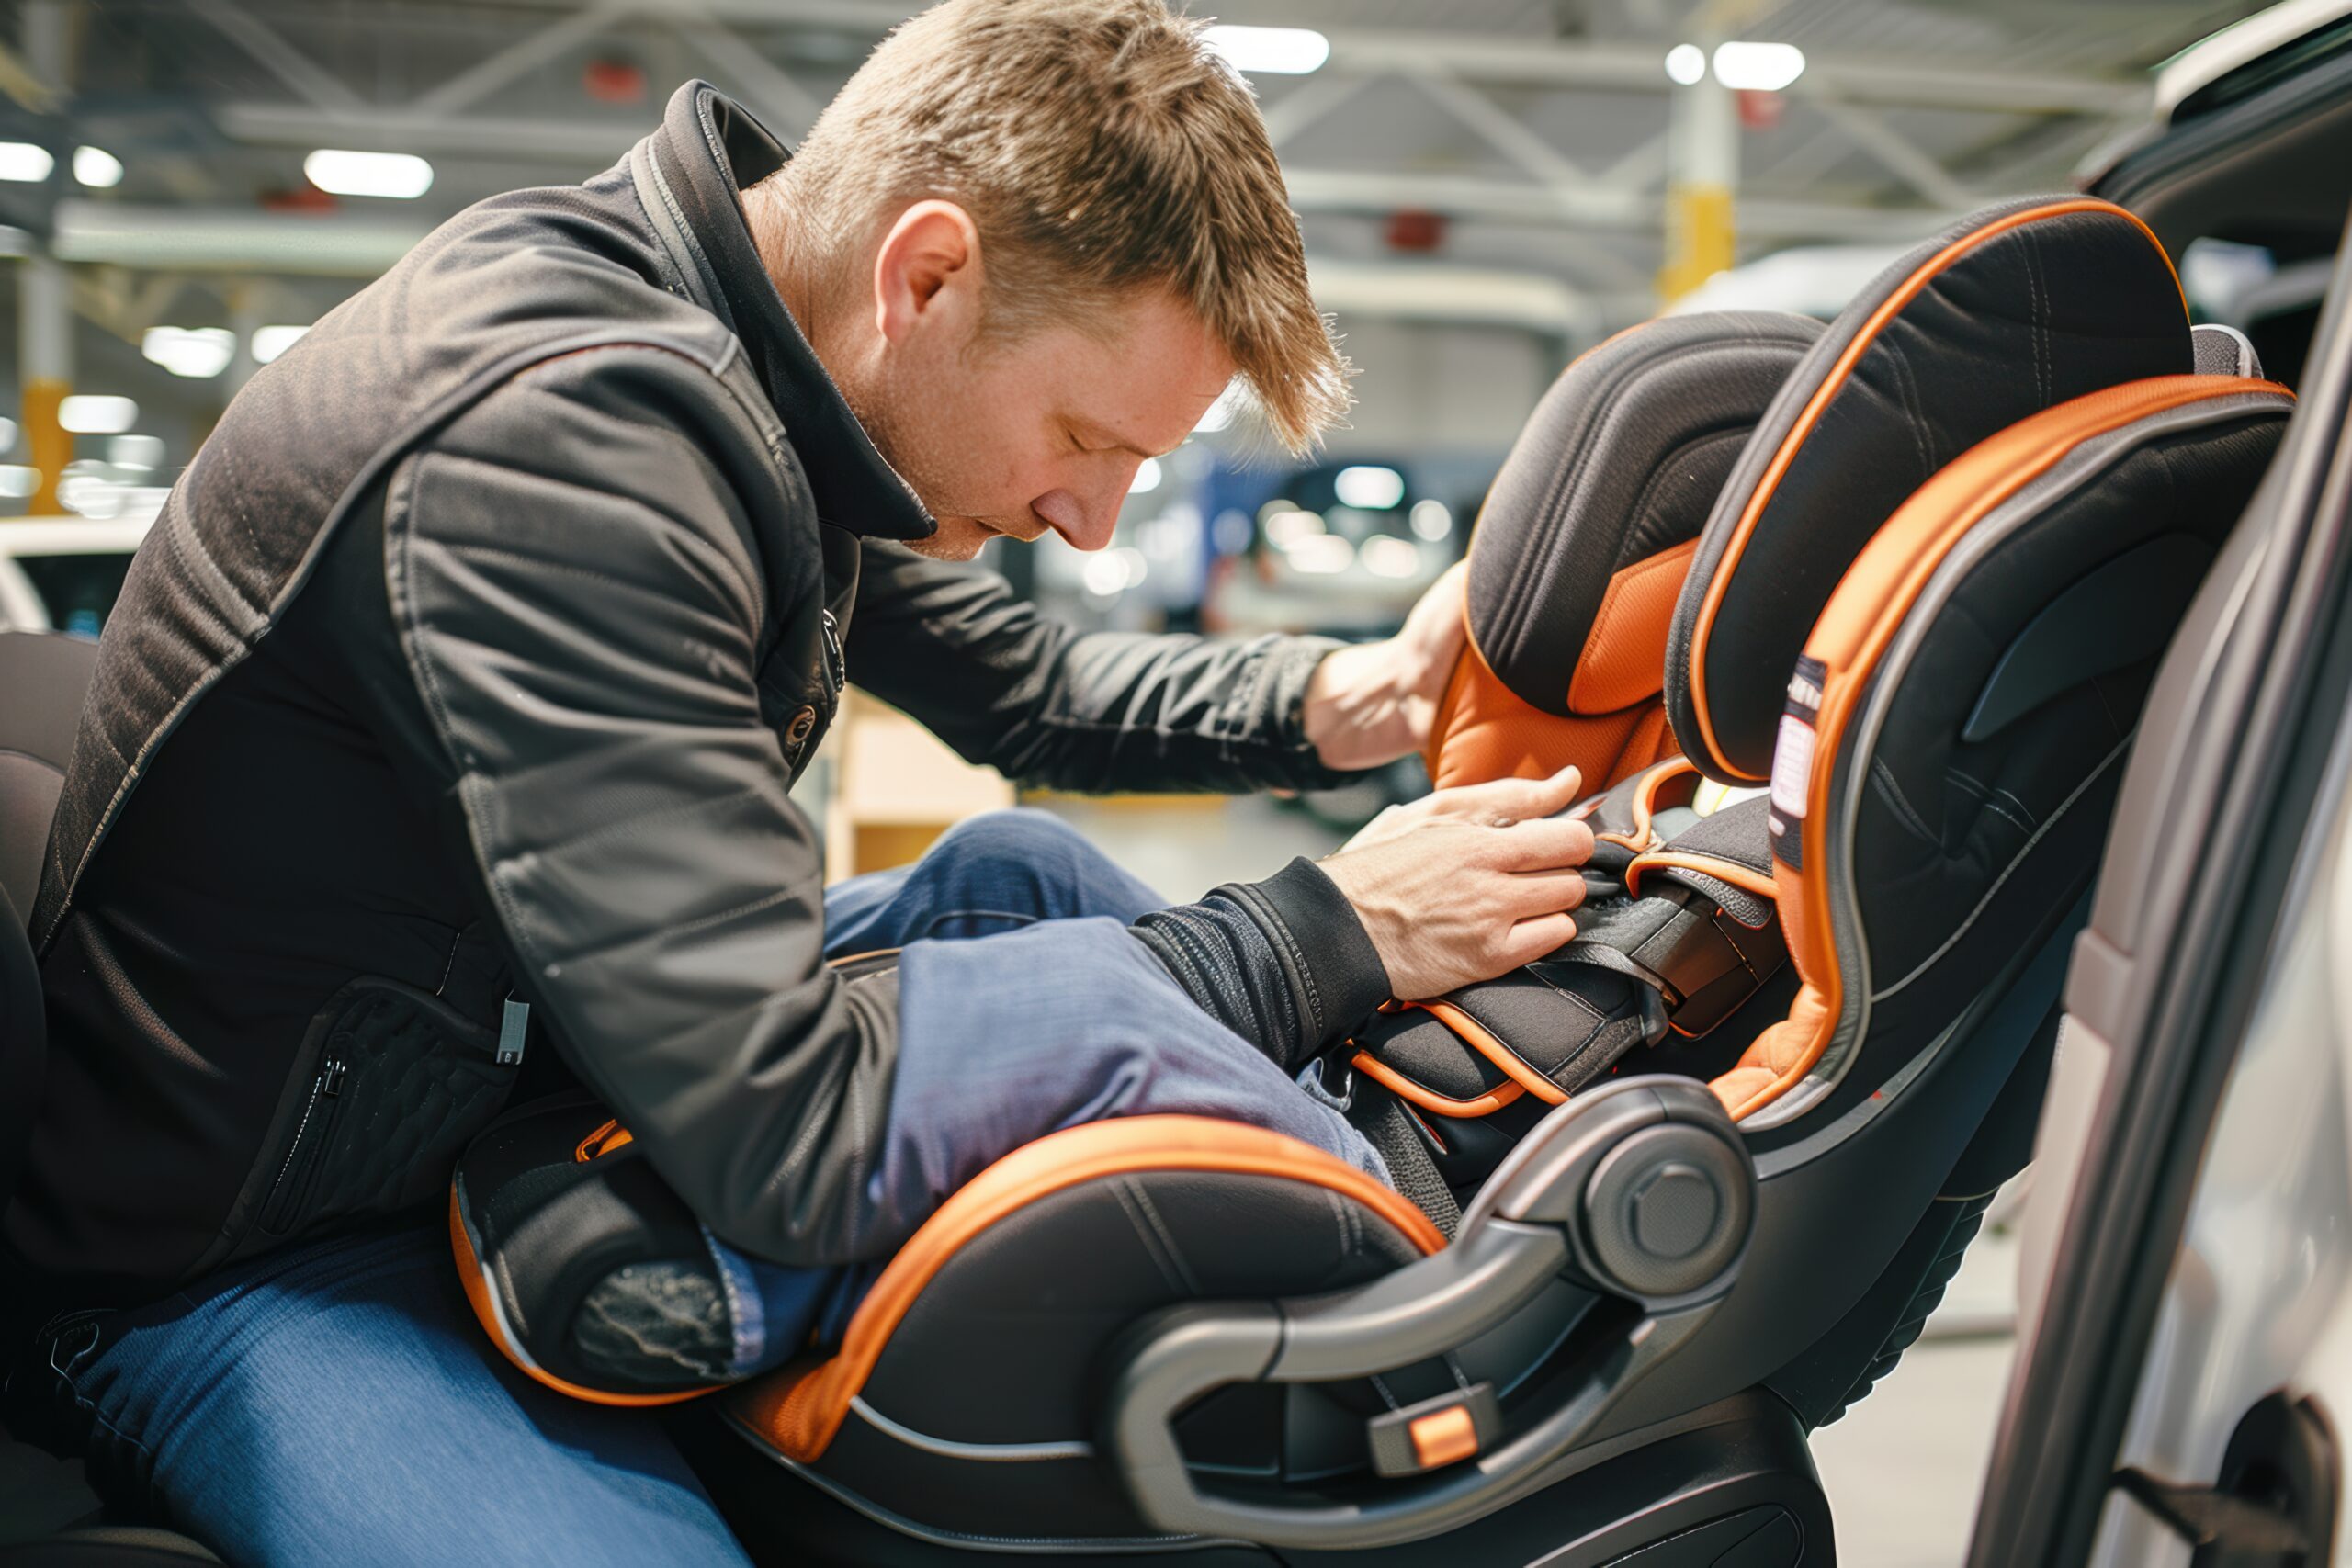
Main Car Seat Components
- Car Seat Base: This is the foundation of the car seat, often remaining in the vehicle after the carrier (for infant seats) is removed. It's usually equipped with leveling indicators and adjustment mechanisms.
- Carrier/Seat Shell: This is the part of the car seat where the child sits. It might be detachable from the base (infant seats) or a single unit (convertible and booster seats).
- Harness Straps: These straps restrain the child within the seat. They usually consist of shoulder straps, a crotch strap, and a chest clip. The harness height is crucial for proper fit.
- Latch Connectors (Lower Anchors and Tethers for CHildren): Latch connectors are used to secure the car seat to the vehicle's lower anchor bars and, in some cases, a top tether anchor. These are alternatives to using the vehicle's seat belt.
- Top Tether: A strap that connects the top of the car seat to an anchor point in the vehicle. It significantly reduces forward movement of the car seat in a crash, especially in forward-facing installations.
- Recline Angle Adjusters: These adjust the recline of the car seat to ensure the child is properly positioned. This is particularly important for infants, who need a more reclined position to keep their airway open.
- Locking Clip: A device used on some older vehicles or with certain seat belt types to prevent the seat belt from loosening after installation. Newer vehicles often have automatic locking retractors (ALR) that perform this function.
Key Specifications
- Weight Limits: Each car seat has specific weight and height limits. Exceeding these limits compromises the seat's effectiveness.
- Seat Belt Path: The correct path for threading the vehicle's seat belt through the car seat. This path is usually clearly marked on the car seat.
- Latch Connector Spacing: Standardized latch connector spacing (280 mm or 11 inches) allows car seats to be compatible with most vehicles equipped with LATCH.
- Recline Angle: The ideal recline angle, typically indicated by a bubble level or angle gauge on the car seat. This ensures the child's head doesn't slump forward, potentially obstructing their airway.
- Harness Height: The correct position of the harness straps relative to the child's shoulders. For rear-facing seats, the straps should be at or *below* the shoulders. For forward-facing seats, they should be at or *above* the shoulders.
Understanding Installation Methods: LATCH vs. Seat Belt
There are two primary methods for installing a car seat: using the LATCH system or the vehicle's seat belt. Both are equally safe *if* installed correctly. However, there are instances where one method might be preferred or necessary.
LATCH System
The LATCH system consists of lower anchor bars in the vehicle and corresponding connectors on the car seat. It’s designed to simplify installation, but you still must follow the instructions carefully.
- Locate the Lower Anchors: In your vehicle, usually found in the seat bight where the seat cushion meets the seat back.
- Attach the LATCH Connectors: Connect the car seat's latch connectors to the vehicle's lower anchors. Listen for a click to ensure they are securely attached.
- Tighten the Straps: Tighten the LATCH straps to remove slack. The car seat should not move more than one inch side-to-side or front-to-back when tested at the belt path.
- Attach the Top Tether (if forward-facing): Connect the top tether strap to the designated anchor point in the vehicle. Tighten the tether to further stabilize the seat.
Seat Belt Installation
Seat belt installation is a reliable method, especially in older vehicles that lack LATCH or when the LATCH weight limit is exceeded (consult the car seat and vehicle manuals for these limits).
- Route the Seat Belt: Thread the vehicle's seat belt through the correct belt path on the car seat.
- Buckle the Seat Belt: Buckle the seat belt and pull it all the way out to engage the automatic locking retractor (ALR). In some older vehicles, you may need to use a locking clip to prevent the seat belt from loosening.
- Tighten the Seat Belt: Push down firmly on the car seat while pulling the seat belt tight. This removes slack and ensures a secure fit.
- Lock the Seat Belt: Allow the seat belt to retract slowly, locking it in place. Test the seat belt by pulling on it; it should not retract further.
- Attach the Top Tether (if forward-facing): As with LATCH, use the top tether to enhance stability.
Real-World Use – Basic Troubleshooting Tips
Even with careful attention to detail, you might encounter challenges during car seat installation. Here are some common issues and their solutions:
- Car Seat Moves Too Much: Re-tighten the LATCH straps or seat belt. Ensure the automatic locking retractor (ALR) is engaged. Consider using a locking clip if needed.
- Difficulty Tightening LATCH Straps: Try wiggling the car seat slightly while tightening the straps to help remove slack.
- Incompatible LATCH Spacing: Some vehicles have LATCH anchors that are too far apart or too close together. In these cases, use the seat belt installation method. *Never* attempt to modify the LATCH system.
- Conflicting Vehicle Features: Humped seats, inflatable seat belts, or storage compartments under the seats can interfere with car seat installation. Consult your vehicle's manual for guidance.
- Incorrect Recline Angle: Use rolled towels or pool noodles *if* explicitly permitted by the car seat manufacturer to achieve the correct recline angle.
Safety – Risky Components and Common Mistakes
Several aspects of car seat installation require extra caution due to their potential impact on safety.
- Top Tether Misuse: Always use the top tether when installing a forward-facing car seat. Failure to do so significantly increases the risk of head injury in a crash.
- Expired Car Seat: Car seats have expiration dates. Check the label and replace the seat when it expires. The plastic can degrade over time, reducing its effectiveness.
- Used Car Seats: Avoid using a car seat with an unknown history. It may have been involved in a crash or have hidden damage.
- Harness Strap Placement: Incorrect harness strap placement can lead to the child being ejected from the seat in a crash. Double-check the placement according to the child's age and the seat's instructions.
- Adding Aftermarket Products: Never add aftermarket products (e.g., padding, inserts) to the car seat unless they are specifically approved by the manufacturer. These products can interfere with the seat's performance.
- Ignoring Weight Limits: Using a seat beyond its weight or height limits can be dangerous. Upgrade to the next appropriate seat as soon as the child reaches the limit.
- Incorrect Belt Path Routing: Routing the vehicle seat belt through the incorrect path on the car seat will result in a less secure installation.
Proper car seat installation requires diligence and a thorough understanding of the components involved. By following these guidelines and consulting your car seat and vehicle manuals, you can significantly increase your child's safety on the road.
Remember, local resources such as certified Child Passenger Safety Technicians (CPSTs) can provide hands-on assistance and verify your installation.
We have a detailed diagram illustrating proper car seat installation techniques and component identification. You can download the file and use it as a valuable reference tool while installing your car seat.