How To Install Diono Radian 3r
So, you've got a Diono Radian 3r and you're looking to install it yourself. Excellent choice! These seats are known for their narrow profile and longevity, but proper installation is absolutely critical for safety. This article will walk you through the process, covering the key steps and considerations. Consider this your expert guide to doing it right.
Purpose: Mastering the Diono Radian 3r Installation
Understanding the intricacies of installing a car seat, particularly one as versatile as the Diono Radian 3r, goes far beyond simply clipping it in. A secure and correct installation is paramount for your child's safety in the event of a collision. Incorrect installation can lead to the seat failing to perform as designed, potentially resulting in serious injury. This guide isn't just about following instructions; it's about understanding *why* each step is important and how it contributes to the overall safety and effectiveness of the seat. Furthermore, understanding the installation process also equips you to troubleshoot common issues and adjust the seat as your child grows, ensuring continued safety and comfort.
Key Specs and Main Parts
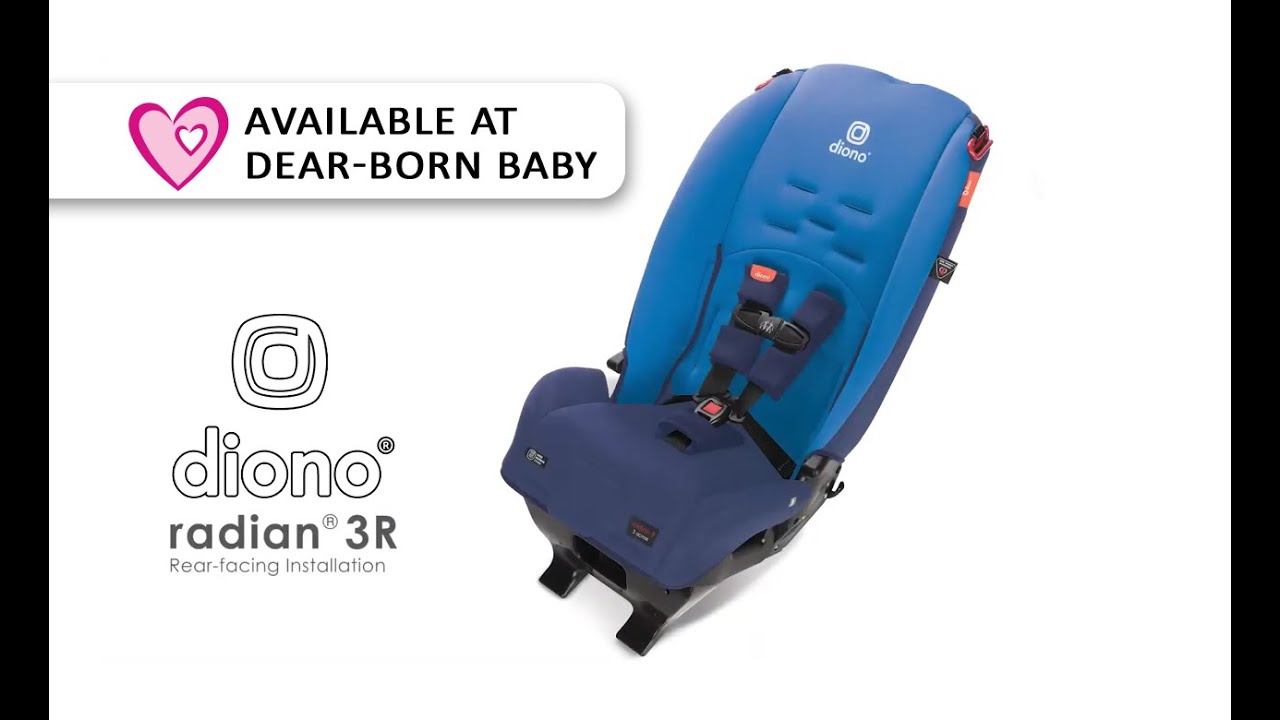
The Diono Radian 3r is a convertible car seat, meaning it can be used rear-facing for infants and toddlers and then converted to forward-facing for older children. Here's a breakdown of the crucial components:
- Shell: The main body of the car seat, usually made of high-density plastic designed to absorb impact energy.
- Harness: The five-point harness system secures the child in the seat. This includes shoulder straps, lap straps, and a crotch strap. Pay close attention to harness placement, which changes with the child's age and size.
- Latch Connectors (Lower Anchors): These connect to the lower anchors in your vehicle. LATCH stands for Lower Anchors and Tethers for CHildren. Most vehicles manufactured after 2002 are equipped with LATCH.
- Top Tether: Used in forward-facing installations, the top tether adds stability by connecting to a tether anchor point in your vehicle. It significantly reduces forward head excursion in a crash.
- Seat Belt Lock-offs: Some installations may require the use of seat belt lock-offs to ensure a tight fit. These are particularly useful in older vehicles or when LATCH is not an option.
- Rear-Facing Angle Adjuster: This device helps achieve the correct recline angle when the seat is used rear-facing. It's crucial for infant safety, preventing their heads from slumping forward and obstructing their airway.
- Headrest: Adjustable for height, the headrest provides head and neck support. Ensure it's properly positioned as your child grows.
Installation Methods: LATCH vs. Seat Belt
The Diono Radian 3r can be installed using either the LATCH system or the vehicle's seat belt. Both methods are safe when done correctly. Here's a quick overview:
- LATCH Installation: Typically easier and preferred when available, especially for rear-facing installations. Check your vehicle's owner's manual for the location of the lower anchors and weight limits.
- Seat Belt Installation: A perfectly viable option, especially if your vehicle doesn't have LATCH or if your child exceeds the LATCH weight limit. Requires careful attention to routing the seat belt and achieving a tight, secure fit. Using the car's <locking clip> could be beneficial, which is also discussed in the user manual.
How It Works: A Step-by-Step Guide
Let's break down the installation process. Always refer to the Diono Radian 3r owner's manual for specific instructions and weight limits. This guide is a supplement, not a replacement.
- Rear-Facing Installation (Infants/Toddlers):
- Positioning: Place the seat in the desired rear-facing position in the vehicle. This is usually in the center rear seat, but consult your vehicle's manual.
- Angle Adjustment: Use the rear-facing angle adjuster to achieve the correct recline angle. This is typically indicated by a level or guide on the seat.
- LATCH or Seat Belt: Connect the LATCH connectors to the lower anchors *or* route the seat belt through the designated belt path on the car seat.
- Tightening: Tighten the LATCH straps or seat belt to remove any slack. The seat should not move more than 1 inch side-to-side or front-to-back when tested at the belt path.
- Forward-Facing Installation (Older Children):
- Positioning: Place the seat in the desired forward-facing position.
- LATCH or Seat Belt: Connect the LATCH connectors or route the seat belt through the designated belt path.
- Top Tether: Connect the top tether to the designated tether anchor point in your vehicle. This is crucial for forward-facing installations.
- Tightening: Tighten the LATCH straps or seat belt and the top tether strap. Again, the seat should not move more than 1 inch at the belt path.
- Harness Adjustment:
- Rear-Facing: Shoulder straps should be at or slightly below the child's shoulder level.
- Forward-Facing: Shoulder straps should be at or slightly above the child's shoulder level.
- Tightness: The harness should be snug enough that you cannot pinch any excess webbing at the child's shoulder.
Real-World Use: Basic Troubleshooting
Here are some common issues and how to address them:
- Seat Won't Stay Tight: Ensure you're using the correct belt path and applying enough force when tightening the LATCH straps or seat belt. Consider using a seat belt lock-off if necessary.
- Difficulty Achieving Correct Recline Angle: Use the rear-facing angle adjuster and/or rolled towels or pool noodles (check Diono's guidelines) to adjust the angle.
- Harness Straps Tangled: Untangle the straps and ensure they are properly routed through the correct slots.
- Latch Weight Limits Exceeded: Refer to your car and car seat documentation and use seatbelt when child weight exceeds the threshold.
Safety: Risky Components and Considerations
The most critical aspects of car seat safety revolve around proper installation and use. Here are some key safety considerations:
- Misuse: The most common cause of car seat failure is misuse. Carefully read and follow the owner's manual.
- Expiration Dates: Car seats have expiration dates, typically printed on the seat. This is because the plastic can degrade over time, compromising its structural integrity.
- Crash Damage: If the car seat has been involved in a crash, even a minor one, it should be replaced. The impact can cause unseen damage.
- LATCH Weight Limits: Be aware of the LATCH weight limits for both your vehicle and the car seat. Exceeding these limits can compromise the system's effectiveness. Most car seats can use the vehicle's seat belt system when the child's weight exceeds the LATCH system limitation.
- Counterfeit Products: Only use certified car seats that meet safety standards. Do not purchase used car seats from unknown sources.
We have access to a detailed installation diagram that can further assist you in this process. Please reach out, and we'll gladly share it with you, complete with annotations and additional tips to guarantee a correct installation. Remember, your child's safety is paramount. If you're unsure about any aspect of the installation, don't hesitate to consult a certified Child Passenger Safety Technician (CPST).