How To Install License Plate On Front Bumper
The absence of a front license plate can transform the aesthetics of a car, creating a cleaner, more streamlined appearance. However, legal requirements in many jurisdictions mandate its presence. Installing a front license plate on a modern vehicle, especially one not originally designed to accommodate it, presents a minor engineering challenge. Let's explore the methods and mechanical considerations involved in this seemingly simple task.
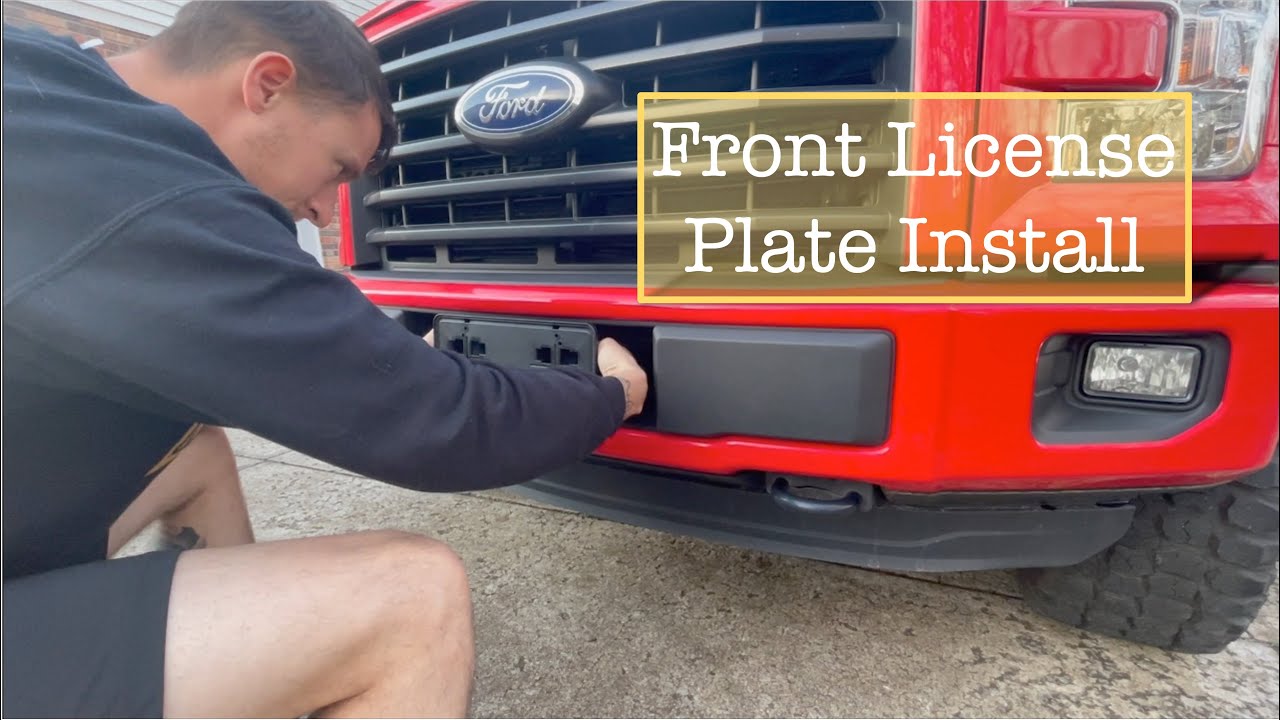
The Problem: A Bare Bumper
Many vehicles, particularly those designed for markets without front license plate requirements, arrive with a smooth, uninterrupted front bumper. While aesthetically pleasing, this presents a practical problem for drivers in states or provinces where front plates are mandatory. Ignoring this requirement can lead to fines, emphasizing the need for a solution. This is akin to needing to mount a picture on a wall where no nail or hanging hardware exists; you need to create a suitable mounting point.
Methods of Attachment: A Detailed Look
The method you choose to install your front license plate depends on several factors: the design of your bumper, the availability of pre-existing mounting points, and your tolerance for drilling into your vehicle's body. Here's a breakdown of the most common techniques:
1. Direct Mounting (Drilling and Screwing)
This is the most straightforward, but also the most potentially invasive, method. It involves drilling holes directly into the bumper and securing the license plate bracket (or the plate itself) with screws.
How it works:
- Preparation: Carefully measure and mark the desired location for the license plate. Ensure the plate is centered and positioned to comply with local regulations regarding height and visibility. Use masking tape to protect the surrounding paint from scratches.
- Drilling: Using a drill bit appropriate for the bumper material (typically plastic or, in some cases, metal), drill pilot holes at the marked locations. Start with a small bit and gradually increase the size to avoid cracking the bumper.
- Mounting: Align the license plate bracket or the license plate itself with the pilot holes. Secure with screws. Stainless steel screws are recommended to prevent rust.
Pros: Simple, relatively inexpensive, and provides a secure attachment.
Cons: Requires drilling into the bumper, which can be irreversible and may affect resale value. Can potentially damage sensors or other components located behind the bumper. Requires precise measurement and drilling to ensure a clean and symmetrical installation.
2. Adhesive Mounting
This method utilizes strong adhesive tapes or specialized mounting tapes designed for automotive applications. It avoids drilling, making it a less invasive option.
How it works:
- Preparation: Thoroughly clean and degrease the area on the bumper where the license plate will be mounted. Use a specialized automotive cleaner or isopropyl alcohol to remove any wax, dirt, or contaminants.
- Application: Apply the adhesive tape to the back of the license plate bracket or the license plate itself. Follow the manufacturer's instructions regarding the amount of tape to use and the recommended application technique.
- Mounting: Carefully position the license plate on the bumper, ensuring it is properly aligned. Press firmly to ensure a strong bond between the adhesive tape and the bumper surface. Some adhesives require a curing time, so avoid washing the car for a specified period.
Pros: No drilling required, less invasive, and easier to install than direct mounting.
Cons: The adhesive bond may weaken over time, especially in extreme weather conditions. May not be suitable for heavily textured bumpers or surfaces with poor adhesion properties. Removal can be difficult and may leave residue on the bumper.
3. Tow Hook Mounting
Many modern vehicles are equipped with a tow hook receiver, typically located behind a small removable cover on the front bumper. This method utilizes an adapter that screws into the tow hook receiver and provides a mounting point for the license plate.
How it works:
- Locate and Remove Cover: Find the tow hook cover on your front bumper and carefully remove it, often requiring a flathead screwdriver or a specialized tool.
- Install Tow Hook Adapter: Screw the tow hook adapter into the tow hook receiver. Ensure it is tightened securely.
- Mount License Plate: Attach the license plate bracket to the tow hook adapter. Adjust the position of the bracket to ensure the license plate is properly aligned and does not obstruct any sensors or lights.
Pros: No drilling required, easily reversible, and can provide a more aesthetically pleasing placement of the license plate (often offset to one side).
Cons: Requires a vehicle equipped with a tow hook receiver. The offset placement may not be to everyone's taste and may interfere with parking sensors. Can be more expensive than other mounting methods.
4. Bumper Plugs and Existing Holes
Some cars arrive with dimples or very small drill holes in the bumper. Bumper plugs are plastic fasteners that fill these holes, creating a clean finish. If you're lucky, the holes match the standard spacing for license plate bolts.
How it works:
- Assessment: Check if the existing holes align with a license plate. If not, then either direct mounting or adhesive mounting is a better option.
- Mounting: Screw a license plate bracket or the plate directly to the existing holes.
Pros: Clean and simple. Minimizes or completely eliminates the need to drill new holes. Uses the car's existing infrastructure.
Cons: The spacing between holes might not match the standard license plate.
Mechanical Considerations: Forces and Materials
Regardless of the chosen method, it's crucial to consider the mechanical forces acting on the license plate. Wind resistance, vibration, and potential impacts (e.g., from parking maneuvers) can all contribute to the plate becoming loose or damaged.
Material Selection: Stainless steel hardware (screws, bolts, and brackets) is essential to prevent corrosion. The license plate bracket itself should be made of a durable material that can withstand the elements and minor impacts. Aluminum or reinforced plastic are common choices.
Load Distribution: For adhesive mounting, ensure the adhesive tape is applied evenly across the entire mounting surface. This helps distribute the load and prevent localized stress points that could lead to failure. For direct mounting, use washers to distribute the clamping force of the screws and prevent damage to the bumper material.
Vibration Dampening: Consider using rubber washers or pads between the license plate and the bracket to dampen vibrations and reduce noise. This can also help prevent scratches on the bumper.
Manufacturer Examples and Use Cases
Several manufacturers offer pre-designed license plate mounting solutions for specific vehicle models. These kits typically include a custom-fit bracket and all the necessary hardware for installation. For example, Subaru often includes a front license plate bracket in states where it is required, while Mazda offers a tow hook-mounted option for certain models. Aftermarket companies also produce a wide range of license plate mounting solutions, catering to various vehicle makes and models.
Use Cases:
- New Car Purchase: If you purchase a new car in a state requiring a front license plate, the dealership will typically install it for you. However, you may want to consider alternative mounting options if you prefer a less invasive or more aesthetically pleasing solution.
- Relocating to a New State: If you move to a state requiring a front license plate, you will need to install one on your vehicle. The choice of mounting method will depend on the design of your bumper and your personal preferences.
- Replacing a Damaged Bumper: If your front bumper is damaged and needs to be replaced, you may need to reinstall the license plate. Ensure the new bumper has the necessary mounting points or use an alternative mounting method.
Potential Drawbacks and Risks
All mounting options have drawbacks. Drilling can be risky for sensors located on the bumper. Always consult your car's repair manual before drilling. Adhesive strips can peel over time. Tow hook-mounted options require purchasing an aftermarket tow hook. Finally, using the wrong size screws when using pre-existing bumper holes can lead to damage.
Real-World Recommendations and Insights
Choosing the right mounting method requires balancing aesthetics, practicality, and potential risks. For leased vehicles, adhesive mounting or tow hook mounting are generally preferable, as they avoid permanent modifications. For vehicles with pre-existing dimples or subtle marking, using those holes is a good option. Direct drilling should only be considered as a last resort, especially on newer vehicles equipped with advanced sensor systems. Always disconnect the negative battery terminal before drilling near sensors to prevent accidental electrical damage.
Ultimately, the best approach involves careful planning, precise execution, and a thorough understanding of your vehicle's design. Take your time, measure twice, and don't be afraid to seek professional assistance if you're unsure about any aspect of the installation. A properly installed front license plate not only complies with legal requirements but also enhances the overall appearance and functionality of your vehicle.