How To Install Siriusxm In My Car
So, you're ready to ditch terrestrial radio and dive into the world of SiriusXM in your car? Excellent choice! This article will guide you through the installation process. We'll break down the components, wiring, and potential challenges, equipping you with the knowledge to tackle this project like a pro. We'll focus on a typical aftermarket SiriusXM receiver installation, assuming your car doesn't have a factory-installed option. While specific wiring may vary depending on your vehicle and chosen receiver, the principles remain the same.
Why This Knowledge Matters
Understanding the installation of a SiriusXM receiver in your car is valuable for several reasons:
- DIY Installation & Cost Savings: Save on installation fees by performing the work yourself.
- Troubleshooting: Diagnose and fix common issues that may arise after installation.
- Customization: Integrate the receiver seamlessly with your existing car audio system.
- Understanding Car Audio Systems: Gain a deeper understanding of your vehicle's audio system and how aftermarket components interact with it.
- Future Upgrades: Prepare yourself for future car audio upgrades and modifications.
Key Specs and Main Parts
Before we dive into the wiring, let's identify the key components involved:
- SiriusXM Receiver: This is the heart of the system. It receives the satellite signal and decodes the audio. The receiver may be a standalone unit or integrated into a head unit (car stereo).
- Antenna: The antenna captures the SiriusXM satellite signal. Typically, these are magnetic-mount antennas that can be placed on the roof of your car, but window-mount and hardwired options exist.
- Power Wiring: Supplies power to the receiver. Usually a 12V connection to the car's electrical system. This will often be connected to the car's accessory power circuit (turns on with the ignition).
- Ground Wiring: Provides a return path for the electrical current. Must be securely connected to the car's chassis.
- Audio Output: Connects the receiver's audio output to your car's audio system. This can be done via an AUX input, a FM modulator, or a direct connection to the amplifier if applicable.
- Mounting Bracket/Hardware: Securely mounts the receiver in a convenient location.
- (Optional) Interface Adapter: If integrating with the factory stereo, this adapter allows you to control the SiriusXM receiver through your existing head unit and steering wheel controls.
Specifications to Consider:
- Voltage: Ensure the receiver operates on 12V DC, the standard voltage for car electrical systems.
- Audio Output Type: Choose a receiver with an audio output compatible with your car's audio system (AUX, FM modulator, RCA).
- Antenna Type: Select an antenna appropriate for your vehicle and installation location (magnetic mount, window mount).
- Operating Temperature Range: Make sure the equipment is capable of withstanding the temperature extremes of your location.
Wiring Diagram: Interpreting the Connections
While we can't provide a specific wiring diagram without knowing your exact components, we can outline the common elements and their purpose. Imagine a diagram with the following elements:
- Solid Lines: Represent wires or electrical connections. Thicker lines often indicate wires that carry higher current.
- Dashed Lines: Can represent signal wires or low-current connections. Sometimes they indicate a connection that's not essential but recommended.
- Colors: Wiring colors are crucial for identification. Common colors include Red (power), Black (ground), Yellow (constant power), and various colors for audio signals. Always refer to the receiver's documentation for specific color coding.
- Symbols:
- Battery Symbol: Indicates the car's battery.
- Ground Symbol: Represents a connection to the vehicle's chassis ground.
- Fuse Symbol: Indicates a fuse for circuit protection.
- Speaker Symbol: Indicates a speaker output.
- RCA Connector Symbol: Represents RCA audio connections.
A typical diagram would show the receiver with labeled inputs and outputs (Power, Ground, Antenna, Audio Out). It would then show how these connect to the car's wiring harness or directly to the battery (via a fuse). The antenna connection would be clearly marked. The audio output would be shown connecting to either the AUX input, FM modulator, or, in some cases, directly to an amplifier.
How It Works
The installation process revolves around these main steps:
- Power Connection: The receiver needs power to operate. A red wire (usually with an in-line fuse) connects to the car's accessory power circuit (controlled by the ignition switch). This ensures the receiver only turns on when the car is running, preventing battery drain. A black wire connects to a solid ground point on the car's chassis. Proper grounding is critical to avoid noise and interference.
- Antenna Installation: The antenna needs a clear view of the southern sky to receive the satellite signal. Mount it according to the manufacturer's instructions, typically on the roof or near the rear window. Route the antenna cable to the receiver, avoiding sharp bends or crimps.
- Audio Output Connection: This is where the receiver's audio signal is sent to your car's speakers.
- AUX Input: The simplest method. Connect the receiver's audio output (usually a 3.5mm headphone jack or RCA connectors) to your car's AUX input.
- FM Modulator: Transmits the receiver's audio signal over a specific FM frequency. Tune your car radio to that frequency to hear the SiriusXM audio. This method may be prone to interference.
- Direct Amplifier Connection: If you have an aftermarket amplifier, you can connect the receiver's audio output directly to the amplifier's inputs. This provides the cleanest audio signal.
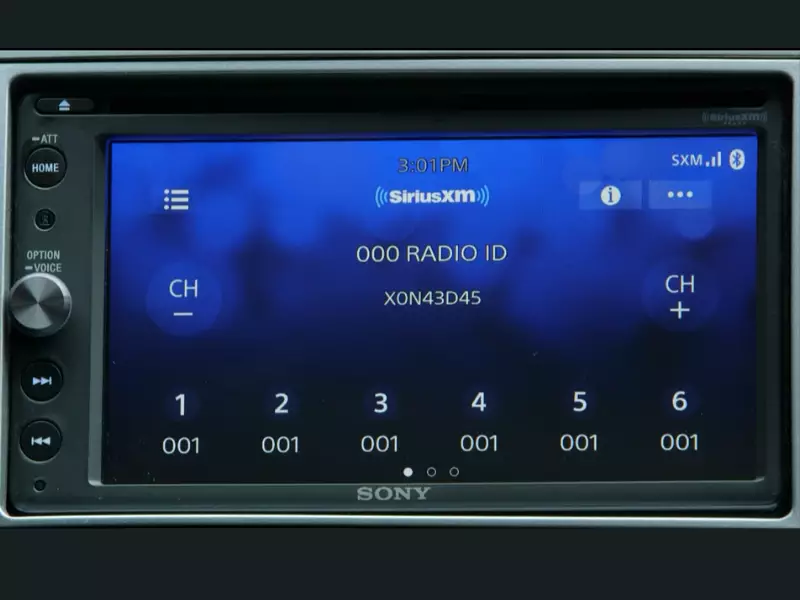
- Mounting and Testing: Securely mount the receiver in a convenient location. Power on the receiver and tune to the SiriusXM preview channel to verify that it's receiving a signal. Fine-tune the antenna placement if necessary.
Real-World Use: Basic Troubleshooting
Here are some common issues and how to troubleshoot them:
- No Power: Check the fuse on the power wire. Ensure the ground connection is secure and making good contact with the chassis. Use a multimeter to verify that the accessory power circuit is providing 12V when the ignition is on.
- No Signal: Check the antenna connection. Ensure the antenna has a clear view of the sky. Try moving the antenna to a different location. Check the SiriusXM website to ensure your receiver is activated.
- Static or Interference: Ensure the ground connection is clean and secure. Try routing the antenna cable away from other electrical wiring. If using an FM modulator, try a different frequency.
- Weak Audio: Verify that the audio output level on the receiver is properly adjusted. Check the volume settings on your car stereo.
Safety Considerations
Working with car electrical systems requires caution. Here are some important safety tips:
- Disconnect the Battery: Before starting any wiring work, disconnect the negative terminal of the car battery. This prevents accidental shorts and electrical damage.
- Use Proper Tools: Use insulated tools to avoid electrical shock.
- Protect Wires: Use wire loom or electrical tape to protect exposed wires from damage and short circuits.
- Fuses are Critical: Always use fuses of the correct amperage rating to protect the wiring and equipment. Never bypass a fuse with a wire or other conductive material.
- Avoid Airbag Wires: Be extremely careful when working near airbag wiring. Accidental deployment of an airbag can cause serious injury. Consult a professional if you are unsure about working near airbag components.
Risk Area: Always be aware of the airbag system when routing wires. Incorrectly routed wires near airbag sensors or wiring could interfere with the airbag's functionality. It is highly recommended that you consult your vehicle's service manual before working on any electrical system.
We have access to a generalized wiring diagram file that can provide further insights. You can download it here. Please remember that this diagram is a general representation and may not perfectly match your specific vehicle or receiver model. Always consult the manufacturer's documentation for the most accurate information.