How To Install Weathertech Window Visors
Installing WeatherTech window visors (also known as side window deflectors or rain guards) is a straightforward DIY project that can significantly improve your driving experience. These visors allow you to crack your windows open slightly, even during light rain or snow, reducing fogging and keeping your vehicle's interior cooler in the sun. This article provides a comprehensive guide to installing WeatherTech window visors, ensuring a secure and professional-looking fit.
Why Installing WeatherTech Window Visors Matters
WeatherTech window visors offer several benefits that make them a worthwhile investment for many vehicle owners. Understanding these advantages can help you decide if they're right for you:
- Reduced Wind Noise: By deflecting air away from the open window, visors can minimize wind noise, especially at highway speeds.
- Rain and Snow Protection: Enjoy fresh air even in inclement weather. The visor prevents rain and snow from entering the cabin when the window is slightly open.
- Improved Ventilation: Reduce stuffiness and stale air inside your vehicle by allowing fresh air to circulate, even when parked.
- Heat Reduction: Cracking the windows with visors installed allows hot air to escape, keeping your vehicle's interior cooler and reducing the strain on your air conditioning system.
- Stylish Appearance: WeatherTech visors are designed to complement your vehicle's aesthetics, adding a subtle yet functional touch.
How to Choose the Right WeatherTech Window Visors
Selecting the correct WeatherTech window visors for your vehicle is crucial for a proper fit and optimal performance. Here's what to consider:
1. Vehicle Year, Make, and Model
This is the most important factor. WeatherTech visors are vehicle-specific, meaning they're designed to fit the exact contours of your windows. Use WeatherTech's website or a reliable auto parts retailer to confirm the correct part number for your specific vehicle.
2. Body Style
Some vehicles have different window shapes depending on the body style (e.g., sedan, coupe, hatchback, truck). Ensure you select visors that match your vehicle's body style. For instance, a 4-door sedan will require a different set of visors than a 2-door coupe of the same model.
3. Front vs. Rear Visors
WeatherTech sells front and rear visors separately or as a complete set. Determine whether you need visors for all windows or just the front ones. Consider your needs and budget when making this decision.
4. In-Channel vs. Outside-Mount Visors
WeatherTech primarily offers in-channel visors, which are installed directly into the window channel. These provide a sleeker look and are less likely to detach. Outside-mount visors attach to the exterior of the door frame with adhesive tape. While easier to install, they can be more prone to wind noise and may not be as aesthetically pleasing. Double-check that you are ordering the type of visor you expect.
Step-by-Step Installation Guide
Here's a detailed guide to installing WeatherTech in-channel window visors. This process is generally the same for most vehicles, but it's always best to refer to the specific instructions included with your WeatherTech visor kit.
Tools and Materials Needed:
- WeatherTech window visors (for your specific vehicle)
- Soft cloth or microfiber towel
- Isopropyl alcohol (rubbing alcohol)
- Plastic scraper or putty knife (optional, for removing old adhesive)
- Heat gun or hairdryer (optional, for warming the window channel in cold weather)
Step 1: Preparation is Key
Begin by thoroughly cleaning the window channels of the doors where you'll be installing the visors. Use a clean, damp cloth or microfiber towel to remove any dirt, dust, or debris. Pay close attention to the upper portion of the channel where the visor will sit. Next, use isopropyl alcohol to further clean the channel. This removes any residual grease or grime and helps ensure a strong adhesive bond (if your visors include adhesive strips). Let the alcohol dry completely before proceeding.
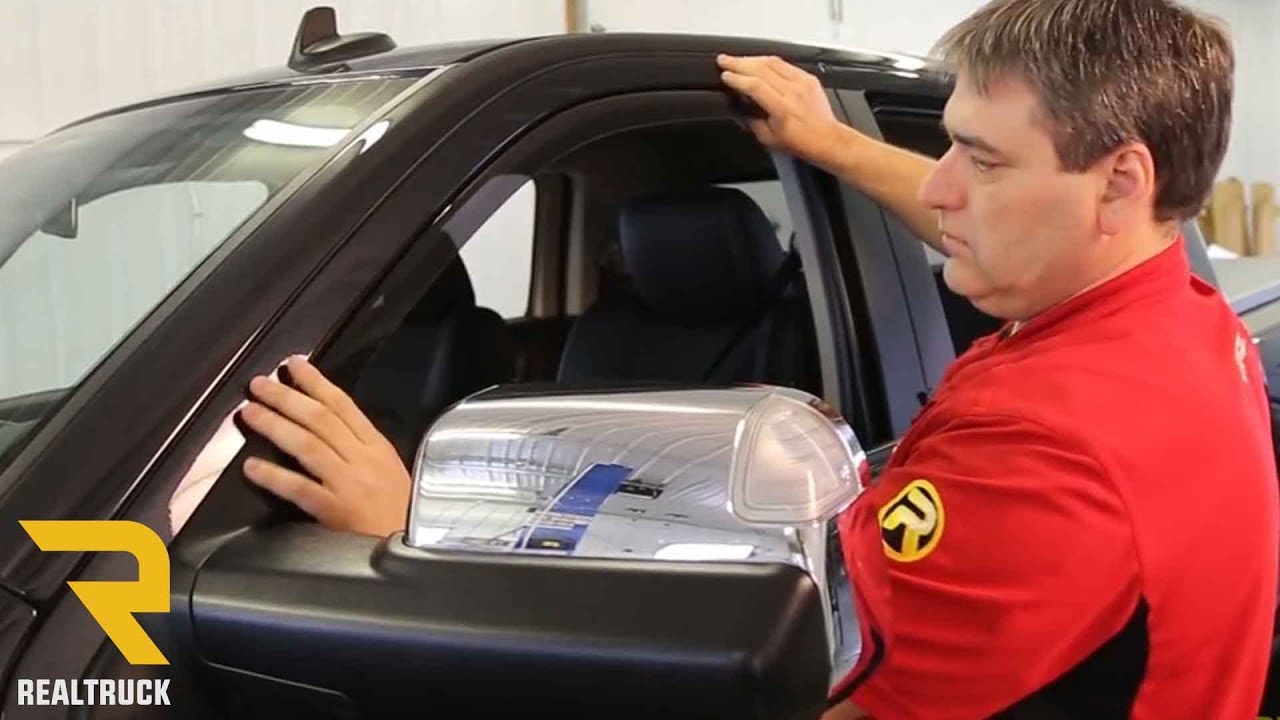
Step 2: Test Fit the Visor
Before removing any adhesive backing (if applicable), test fit each visor in its corresponding window channel. Carefully insert the visor, starting with one end and gradually working your way to the other. Make sure the visor sits flush against the channel and doesn't bind or catch. This step allows you to identify any potential fitment issues before committing to the installation.
Step 3: Remove the Protective Film
If your WeatherTech visors have adhesive strips, carefully peel back a small portion of the protective film from the adhesive. Do not remove the entire film at once. This allows you to position the visor accurately before fully adhering it to the window channel.
Step 4: Install the Visor
Starting at one end of the window channel, carefully insert the visor. Align it with the contours of the window frame and gently press it into place. As you move along the channel, gradually peel away more of the protective film from the adhesive, ensuring the visor remains properly aligned. Once the visor is fully inserted, firmly press along its entire length to secure the adhesive bond.
Step 5: Secure the Visor (If Applicable)
Some WeatherTech visors may include additional clips or fasteners to provide extra security. Follow the instructions provided with your kit to install these components. These clips typically snap into place within the window channel and help to hold the visor firmly in position.
Step 6: Repeat for Remaining Windows
Repeat steps 1-5 for each of the remaining windows. Take your time and ensure that each visor is properly aligned and securely attached.
Step 7: Let it Cure
After installing all the visors, it's essential to allow the adhesive to cure properly. Keep the windows rolled up for at least 24 hours (or as recommended by WeatherTech) to allow the adhesive to fully bond to the window channel. Avoid washing your vehicle during this time, as water can interfere with the curing process. In colder weather, use a heat gun or hairdryer (on a low setting) to gently warm the window channels. This can help to improve the adhesive bond.
Real-World Owner Experiences
Many vehicle owners have shared their experiences with WeatherTech window visors. The overwhelming consensus is positive, with owners praising the visors' effectiveness in reducing wind noise, preventing rain entry, and improving ventilation. Some owners have noted that the installation process can be a bit tricky, especially if the window channels are not thoroughly cleaned beforehand. Others have mentioned that the visors may initially cause the auto-up feature on their windows to malfunction, but this typically resolves itself after a few days of use as the visors settle into place. Always be careful to avoid damaging the visors during install. Patience is key.
Frequently Asked Questions (FAQs)
Here are some common questions about WeatherTech window visors:
Q: Will these visors fit my vehicle?
A: WeatherTech visors are vehicle-specific. Use WeatherTech's website or a reputable auto parts retailer to confirm the correct part number for your exact year, make, and model.
Q: Do I need any special tools to install them?
A: The installation is relatively straightforward and usually requires only a soft cloth, isopropyl alcohol, and potentially a plastic scraper (if removing old adhesive). A heat gun or hairdryer can be helpful in colder weather.
Q: Can I wash my car immediately after installing the visors?
A: It's best to wait at least 24 hours (or as recommended by WeatherTech) before washing your car. This allows the adhesive to fully cure.
Q: Will the visors interfere with my power windows?
A: Initially, the visors may cause the auto-up feature on your power windows to malfunction. This is because the visor adds slight pressure to the window. This usually resolves itself within a few days as the visors settle into place.
Q: How do I clean my WeatherTech window visors?
A: Use a mild soap and water solution and a soft cloth to clean your WeatherTech visors. Avoid using abrasive cleaners or harsh chemicals, as these can damage the visors' surface.
Q: What if the visors don't fit properly?
A: If you encounter fitment issues, double-check that you ordered the correct part number for your vehicle. If the visors still don't fit, contact WeatherTech customer support for assistance. Do not force the visors into place, as this could damage them or your vehicle.
By following these steps and taking your time, you can successfully install WeatherTech window visors and enjoy the benefits of improved ventilation, reduced wind noise, and added protection from the elements.